Microwave Repair Decision Assistant
Answer a few questions about your microwave's issue to get personalized advice on repair difficulty, safety risks, and estimated costs.
Safety Warning
⚡ High Voltage Risk
Microwaves contain capacitors that can hold lethal charges even when unplugged. Never open the chassis without proper training and discharging tools.
Estimated DIY Cost
Professional Repair Cost
Recommendation:
Steps to Take:
Can You Fix a Broken Microwave Yourself?
You press start, the light turns on, but the food stays cold. Or worse, you hear a loud crack and see sparks flying from inside the cavity. It’s a frustrating moment in the kitchen. Before you toss your microwave oven is a common kitchen appliance that uses electromagnetic radiation to heat food by causing water molecules to vibrate. into the trash or call an expensive technician, ask yourself: is this actually something I can handle?
The short answer is yes, but with a massive asterisk. Replacing a broken door switch or a faulty turntable motor is straightforward and cheap. However, opening the chassis of a microwave carries serious risks if you don’t know what you’re doing. Unlike a toaster or a blender, a microwave contains components that store lethal electrical charges even when unplugged. Understanding where the line between "easy DIY" and "dangerous job" lies will save you money-and potentially your life.
The Hidden Danger Inside Your Microwave
Before we talk about tools and parts, we need to address the elephant in the room: high voltage. Most people assume that unplugging an appliance cuts off all power. In a microwave, this is dangerously incorrect.
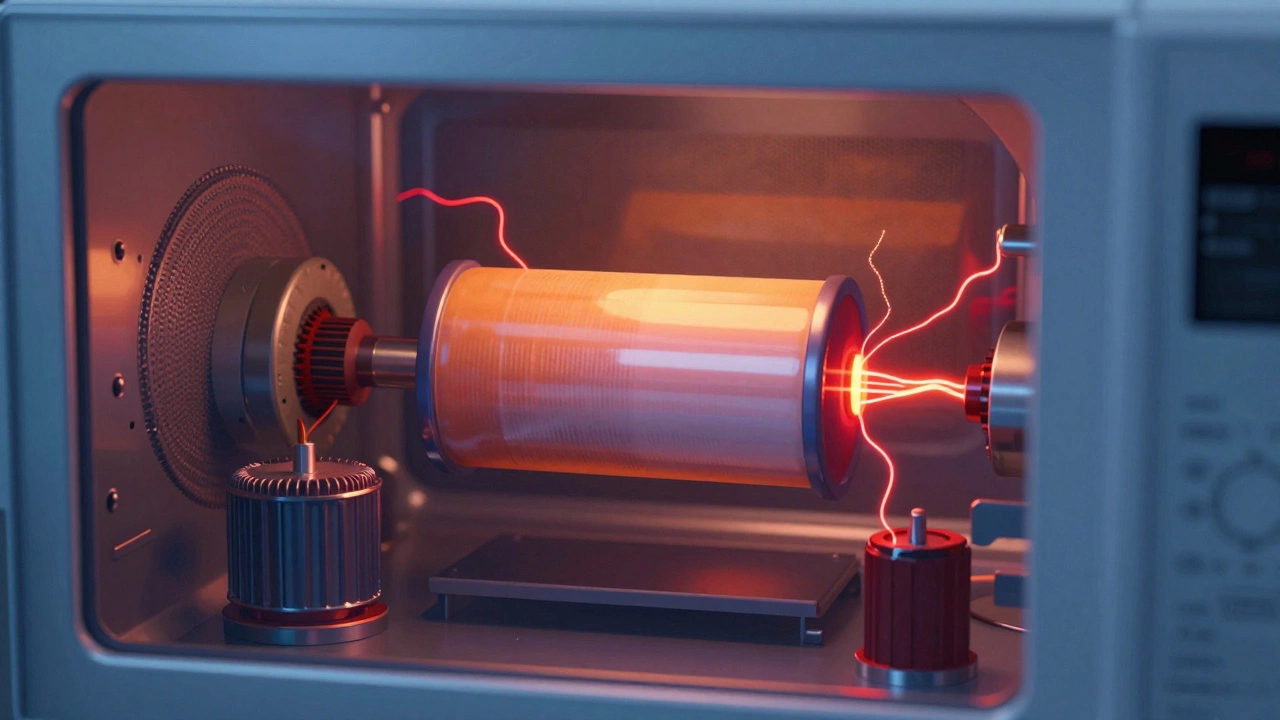
Inside every standard microwave sits a component called a high-voltage capacitor is an electronic component that stores electrical energy in an electric field, capable of holding a lethal charge long after the device is unplugged. This capacitor works with the magnetron to generate the microwaves that cook your food. It can hold a charge of up to 4,000 volts. That is enough to stop a human heart instantly.
If you open the metal casing without properly discharging this capacitor, touching the wrong terminal can result in severe burns or electrocution. This is why many professionals advise against opening the main body of the microwave unless you have specific training. For most homeowners, "repairing" a microwave should be limited to external issues or replacing accessible modules like control panels, provided you are comfortable with basic electronics safety.
Easy Repairs: Problems You Can Fix Today
Not every issue requires a professional or involves high voltage. Several common problems are caused by simple mechanical failures or user error. These fixes are safe, inexpensive, and often take less than thirty minutes.
- Turntable Not Spinning: If the plate isn’t rotating, check the roller ring underneath it. Sometimes food debris jams the mechanism. Clean the ring and the hub. If it still doesn’t spin, the turntable motor might be burnt out. Replacement motors cost around $15-$30 and usually screw into place without needing to open the high-voltage chamber.
- Faulty Door Switches: Microwaves have multiple interlock switches that prevent operation if the door isn’t sealed tightly. If your microwave won’t start, one of these switches may be stuck or broken. While accessing them requires removing the outer case, they are low-voltage components. Testing them with a multimeter is safe if you follow proper discharge procedures.
- Control Panel Issues: If the buttons aren’t responding, the membrane keypad might be worn out. On some models, this is a separate module that can be replaced. Check if your model has a removable front panel. If not, this might require more advanced disassembly.
- Light Bulb Burnout: The interior light is just a standard bulb. Locate the access panel (usually behind the turntable or on the side), remove the old bulb, and replace it with the correct wattage specified in your manual.
When to Call a Professional
Some repairs cross the line from "easy" to "expert only." If you encounter any of the following issues, it is safer and often more cost-effective to hire a technician or buy a new unit.
- Magnetron Failure: The magnetron is the heart of the microwave, generating the actual waves. If it fails, the microwave won’t heat. Replacing a magnetron involves complete disassembly, handling heavy components, and dealing with high-voltage wiring. Parts alone can cost $50-$80, plus labor.
- Burnt Smell or Smoke: If you smell burning insulation or see smoke coming from vents, there may be internal arcing or a melted wire. This indicates a fire hazard. Do not attempt to clean this internally; the damage is likely deep within the circuitry.
- Sparks Inside the Cavity: Small sparks can happen if metal touches the walls, but consistent sparking suggests a damaged waveguide cover or a cracked enamel lining. A compromised cavity can leak radiation. This is not a DIY fix.
- Water Damage: If liquid spilled into the control panel or vents, corrosion may have set in. Cleaning corroded circuits is tricky and often temporary. Moisture also increases the risk of short circuits.
| Issue | Difficulty Level | Safety Risk | Estimated Cost |
|---|---|---|---|
| Turntable Motor | Low | Low (External) | $15 - $30 |
| Door Interlock Switch | Medium | Medium (Requires Discharge) | $10 - $25 |
| High-Voltage Capacitor | High | Extreme (Lethal Voltage) | $30 - $60 |
| Magnetron | High | High (Complex Assembly) | $50 - $90 |
| Control Board | Medium | Low (If Panel Removed Safely) | $40 - $70 |
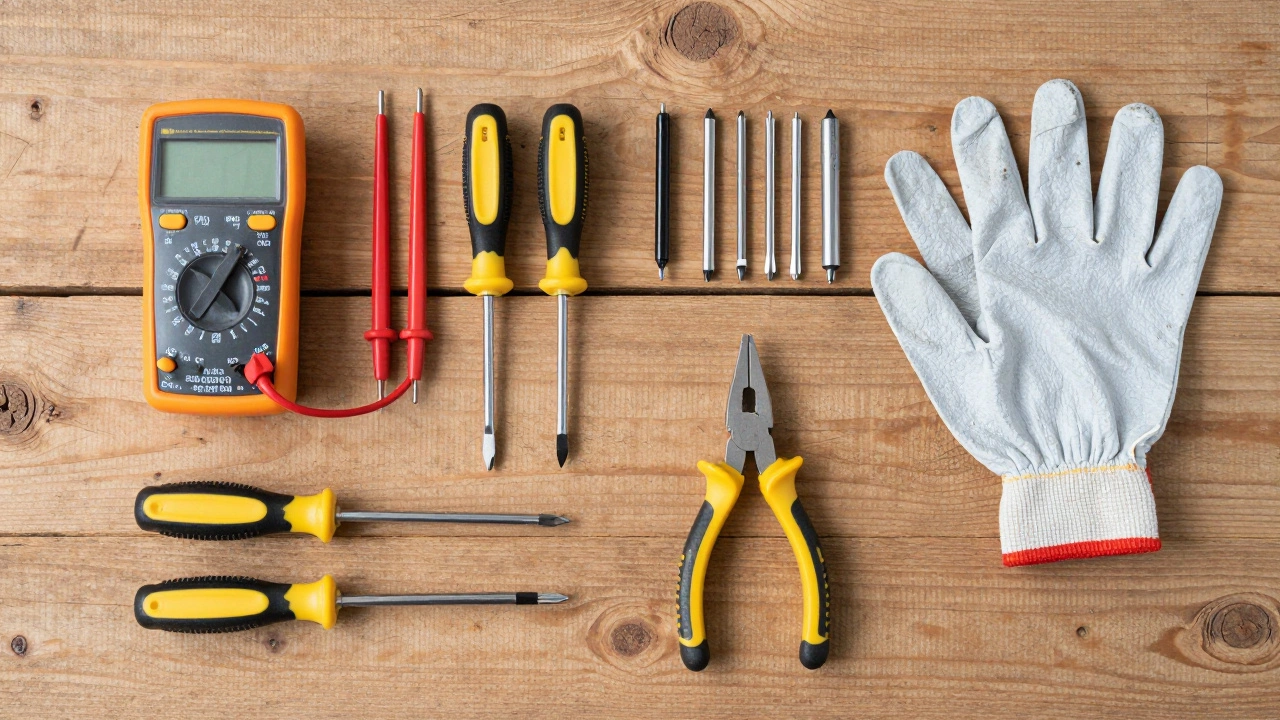
Tools You’ll Need for Basic Repairs
If you decide to tackle a medium-difficulty repair, having the right tools makes a difference. You don’t need a full workshop, but a few essentials are non-negotiable for safety and efficiency.
- Digital Multimeter: Essential for testing continuity in switches and fuses. Never guess whether a part is dead; test it.
- Insulated Screwdrivers: Standard screwdrivers can slip and cause shorts. Insulated handles provide an extra layer of protection.
- Capacitor Discharger Tool: If you must open the chassis, a dedicated discharger tool safely drains the high-voltage capacitor. Improvising with a resistor and wire is risky and not recommended for beginners.
- Torx Drivers: Many modern appliances use Torx screws instead of Phillips heads. Having a T10 and T15 driver will prevent stripped screws.
- Needle-Nose Pliers: Useful for gripping small terminals and wires in tight spaces.
Is It Worth Repairing an Old Microwave?
This is the real question behind "is it easy to repair?" Even if you can fix it, should you? Microwaves are generally considered disposable appliances. Their average lifespan is seven to ten years. If your unit is older than eight years, the cost of parts and labor often exceeds the value of the machine.
Consider the type of microwave you own. Countertop models are cheaper to replace ($100-$300). Over-the-range models with built-in fans and lighting are more complex and expensive to install. Built-in cabinetry microwaves can cost $500+ to replace, making repair more attractive. However, if the core components (magnetron, transformer) fail in an old unit, replacement is usually the smarter financial decision.
Also factor in energy efficiency. Older microwaves consume more power and may heat unevenly. Newer models offer better sensor cooking, easier cleaning surfaces, and improved safety features. If your repair bill approaches 50% of the cost of a new unit, walk away.
Safety First: How to Discharge a Capacitor Safely
If you are determined to proceed with an internal repair, you must discharge the capacitor. Here is the correct procedure:
- Unplug the Microwave: Ensure it is completely disconnected from power.
- Open the Case: Remove the outer screws carefully. Note their locations for reassembly.
- Locate the Capacitor: It looks like a large cylinder, usually black or gray, connected to two thick wires.
- Use a Discharger: Connect a dedicated capacitor discharger tool across the terminals. Alternatively, use a high-wattage incandescent light bulb (not LED) with insulated leads. Touch the leads to the capacitor terminals simultaneously. The bulb will flash brightly as the charge drains.
- Verify Discharge: Use your multimeter to check for residual voltage. It should read near zero.
- Work Quickly: Once discharged, work efficiently. Avoid touching other internal components unnecessarily.
Never touch the capacitor terminals with bare hands or metal tools during this process. Even a small residual charge can cause painful shocks and muscle spasms, leading to accidental contact with live parts.
Troubleshooting Common Symptoms
Before buying parts, diagnose the problem accurately. Misdiagnosis leads to wasted money and time. Here are common symptoms and their likely causes:
- No Power: Check the household outlet first. Test with another device. If the outlet works, inspect the microwave’s fuse (if accessible) or the thermal cutoff switch.
- Lights On, No Heat: This points to the magnetron, high-voltage diode, or capacitor. Since these are high-risk components, consider professional help.
- Loud Humming but No Heat: Often a failing capacitor or diode. The magnetron is trying to start but lacks sufficient power.
- Food Unevenly Heated: Check the turntable. If it spins, the issue might be the stirrer fan behind the waveguide cover. Dust buildup can block the fan blades.
- Error Codes: Consult your owner’s manual. Error codes vary by brand. E.g., "E1" often means door switch failure, while "F1" might indicate a control board issue.
Preventive Maintenance Tips
Regular care extends the life of your microwave and prevents costly repairs. Simple habits make a big difference.
- Clean the Interior Weekly: Steam-clean with vinegar and water to remove grease. Grease buildup insulates heat and can cause overheating.
- Inspect the Door Seal: Wipe the rubber gasket around the door. Food particles here can prevent proper sealing, causing leaks or switch failures.
- Avoid Metal Utensils: Never put foil, metal bowls, or twist-ties inside. They cause arcing, which damages the waveguide cover and enamel.
- Don’t Run Empty: Running a microwave with no load reflects energy back into the magnetron, potentially damaging it over time.
- Ventilation: Ensure air vents are unblocked. Overheating is a leading cause of component failure.
Final Thoughts on Microwave Repair
So, are microwave ovens easy to repair? It depends entirely on the problem. External, mechanical issues like turntables and lights are very manageable for DIYers. Internal electrical faults involving high voltage demand caution, expertise, and proper tools. For most people, the safest path is to master the basics-cleaning, simple part swaps, and accurate diagnosis-and leave the high-voltage internals to certified technicians. Always prioritize safety over savings. A $50 repair bill is worth avoiding if it means keeping your fingers intact.
Is it safe to repair a microwave yourself?
It is safe to repair external components like turntable motors, light bulbs, and sometimes door switches. However, opening the main chassis is dangerous due to the high-voltage capacitor, which can hold a lethal charge even when unplugged. Only attempt internal repairs if you have proper training and tools to discharge the capacitor safely.
How much does it cost to repair a microwave?
DIY repairs for parts like turntable motors or door switches cost $10-$30. Professional repairs typically range from $75 to $150, including labor and diagnostics. Major component replacements like magnetrons can exceed $100 in parts alone, often making replacement more economical.
Why is my microwave humming but not heating?
A humming noise without heating usually indicates a failing high-voltage capacitor, diode, or magnetron. The capacitor provides the necessary power surge to the magnetron. If it’s weak, the magnetron tries to start but fails, creating a hum. This requires professional inspection due to high voltage risks.
Can I replace the microwave door switch myself?
Yes, but it requires removing the outer case. The door switches themselves are low-voltage, but you must ensure the high-voltage capacitor is discharged before working inside. Test the switches with a multimeter for continuity before replacing them to confirm they are the issue.
What should I do if my microwave sparks?
Stop using the microwave immediately. Small sparks can occur from metal objects, but consistent sparking indicates a damaged waveguide cover, cracked enamel, or internal arcing. This poses a fire and radiation leak risk. Do not attempt to clean internal arcs; consult a professional.
How do I know if my microwave needs repair or replacement?
If the microwave is under five years old and the issue is minor (like a turntable or door switch), repair is worthwhile. If it’s older than eight years, or if major components like the magnetron or control board fail, replacement is usually more cost-effective. Consider energy efficiency and safety features of newer models.
Can a microwave leak radiation?
Yes, if the door seal is damaged, the hinges are bent, or the cavity is cracked. Modern microwaves have multiple safety interlocks to prevent operation if the door is open. However, physical damage to the shielding can allow leakage. Regularly inspect the door seal and avoid forcing the door closed.
What tools are needed for microwave repair?
Essential tools include a digital multimeter for testing components, insulated screwdrivers, Torx drivers (T10/T15), needle-nose pliers, and a capacitor discharger tool for safety. Avoid using standard metal tools near high-voltage components.