Think you can just unbox that shiny new electric oven, slide it in, and plug it into the wall? It's a tempting thought—and a common misconception. Most electric ovens aren't made to work with a standard wall outlet. In fact, your kitchen’s regular outlets just won’t cut it for the power these ovens pull. Skip this step, and you could be setting yourself up for a tripped breaker or worse.
Before doing anything, take a peek at your current setup. Check if your old oven connects to a big, chunky outlet—something a bit bigger than what you’d plug your toaster into. That’s because most electric ovens run on a 220-volt or 240-volt circuit, which is a whole different animal from the 110-volt outlets used for smaller stuff. If your new oven needs this higher voltage but your kitchen isn't set up for it, plugging it in isn’t even an option. That’s when you know you need to look deeper, not just at the oven but at your home’s wiring too.
- Not All Ovens Use a Regular Plug
- Why the Right Circuit Matters
- New Oven, Old Wiring—Potential Problems
- Quick Safety Checks Before You Start
- When to Call a Professional
Not All Ovens Use a Regular Plug
Here’s the first thing to know—most electric ovens don’t run off a regular wall outlet. If you’re picturing a basic plug like the one you’d use for your phone charger, forget it. Electric ovens, especially full-sized models, need a lot more juice. They’re usually wired right into a 240-volt circuit, not your standard 120-volt kitchen plug.
Why the difference? It comes down to power. Regular outlets in the U.S. deliver around 15 or 20 amps—just enough for your blender or coffee maker. But a typical electric oven sucks up way more, sometimes between 30 to 50 amps. That’s not even close. If you tried to use a regular outlet, you’d trip the breaker immediately or risk frying your wiring. Here’s a quick look at what different kitchen appliances need:
| Appliance | Typical Voltage | Breaker Size (Amps) |
|---|---|---|
| Electric Oven | 240V | 30-50 |
| Microwave | 120V | 15-20 |
| Toaster | 120V | 15-20 |
| Refrigerator | 120V | 15-20 |
Not only that, but the electric oven installation connections are usually a hefty three- or four-prong plug. There’s also a world of difference between how older and newer homes are wired. Some older ovens were even hardwired directly into the wall, without any kind of plug at all! Switch out that type, and you’re looking at more work than just plugging something in.
If you spot a big, round or rectangular outlet that looks nothing like your regular wall plugs, you’re seeing what an electric oven needs. Don’t try to make an adapter or force a fit with the wrong cord—doing that is dangerous, and it could void your oven warranty or even start a fire. Bottom line: before buying or installing a new oven, always double-check what type of outlet and voltage you have against what your new appliance needs. It’ll save you a headache and possibly a repair bill down the line.
Why the Right Circuit Matters
When it comes to hooking up a new electric oven, the circuit you use can make or break the whole setup. These ovens draw a serious amount of power—much more than your regular outlets handle. Plugging into the wrong circuit isn’t just a small mistake. It can cause blown fuses, fire hazards, or even damage your oven before you’ve baked your first pizza.
You’ll notice most electric ovens need their own dedicated circuit—usually 220 or 240 volts. That’s double the usual power of standard 110-volt household plugs. A separate breaker in your fuse box keeps things safe by shutting down if there’s a problem. Trying to run a powerful oven on a shared or undersized circuit can leave you with tripping breakers and wiring that overheats.
The National Electrical Code (in the U.S.) says a typical residential electric oven should be wired to a dedicated 40-amp circuit. This is a big leap from the 15 or 20 amps most kitchen plugs provide. If you try and cut corners, you could void warranties, break local codes, or end up calling the fire department.
Check this quick comparison for context:
| Appliance | Typical Circuit Needed | Voltage |
|---|---|---|
| Toaster | 15 amps (shared) | 110 volts |
| Microwave | 20 amps (shared) | 110 volts |
| Electric Oven | 40 amps (dedicated) | 220-240 volts |
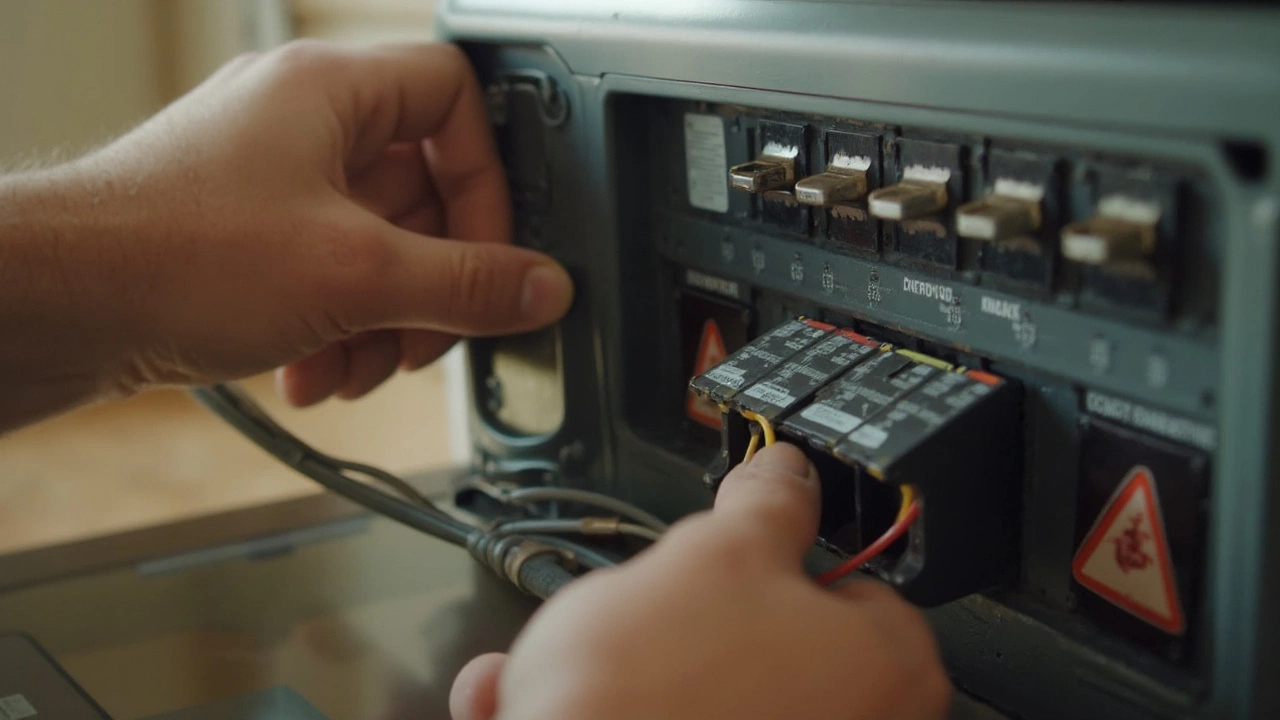
Don’t skip this step: check your breaker panel for a label showing a 40-amp oven circuit. No label? Time to play it safe and have an electrician take a look before you go further with your oven installation.
So before you get excited about all the meals you’ll cook, make sure your kitchen wiring is up to the task. Powering a big appliance needs more than just an open spot in the kitchen—it needs a circuit that’s built for the job.
New Oven, Old Wiring—Potential Problems
Here’s the thing—installing a new electric oven isn’t just about the appliance. Your home’s old wiring could be your biggest headache. Most houses built before the mid-1980s weren’t designed with today’s high-powered ovens in mind. This means your kitchen’s electrical setup might not be ready for the job.
Let’s get specific. Older wiring may use thinner gauge wire—like 14 or 12 gauge—which can’t safely handle the heavy current an electric oven needs. Most electric ovens require a dedicated 40- or 50-amp circuit, usually wired with 8 or 6 gauge copper wire. If your wiring is too skinny or the circuit is shared with other appliances, you’re risking blown fuses or, worse, fire hazards.
| Oven Power (Watts) | Breaker (Amps) | Recommended Wire Size |
|---|---|---|
| 4000-5000 | 20-30 | 10 gauge |
| 6000-8000 | 40 | 8 gauge |
| 9000-12000 | 50 | 6 gauge |
Plenty of homeowners have run into this issue: they try to install a new oven, only to find the old circuit can’t keep up. This can mean the oven won’t heat well, the breaker keeps tripping, or wiring even starts to smell hot. Not good. And here’s a kicker—using the wrong wire size or an old breaker can void your oven’s warranty. Manufacturers don’t mess around when it comes to proper installation.
Here are a few things to check before you get too far:
- Does the outlet match the new oven’s plug (shape and size)?
- Is the circuit dedicated just for the oven, with no other big appliances pulling power?
- What gauge wire is actually in the wall? (You might need to pop the cover off and look—markings are usually stamped on the wire.)
- Is your breaker up to the new oven’s amperage?
If you ignore these older wiring issues, you’ll be risking more than a bad dinner. Upgrading your electric oven installation setup now beats shelling out for damage repairs later. If you’re not 100% sure about your wiring, get an electrician to take a look. It’s money well spent.
Quick Safety Checks Before You Start
Before going anywhere near that shiny new oven, safety comes first. It sounds obvious, but so many people overlook simple steps that make a big difference.
- Unplug everything: Kill power to the oven circuit at your breaker box—even if your oven isn’t plugged in yet. Double-check with a voltage tester. Don’t trust a guessing game.
- Check your outlet: Is it one of those big, three- or four-pronged 220-volt outlets? Or is it a regular wall socket? Most electric ovens need a dedicated 220-volt line. If you don’t see one, don’t force the issue.
- Inspect the wiring: Look for obvious damage, fraying, scorch marks, or makeshift fixes. If anything looks sketchy or homemade, stop right there. Bad wiring is a big fire risk.
- Know your breaker: Your oven should have its own circuit breaker, typically 30-50 amps depending on the oven’s size. It should be labeled clearly in the panel. If it shares a line with your dishwasher or other appliances, that’s a problem.
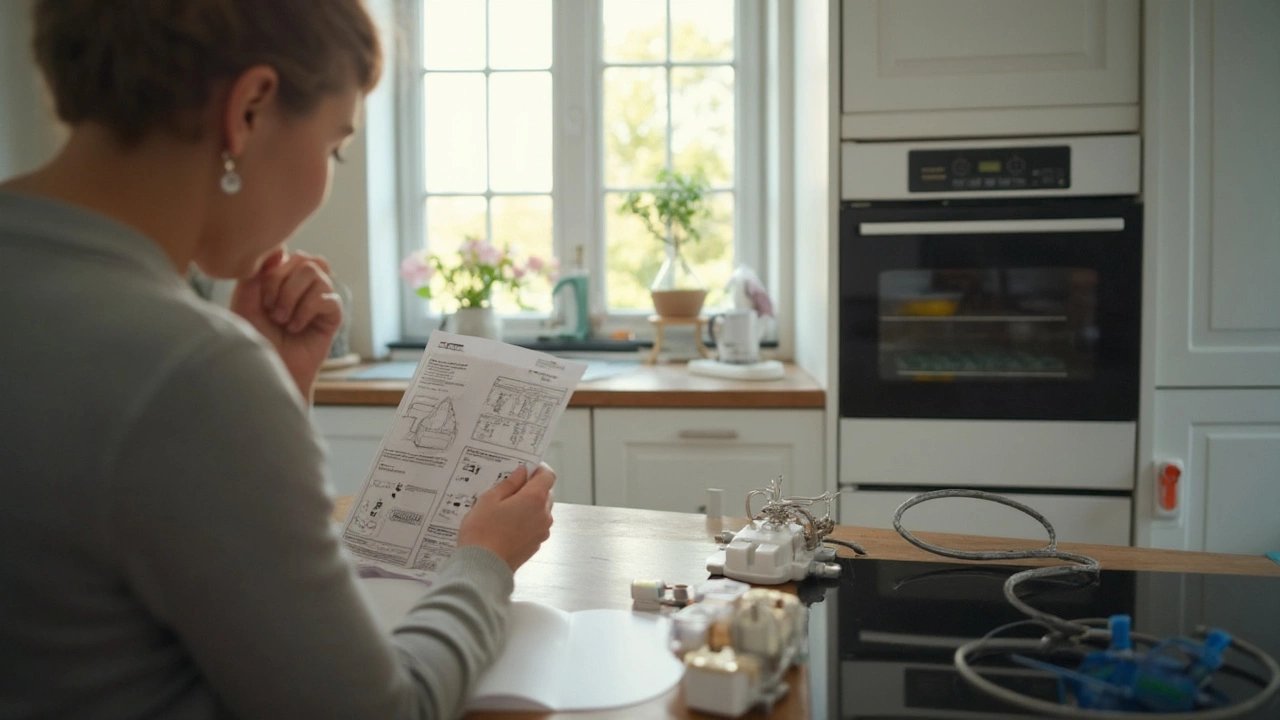
One more thing—grab your oven’s manual. Look for specific electrical requirements and wiring diagrams. Every oven is a little different, especially when comparing older and newer models. This is where details matter. Following directions now can save you from a meltdown (of both the oven and your patience) later.
If any step seems off, or if you’re unsure about something, don’t just hope for the best. Take a break and call a professional. That call costs way less than dealing with a house fire or fried wiring. Remember, electric oven installation is all about keeping things safe and legal, not just about getting dinner on the table.
When to Call a Professional
Installing a new electric oven isn't always a DIY win. If you're ever in doubt, it makes sense to bring in someone who knows the ropes. Certain red flags mean it's time to step aside and let a licensed electrician or appliance technician handle things.
- Wrong Type of Outlet: If your kitchen only has standard 110-volt outlets, you'll need a pro to install a proper 220/240-volt outlet for your oven.
- Old or Aluminum Wiring: Many homes built before the late 1970s may have aluminum wiring, which isn't great for modern ovens and can be a fire risk. Only a professional should tackle upgrades like this.
- Breaker Tripping: If the circuit breaker trips when you try to use your oven, that's a pretty clear sign your electrical system can't handle the load as it is.
- Code and Permit Needs: Depending on where you live, pulling a permit for installing a large appliance might be required by local law. Professionals know this and can handle the paperwork.
Here’s a quick table to help you know when to pick up the phone:
| Situation | DIY Possible? | Call a Pro? |
|---|---|---|
| Existing 220/240V outlet matches oven plug | Usually | If unsure, yes |
| No matching high-voltage outlet | No | Yes |
| Old aluminum or unknown wiring | No | Yes |
| Upgrading circuit breakers or wiring | No | Yes |
| Local codes require permits | Uncommon | Yes |
Getting an expert involved isn't just about safety—it can actually save you cash. Insurance claims can get denied if a fire or shock happens because of improper electric oven installation. Plus, most oven warranties expect a certified pro to do the job. So if you’re staring at wires and manuals, sweating bullets, remember—there’s zero shame in calling for backup.