
Extractor Fan Repair vs. Replacement Calculator

Select an option to see results
Choose your symptom, enter the age of your fan, and select who will do the work to get a personalized recommendation.
Main Advice
Estimated Cost Range
Time: 0 mins
Explanation goes here.
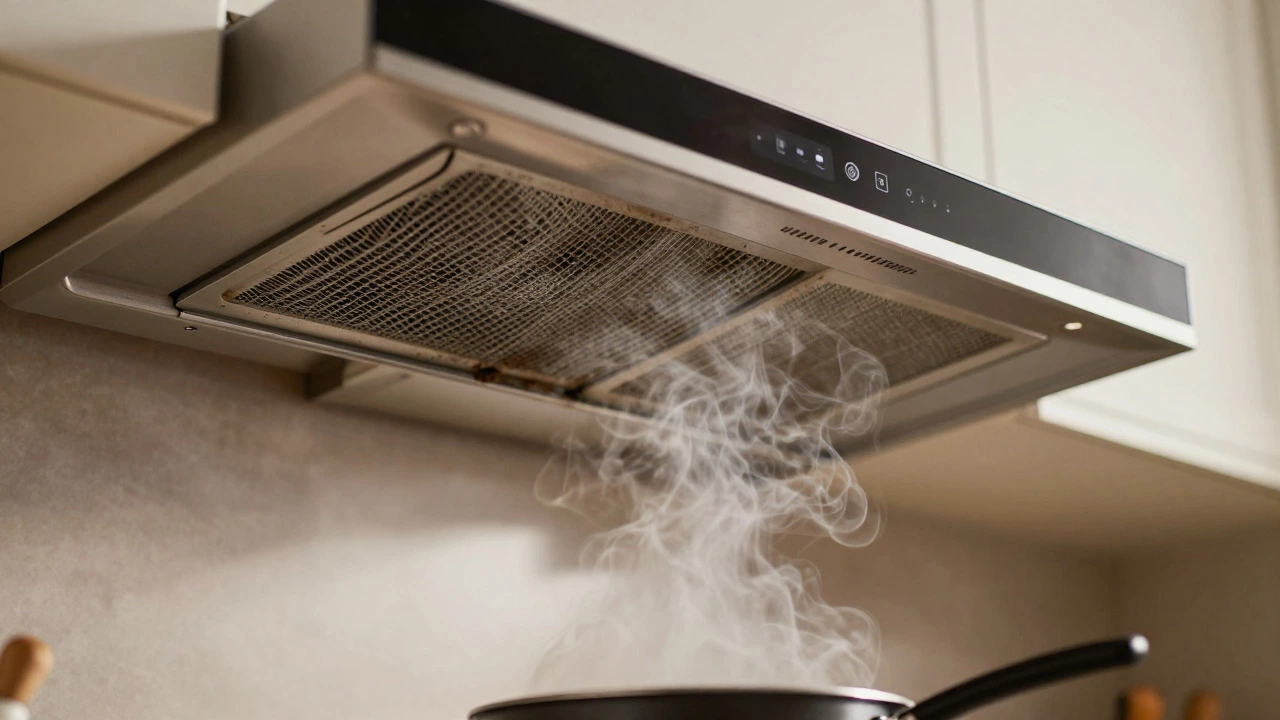
There is nothing worse than standing over a sizzling pan of onions or searing steak, only to realize your kitchen extractor fan has gone silent. The smoke fills the room, the smell lingers for days, and you’re left wondering if you need to call a professional or just buy a new unit. The short answer is yes, most kitchen extractor fans can be repaired. In fact, replacing the entire unit is often unnecessary unless the housing is damaged or the model is decades old. Understanding what’s actually broken-the motor, the bearings, the capacitor, or simply a buildup of grease-saves you money and keeps your kitchen air quality high.
Diagnosing the Problem: Is It Dead or Just Dirty?
Before you spend a dime on parts or labor, you need to figure out why the fan stopped working. Most failures fall into three categories: airflow blockage, electrical failure, or mechanical wear. Start with the simplest possibility first. Grease and dust are the enemies of any ventilation system. If your fan runs but doesn’t pull air effectively, the issue is likely clogged filters or ductwork, not a broken motor.
Check the filters first. Mesh filters trap larger particles, while charcoal filters absorb odors. If they haven’t been cleaned in months, they act like a wet sock on your foot-everything moves slower. Remove them and wash them in warm soapy water. For recirculating models, check the carbon filter; these aren’t washable and need replacement every six to twelve months depending on usage. If cleaning the filters restores airflow, your job is done. No repair needed.
If the fan is completely silent, listen closely. Do you hear a humming sound? A hum without spin usually points to a bad start capacitor or seized bearings. If there is no sound at all, the problem is likely electrical-a tripped breaker, a loose wire, or a dead motor. Use a multimeter to check if power is reaching the switch. If power is present but the fan won’t start, the internal components have failed. This is where actual repair work begins.
Common Mechanical Failures and How to Fix Them
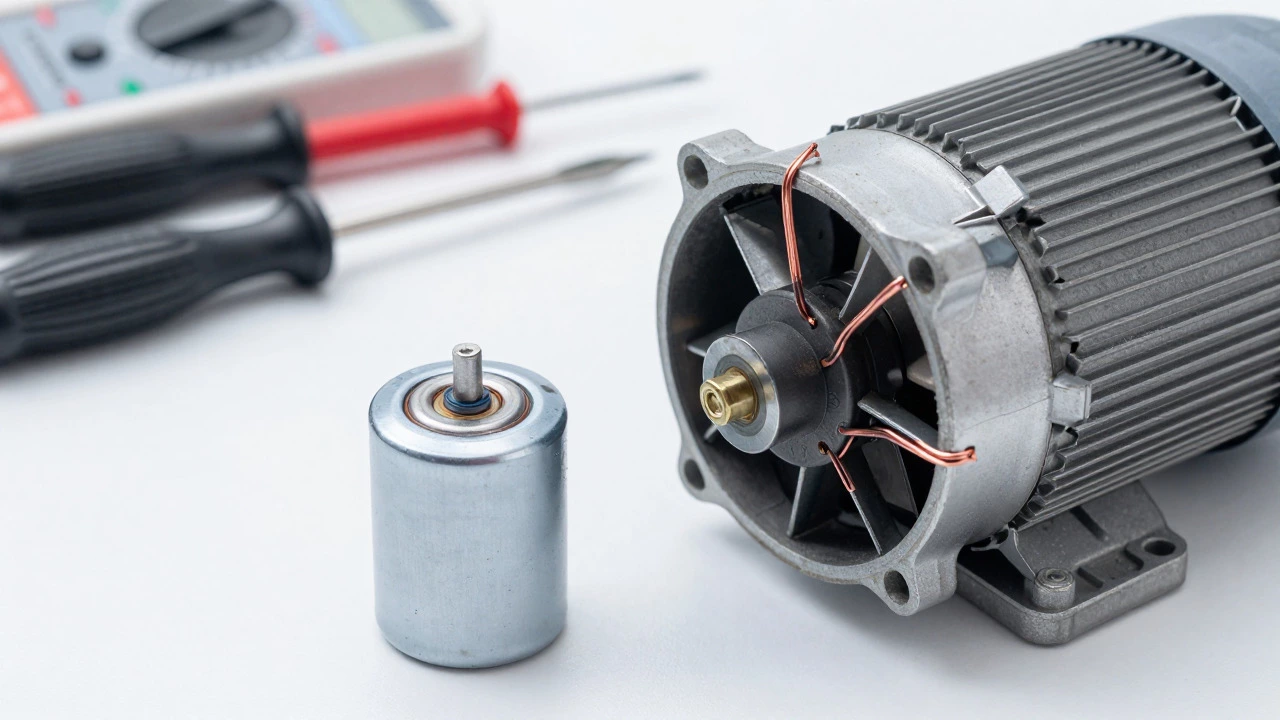
The heart of your extractor fan is the electric motor. Inside that motor are bearings that allow the shaft to spin freely. Over time, grease from cooking splatters into the motor housing, mixing with dust to form a gritty paste. This paste grinds down the bearings, causing friction, heat, and eventually, seizure. You might notice a grinding noise before it stops entirely. Replacing the bearings is possible but requires disassembling the motor, which is tedious and often costs more in time than buying a replacement motor.
A more common and easier fix involves the start capacitora small component that provides the initial jolt of energy needed to start the motor spinning. Capacitors degrade over time due to heat and voltage spikes. They are inexpensive, usually costing between $10 and $30. If your fan hums but doesn’t turn, swap the capacitor. Match the microfarad (µF) rating exactly as printed on the old one. Incorrect ratings can burn out the new motor. Always discharge the capacitor before handling it by touching both terminals with an insulated screwdriver to avoid a shock.
Lubrication is another option for older fans designed with oil ports. Some vintage models have specific holes for adding sewing machine oil or light machinery oil. However, most modern fans use sealed bearings. Adding oil to a sealed bearing does nothing but create a mess. Check your manual or look for oil ports. If none exist, skip the oil and focus on the electrical components or consider a motor replacement.
Electrical Issues: Switches, Wires, and Control Boards
Sometimes the motor is fine, but the signal to start never arrives. Wall switches fail frequently because they handle high current and get bumped daily. If your fan works when you bypass the wall switch (connecting the wires directly), the switch is your culprit. These are cheap and easy to replace. Turn off the power at the circuit breaker, remove the switch plate, and install a new one rated for the same amperage.
For higher-end range hoods with digital controls, the issue might be the control board. Moisture and steam can corrode the solder joints on the circuit board. Inspect the board for green corrosion or burnt spots. Cleaning contacts with electronic contact cleaner might revive a intermittent connection, but if components are blown, replacing the entire control board is often necessary. These boards are model-specific, so you’ll need to order the exact part number from the manufacturer or a supplier.
Loose wiring is also a frequent offender, especially after moving appliances or DIY installations. Vibrations from the fan can loosen terminal screws over years. Open the access panel and gently tug each wire connection. Tighten any that feel loose. Ensure ground wires are secure. A poor ground can cause buzzing noises or erratic behavior even if the fan still spins.
When Repair Makes Sense vs. When to Replace
Not every fan is worth fixing. The decision comes down to cost, age, and efficiency. If your fan is less than ten years old, repairing it is usually the smart financial move. Motors and capacitors last a long time, and getting a few more years out of a good unit beats the hassle of installation.
However, if your fan is older than fifteen years, consider replacement. Older units are significantly louder and less efficient than modern standards. Newer models offer variable speeds, LED lighting, and better filtration technology. The energy savings alone can offset the cost over time. Additionally, finding replacement parts for discontinued models becomes difficult. If you’re waiting weeks for a motor that costs half the price of a new fan, just buy the new fan.
| Scenario | Action | Estimated Cost | Time Required |
|---|---|---|---|
| Clogged Filters / Poor Airflow | Clean or Replace Filters | $5 - $20 | 15 minutes |
| Fan Hums but Doesn't Spin | Replace Start Capacitor | $10 - $30 | 30 minutes |
| No Power / Silent Fan | Check Switch & Wiring | $10 - $40 (switch) | 1 hour |
| Grinding Noise / Seized Motor | Replace Motor Assembly | $80 - $200 | 2-3 hours |
| Unit >15 Years Old / Loud | Replace Entire Unit | $200 - $600+ | Half day + install |

Safety First: Working with Electricity and Heights
Repairing an extractor fan involves electricity and often working overhead. Safety isn’t optional here. Always turn off the power at the main circuit breaker before opening any panels. Don’t rely on the wall switch; someone could flip it on while you’re holding wires. Use a non-contact voltage tester to confirm the power is dead.
If your fan is mounted under a cabinet, you’ll need a sturdy step ladder. Make sure the ladder is stable and you have help if the unit is heavy. Range hoods can weigh 15 to 30 pounds. Dropping one on your foot is a trip to the emergency room nobody wants. Wear safety glasses to protect your eyes from falling dust and debris when opening dusty motor housings.
Keep your workspace dry. Water and electricity don’t mix. Dry your hands thoroughly before touching any terminals. If you’re unsure about any step, stop. Calling an electrician for a complex wiring issue is cheaper than an electrocution risk.
Maintenance Tips to Prevent Future Breakdowns
The best repair is the one you never have to make. Regular maintenance extends the life of your extractor fan significantly. Clean the metal mesh filters monthly. Soak them in degreaser or hot soapy water to dissolve built-up grease. Let them dry completely before reinstalling. Wet filters restrict airflow and promote mold growth.
Inspect the ductwork annually. If you have an external vent, check the flap outside your home. Birds and squirrels sometimes nest in vents, blocking airflow. Clear any obstructions. For recirculating models, replace carbon filters every six months. They saturate quickly and become ineffective.
Vacuum the exterior vents and the interior of the hood if accessible. Dust accumulation acts as insulation, trapping heat inside the motor and reducing its lifespan. Keep the area around the fan clear of clutter to ensure proper intake. These simple habits keep your kitchen smelling fresh and your fan running smoothly for years.
How much does it cost to repair a kitchen extractor fan?
Costs vary widely based on the issue. Simple fixes like cleaning filters cost nothing but time. Replacing a start capacitor typically costs between $10 and $30 for the part plus minimal labor if DIY. Motor replacements range from $80 to $200. Professional service calls add $50 to $150 depending on your location. If the total repair cost exceeds 50% of a new unit's price, replacement is usually smarter.
Can I replace the motor in my range hood myself?
Yes, if you are comfortable with basic tools and electrical safety. You need to find the exact motor model number, usually found on a sticker inside the unit. Disconnect power, remove the fan cover, detach the old motor, and install the new one. Ensure the mounting brackets align and wires connect securely. If the motor is integrated into a sealed blower assembly, you may need to replace the whole blower unit, which is slightly more complex but still DIY-friendly.
Why is my extractor fan making a loud grinding noise?
A grinding noise usually indicates worn-out bearings or foreign objects stuck in the fan blades. Grease buildup can also cause imbalance and vibration. Turn off the fan immediately to prevent further damage. Check for loose screws or debris in the impeller. If the noise persists after cleaning, the motor bearings are likely failing. This requires motor replacement or lubrication if the model allows it.
Should I clean or replace my aluminum mesh filters?
Aluminum mesh filters are designed to be cleaned and reused indefinitely. Wash them in the dishwasher or by hand with degreasing soap. Only replace them if they are bent, torn, or heavily corroded. Charcoal filters, however, cannot be cleaned and must be replaced every 6-12 months to maintain odor control.
Is it worth repairing a 20-year-old extractor fan?
Generally, no. Twenty-year-old fans are inefficient, noisy, and lack modern safety features. Finding replacement parts is difficult and expensive. Modern fans offer better suction power, quieter operation, and energy efficiency. The investment in a new unit pays off through improved air quality, lower energy bills, and reduced noise pollution in your kitchen.