
Washing Machine DIY Repair Analyzer
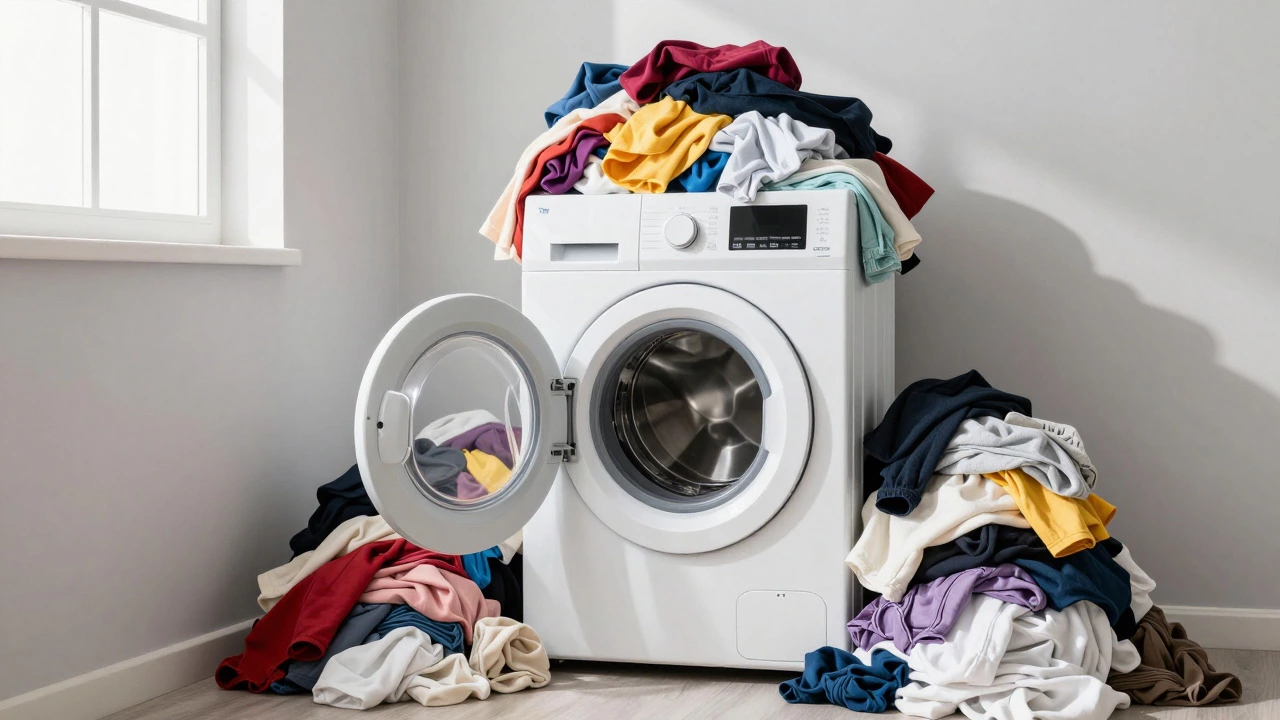
That moment when your laundry pile starts looking like an avalanche is stressful enough. When the washing machine is a household appliance designed to clean clothing and other textile items with water and detergent stops working, it feels personal. The first thought that crosses most people’s minds is usually: “Do I need to call a technician?” The second thought is often about the cost. Professional repair services can charge anywhere from $100 to $300 just for the service call and diagnosis, before any parts are even touched.
The good news is that you likely don’t need a professional for many common issues. In fact, a significant portion of washing machine breakdowns are caused by simple, user-fixable problems. From clogged filters to loose hoses, many repairs require nothing more than a screwdriver, some patience, and a YouTube tutorial. This guide will help you determine if you can handle the job yourself or if it’s time to pick up the phone.
When DIY Makes Sense (And When It Doesn't)
Before you buy tools, you need to assess the situation. Not every broken machine is a candidate for amateur surgery. The rule of thumb is this: if the problem involves water leaks, strange noises, or failure to spin/drain, you can probably try fixing it. If the control panel is dead, the motor burns out, or there is electrical sparking, proceed with extreme caution or call a pro.
Safety is non-negotiable. Electricity and water do not mix well. Always unplug the machine before removing any panels. If you are uncomfortable working with electrical components, stick to mechanical fixes like cleaning filters or replacing belts. For gas dryers attached to washers, ensure the gas line is off. Knowing your limits saves money in the long run because you avoid making a minor issue into a major hazard.
Gathering Your Tools and Resources
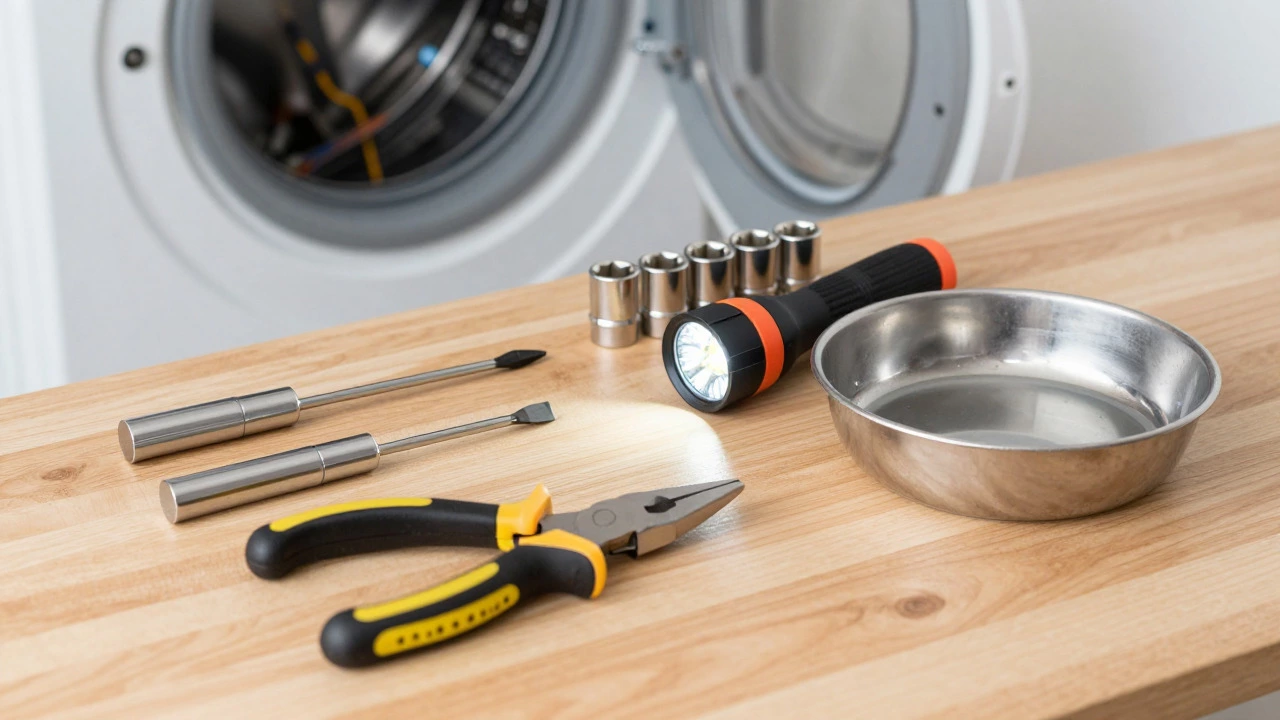
You don’t need a full mechanic’s garage to fix a washer. However, having the right basic tools makes the process smoother and less frustrating. Here is what you should have on hand:
- Phillips and flathead screwdrivers: Most panels are held together with standard screws.
- Nut drivers or socket set: Useful for removing larger bolts on the back or bottom of the unit.
- Pliers: Needle-nose pliers are great for gripping small clips and wires.
- Torch or flashlight: Inside a washing machine is dark; you need to see what you are doing.
- Rags and a shallow pan: There will always be residual water inside the tub or hoses.
- Multimeter: Optional but highly recommended if you want to test electrical components like switches and motors.
In addition to physical tools, digital resources are your best friend. Websites like iFixit provide step-by-step guides with photos for almost every major brand. YouTube channels dedicated to appliance repair show real-world examples of disassembly and reassembly. Before buying a part, watch a video to confirm the installation looks manageable for your skill level.
Diagnosing Common Washing Machine Problems
Most failures fall into a few predictable categories. Identifying the symptom correctly is half the battle. Here are the most frequent issues homeowners face and how to approach them.
The Machine Won't Drain or Spin
If your clothes are soaking wet after the cycle ends, the drain pump or filter is likely clogged. Over time, lint, coins, hairpins, and small socks accumulate in the filter. On front-load models, this filter is usually located behind a small door at the bottom front. On top-loaders, it might be inside the agitator or near the pump at the back.
To fix this, place towels around the area, open the filter cover, and slowly remove the plug. Water will spill out, so have your pan ready. Clean the filter thoroughly and check the impeller inside the pump housing for debris. Often, removing a single quarter or button restores full function. If the pump itself is noisy or burnt out, replacement involves disconnecting hoses and mounting bolts-a moderate difficulty task for a beginner.
Water Leaks from the Bottom
Leaking water is one of the most visible signs of trouble. Start by checking the inlet hoses at the back where they connect to the wall valves. Rubber gaskets degrade over time, causing slow drips. Tightening the connections or replacing the rubber washers is an easy fix. If the leak persists, inspect the drain hose for cracks or holes. A simple patch kit or a new hose from the hardware store can solve this.
If the leak is internal, you may need to tilt the machine back (with help) to inspect the bottom. Look for worn door seals on front-loaders. These rubber boots collect moisture and mold, eventually tearing. Replacing a door seal is labor-intensive but straightforward if you follow instructions carefully.
Strange Noises During Operation
A grinding, squealing, or banging noise indicates a mechanical issue. Banging often means an unbalanced load or damaged suspension springs. Check if the machine is level on the floor; adjusting the feet can sometimes silence the rattle. Grinding noises usually point to worn bearings or a failing drive belt.
Drive belts are relatively cheap and easy to replace. They loop around the motor and the drum pulley. If the belt is snapped or glazed, order a replacement based on your model number. Bearings, however, are harder to access and often require removing the entire drum assembly. This is an advanced repair that might justify calling a technician unless you enjoy a challenge.
Error Codes on the Display
Modern machines communicate problems through error codes. Instead of guessing, look up the specific code for your brand. For example, an "F05" code on many Samsung models indicates a lid switch failure, while an "LE" code on LG washers suggests a motor lock or overload. Consulting the user manual or manufacturer’s website provides precise diagnostic steps tailored to your model.
| Symptom | Likely Cause | Difficulty Level | Estimated Cost to Fix |
|---|---|---|---|
| Won't drain/spin | Clogged filter or pump | Easy to Moderate | $0 - $50 |
| Leaking water | Worn hoses or seals | Easy | $10 - $40 |
| Loud banging | Unbalanced load or broken springs | Easy | $0 - $30 |
| Grinding noise | Worn bearings or belt | Moderate to Hard | $50 - $150 |
| No power/display dead | Tripped breaker or faulty board | Hard | $100+ |
Step-by-Step: Replacing a Door Seal
Let’s walk through a common repair: replacing a leaking door seal on a front-load washer. This example illustrates the general process of accessing internal components.
- Disconnect power and water: Unplug the machine and turn off the water supply valves.
- Access the seal: Remove the screws holding the outer cabinet or the top panel, depending on the model. Some models require removing the front panel entirely.
- Remove the old seal: The seal is held in place by a clamp ring. Use pliers to loosen the clamp and slide it off. Pull the old rubber boot out carefully.
- Clean the area: Wipe away any mold, dirt, or residue from the drum opening and the inner tub.
- Install the new seal: Push the new seal into place, ensuring it sits evenly in the groove. Reattach the clamp ring and tighten it securely.
- Reassemble: Put the panels back on and secure all screws. Restore water and power.
- Test: Run a short cycle to check for leaks.
This repair takes about an hour for a novice. The part costs between $20 and $60, saving you hundreds compared to a service call.
Knowing When to Call a Professional
DIY repairs are rewarding, but they aren’t always the best financial decision. Consider hiring a professional if:
- The repair cost exceeds 50% of a new machine: If parts and your time add up to more than half the price of a replacement, it might be smarter to upgrade.
- You lack the necessary tools or space: Some repairs require lifting the heavy drum or working in tight spaces under the sink.
- Electrical issues are involved: Faulty control boards or wiring harnesses pose shock risks. Unless you are experienced with electronics, leave this to experts.
- The warranty is still active: Opening the machine yourself might void the manufacturer’s warranty. Check your terms first.
Professionals also offer warranties on their work. If a DIY fix fails after a week, you’re back to square one. A certified technician guarantees the repair, providing peace of mind.
Maintenance Tips to Prevent Future Breakdowns
The best repair is the one you never have to make. Regular maintenance extends the life of your washing machine significantly. Here are simple habits to adopt:
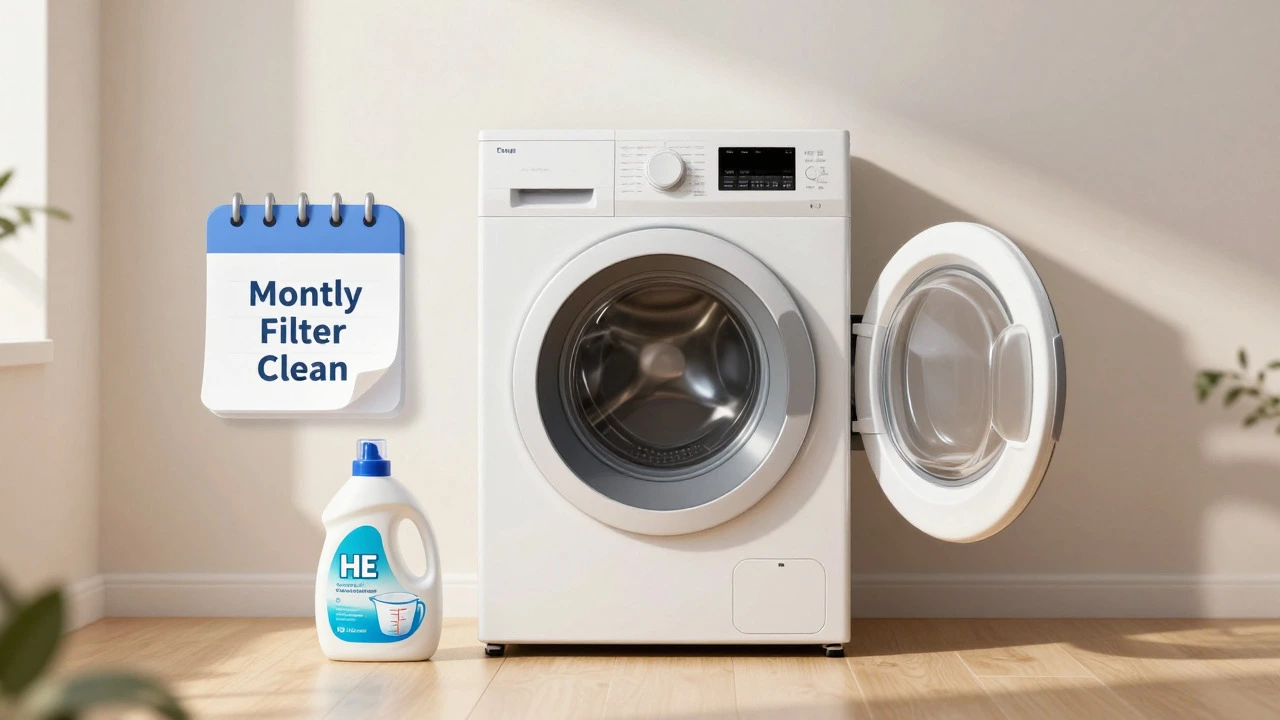
- Clean the filter monthly: Set a reminder to check and clean the drain pump filter. This prevents clogs and drainage issues.
- Leave the door open: After each use, leave the door slightly ajar to allow air circulation. This prevents mold and mildew growth in the seal.
- Use the correct amount of detergent: High-efficiency (HE) machines require low-sudsing detergent. Using too much creates excess foam, which strains the pump and sensors.
- Run a cleaning cycle: Once a month, run an empty hot water cycle with vinegar or a specialized cleaner to remove buildup inside the drum.
- Check hoses annually: Inspect inlet hoses for bulges or cracks. Replace them every five years as a precaution.
These small efforts reduce the likelihood of major breakdowns and keep your machine running efficiently for years. Prevention is cheaper and easier than cure.
Is it worth repairing an old washing machine?
It depends on the age and cost of the repair. If the machine is less than 8 years old and the repair costs less than half the price of a new unit, it is usually worth fixing. Older machines may have multiple failing components, making replacement more economical.
What tools do I absolutely need for basic washing machine repairs?
A basic set of screwdrivers (Phillips and flathead), needle-nose pliers, a flashlight, and a nut driver are essential. A multimeter is helpful for diagnosing electrical issues but not strictly necessary for mechanical fixes.
How do I find the right replacement part for my washing machine?
Locate the model number, usually found on a sticker inside the door frame or on the back of the machine. Enter this number into online retailers like Sears PartsDirect, AppliancePartsPros, or Amazon to find exact matches.
Will DIY repairs void my washing machine warranty?
Many manufacturers state that unauthorized repairs void the warranty. Check your specific warranty terms before opening the machine. If unsure, contact customer support to ask if self-repair is permitted for certain components.
How often should I clean the washing machine filter?
Ideally, every month. If you notice slow draining or unusual noises, check it immediately. Regular cleaning prevents clogs that can damage the pump and extend the machine's lifespan.