
Oven Heating Element Diagnostic Tool
Symptom Assessment
Cost Estimator
Diagnostic Results & Recommendations
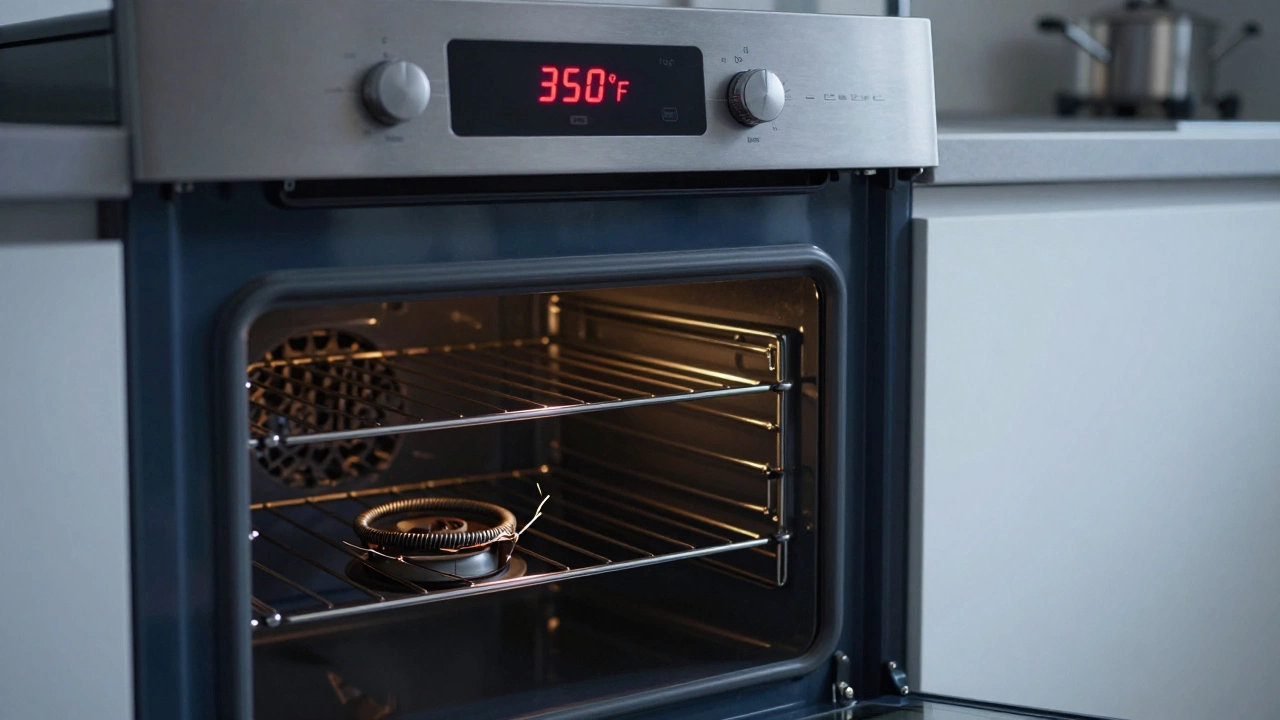
You open the oven door, expecting that comforting warmth to hit your face. Instead, you get nothing but cold air and the faint hum of the fan. The display says it’s on, the timer is counting down, but the food inside isn’t cooking. It’s a frustrating moment, especially if dinner is already late. Your first thought might be practical: Can I still use my oven if the heating element is broken?
The short answer is no-not for cooking. But the reality is more nuanced depending on which element failed and how your specific model is wired. Using a compromised oven can lead to wasted electricity, ruined meals, or even a fire hazard if the wiring is damaged. Let’s break down exactly what’s happening inside your appliance, whether you can salvage your meal, and how to fix it without breaking the bank.
Understanding the Two Types of Heating Elements
To figure out if your oven is usable at all, you need to know which part has quit. Most standard electric ovens are kitchen appliances that use electrical resistance to generate heat for baking, roasting, and broiling. These units typically rely on two distinct heating elements:
- The Bake Element (Bottom): Located at the bottom of the oven cavity, this element provides consistent, ambient heat for baking cakes, roasting meats, and slow-cooking. It usually glows red-orange when active.
- The Broil Element (Top): Situated under the top rack or hood, this element delivers intense, direct downward heat. It’s used for browning cheese, crisping skin, or quick-searing foods.
If your bake element is the primary heating coil located at the bottom of an electric oven responsible for maintaining steady cooking temperatures is broken, your oven cannot bake. Period. The temperature will never rise above ambient room temperature. However, if only the broil element is the upper heating coil in an oven designed for high-heat direct cooking methods like broiling fails, you might still be able to bake-provided your oven doesn’t require both elements to cycle together for certain functions.
Here is the catch: Many modern convection ovens use the top element as a secondary source for baking efficiency. If the top element is dead, the oven might still heat up via the bottom element, but it will take significantly longer, and the temperature distribution will be uneven. Your cake might end up raw in the middle while the bottom burns.
Immediate Safety Check: Is It Safe to Turn On?
Before you try to hack a workaround, you must assess the failure mode. Not all "broken" elements are created equal. Some fail cleanly; others fail dangerously.
Scenario A: The Element is Visually Intact but Cold If the element looks normal-no holes, no bubbling, no discoloration-but simply doesn’t glow when turned on, the issue is likely internal. The resistive wire inside has snapped, or the connection to the power supply is loose. In this case, turning the oven on is generally safe from a fire perspective, but useless for cooking. You aren’t wasting much energy because the circuit is open.
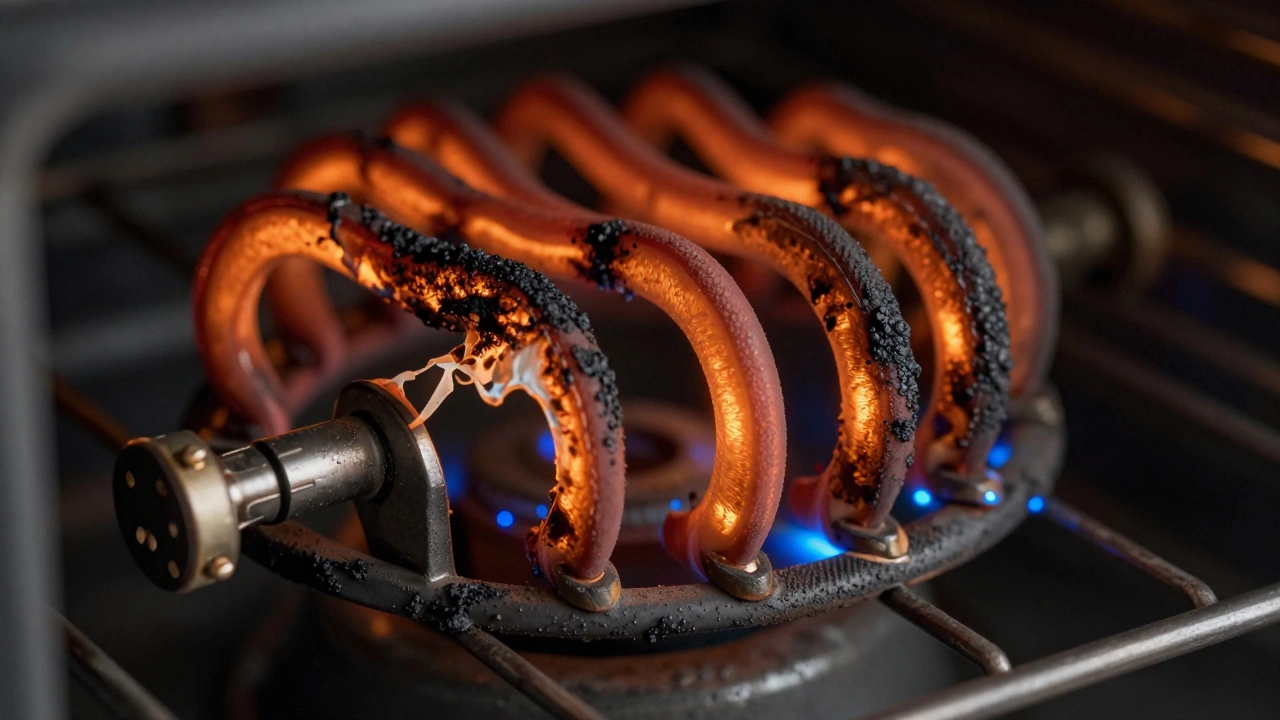
Scenario B: The Element is Bubbling, Melting, or Smelling Like Burning Plastic This is a hard stop. If the metal sheath of the element is bulging or melting, the internal insulation has failed. Turning this on can cause the element to touch the oven wall, creating a short circuit. This can trip your home’s breaker, damage the control board, or spark a fire. Do not use the oven. Unplug it immediately.
Scenario C: Sparks or Arcing If you see blue sparks jumping from the element to the oven wall, there is a grounding issue or a severe insulation breakdown. This is an electrical shock hazard. Do not touch the interior. Call a professional technician.
Workarounds: Can You Salvage Your Meal?
If you’re stuck with a non-functional oven and dinner needs to happen, here are your realistic options based on which element failed.
If the Bake Element (Bottom) is Dead: You have very few options. The stovetop is your best friend. You can finish roasts in a Dutch oven on the burner, though you’ll lose the dry heat that creates crispy skin. For baked goods like cookies or casseroles, you’re out of luck unless you have access to a neighbor’s oven or a community kitchen. An air fryer might work for small batches of roasted vegetables or reheating leftovers, as it mimics the convection effect of an oven.
If the Broil Element (Top) is Dead: You can still bake! Set your oven to the "Bake" setting. The bottom element should still function. Keep in mind that without the top element, browning will be slower. If you’re making a dish that needs a golden crust, like mac and cheese, plan to finish it under a toaster oven’s broiler or on the stovetop with a lid off.
If Both Elements Are Dead: The oven is essentially a large, empty metal box. Do not waste time trying to force it. Switch to alternative cooking methods:
- Slow Cooker: Great for stews, pulled pork, and braised meats.
- Instant Pot / Pressure Cooker: Speeds up cooking times for grains, beans, and tough cuts of meat.
- Stovetop Searing + Low Simmer: Mimics roasting by searing meat on high heat, then covering and simmering on low.
- Toaster Oven: Surprisingly capable for small pizzas, single-serving lasagnas, or reheating pizza.
Diagnosing the Problem: Is It Really the Element?
Before you order a replacement part, confirm the diagnosis. Sometimes the element is fine, but something else is blocking the power.
- Visual Inspection: Look closely at the elements. Are there obvious breaks, blisters, or gaps in the coiled wire? If yes, the element is dead.
- The Glow Test: Turn the oven to 350°F (175°C). Wait 10 minutes. Does the bottom element glow orange? If not, it’s not receiving power or is broken.
- Check the Thermostat: If the element glows briefly then shuts off, the oven might be overheating due to a faulty thermostat or sensor. This isn’t an element problem-it’s a control problem.
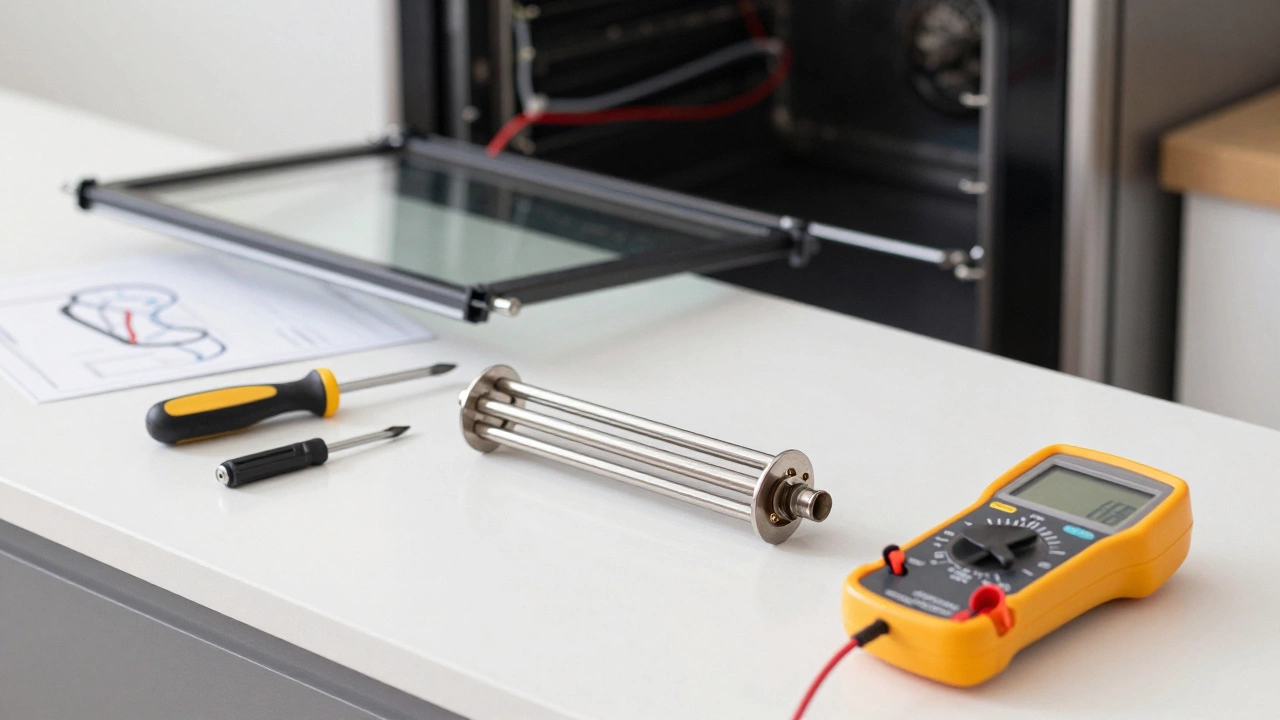
- Multimeter Test (For the DIYers): Unplug the oven. Remove the back panel. Disconnect the wires from the suspect element. Set your multimeter to continuity (ohms). Touch the probes to the terminals. A healthy element usually reads between 10-40 ohms. If it reads infinite resistance (OL), the element is broken. If it reads zero, it’s shorted.
How to Replace a Heating Element (DIY Guide)
Replacing an oven element is one of the most accessible appliance repairs. You don’t need special tools, just a screwdriver and a pair of needle-nose pliers. Here is how to do it safely.
Step 1: Cut the Power This is non-negotiable. Go to your home’s circuit breaker panel and flip the switch labeled "Oven" or "Range" to OFF. If you don’t have labeled breakers, turn off the main breaker. Verify the power is off by trying to turn the oven on. Nothing should happen.
Step 2: Access the Element Open the oven door. Locate the screws holding the element in place. Usually, there are two screws at the back of the oven cavity, near the top or bottom corners. Remove them. Gently pull the element forward until the wires are exposed at the back.
Step 3: Disconnect the Wires Take a photo of the wire configuration with your phone. This is crucial. Note which wire goes to which terminal. Use needle-nose pliers to gently unhook the spade connectors from the element terminals. They might be tight; wiggle them carefully.
Step 4: Install the New Element Slide the new element into position. Reconnect the wires exactly as they were (refer to your photo). Ensure the connections are snug and secure. Loose connections cause arcing and future failures. Screw the element back into place.
Step 5: Restore Power and Test Turn the breaker back on. Set the oven to a low temperature (e.g., 300°F / 150°C). Watch the element. It should glow within 5-10 minutes. If it does, let it run for 15 minutes to ensure stability. If it trips the breaker or smells like burning, turn it off immediately-you may have pinched a wire or installed a defective part.
| Symptom | Likely Cause | Safety Risk | Action Required |
|---|---|---|---|
| Element doesn't glow | Broken filament or bad connection | Low | Replace element or check wiring |
| Element bubbles/melts | Insulation failure or overheating | High (Fire/Shock) | Do not use. Replace immediately. |
| Oven trips breaker | Short circuit in element or wiring | High (Electrical Fire) | Unplug. Call professional. |
| Uneven cooking | Failing thermostat or weak element | Medium (Ruined Food) | Test element resistance; check thermostat. |
When to Call a Professional Technician
While replacing an element is easy, some issues are beyond DIY scope. Call a certified appliance repair technician if:
- The Control Board is Suspect: If the element tests good but still doesn’t receive power, the issue might be the relay on the electronic control board. These boards are complex and expensive to guess-and-fix.
- Gas Ovens: If you have a gas oven, the "element" is actually a thermocouple or igniter. Gas leaks are life-threatening. Never attempt to repair gas lines yourself.
- Wiring Damage: If you see burnt marks on the oven’s internal wiring harness, the problem isn’t just the element. The wiring needs to be stripped and replaced to prevent future fires.
- Warranty Coverage: If your oven is under warranty, opening the back panel might void it. Contact the manufacturer first.
In Wellington, where humidity can accelerate corrosion on electrical contacts, regular maintenance is key. If your oven is over 10 years old, consider whether repairing it is worth the cost versus buying a new, more energy-efficient model. Modern ovens use up to 30% less electricity than older models.
Preventing Future Element Failures
Heating elements wear out over time, but you can extend their life with simple habits.
- Avoid Overcrowding: Don’t stack pans so high that they block airflow. Poor circulation causes hot spots, stressing the element.
- Clean Spills Immediately: Sugar and acidic spills can corrode the element’s surface. Once cooled, wipe up spills with a damp cloth. Never clean a hot element.
- Don’t Use Aluminum Foil Directly on the Element: Foil can melt onto the element, insulating it and causing it to overheat. Always use racks.
- Check the Door Seal: A worn gasket lets heat escape, forcing the element to work harder and longer to maintain temperature. Replace seals every 3-5 years.
Can I use the broiler if the bake element is broken?
Yes, if the broil element (top) is functional, you can use the broiler setting. The bake element (bottom) and broil element are usually on separate circuits. However, some ovents require the bake element to be intact for safety interlocks, so check your manual. If the broiler works, you can cook steaks or toast bread, but you cannot bake cakes or roast chickens evenly.
How much does it cost to replace an oven heating element?
The part itself typically costs between $20 and $60 USD, depending on the brand and model. If you hire a technician, labor adds $80 to $150. Doing it yourself saves significant money, provided you are comfortable with basic electrical safety and using a screwdriver.
Why did my oven element burn out?
Elements have a finite lifespan, usually 5-10 years. Common causes of premature failure include voltage spikes, physical damage from utensils, corrosion from cleaning chemicals, or manufacturing defects. In humid climates like Wellington, moisture ingress can also degrade connections over time.
Is it dangerous to leave a broken oven element plugged in?
If the element is simply not heating, it is generally safe to leave the oven plugged in, as long as you don’t try to use it. However, if the element is sparking, smoking, or melted, you should unplug the oven or turn off the circuit breaker immediately to prevent fire or electrical shock risks.
Can I use a universal heating element for my oven?
It is risky. While some universal elements exist, they often have different wattage ratings or mounting configurations. Using an incorrect element can overload the oven’s wiring or fail to reach proper temperatures. Always match the part number from your oven’s manual or the label inside the door frame for the safest and most effective repair.