Cooker Troubleshooting Assistant
Select Your Issue
Tap on the symptom that best describes your problem.
Ready to Diagnose
Choose a symptom from the list to see possible causes, safety checks, and repair steps.
There is nothing quite as frustrating as opening the kitchen cabinet to find your dinner ruined because the cooker is acting up. Whether it’s an electric hob that won’t heat up or a gas oven with a flickering flame, a broken appliance can derail your entire day. But before you call a technician and face a hefty service fee, consider this: many common cooker issues are simple fixes that you can handle yourself. In fact, roughly 40% of reported cooker faults are due to minor electrical glitches, clogged vents, or user error rather than catastrophic hardware failure.
This guide will walk you through diagnosing and repairing the most frequent problems with both electric and gas cookers. We’ll cover everything from checking power supplies to cleaning burner ports, giving you the confidence to tackle these repairs safely and effectively. By understanding how your appliance works, you can save money, reduce downtime, and keep your kitchen running smoothly.
Safety First: Essential Precautions Before You Start
Before touching any screws or wires, safety must be your top priority. Cookers involve high voltage electricity and potentially dangerous gas lines. Ignoring safety protocols can lead to severe injury or even fire. Always start by disconnecting the power source. For electric models, unplug the unit from the wall outlet. If it’s hardwired, switch off the circuit breaker in your home’s electrical panel. For gas cookers, turn off the main gas supply valve located behind or near the appliance.
- Disconnect Power: Unplug electric cookers or switch off the dedicated circuit breaker.
- Shut Off Gas: Close the main gas valve for gas-powered units.
- Allow Cooling: Ensure all surfaces and components are completely cool to the touch.
- Wear Protection: Use insulated gloves and safety glasses when handling sharp edges or electrical parts.
- Work in a Dry Area: Never perform repairs on wet surfaces or with damp hands.
If at any point you smell gas, hear hissing sounds, or see sparks, evacuate the area immediately and contact your gas provider or emergency services. Do not attempt to repair gas leaks yourself. This is not a job for DIY enthusiasts; it requires professional certification and specialized equipment.
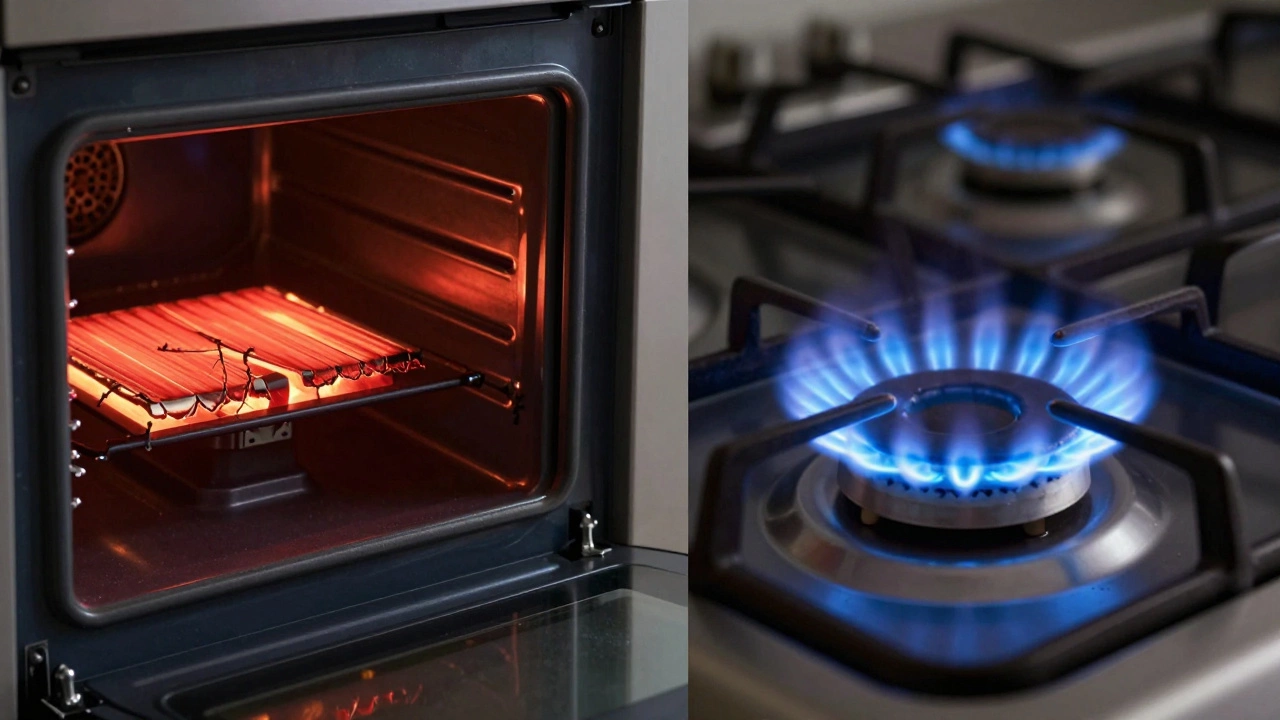
Diagnosing Common Electric Cooker Issues
Electric cookers rely on heating elements, thermostats, and control boards to function. When one component fails, the symptoms can vary widely. Let’s break down the most common problems and their solutions.
1. The Hob Won’t Heat Up
If your electric hob isn’t generating heat, the issue often lies with the heating element itself. Over time, these coils can burn out due to excessive use or manufacturing defects. To diagnose this, visually inspect the element for cracks, blisters, or signs of melting. If the damage is obvious, replacement is necessary.
For a more precise diagnosis, use a multimeter to test for continuity. Set the multimeter to the resistance (Ohms) setting and place the probes on the terminals of the heating element. A functional element should show a reading between 10 and 50 Ohms, depending on its wattage. If the meter reads infinity or zero, the element is faulty and needs replacing. This is a straightforward swap: remove the old element, detach the wiring, install the new one, and reconnect the wires securely.
2. Oven Temperature Fluctuates
An oven that bakes unevenly or fails to reach the set temperature usually points to a failing thermostat or sensor. The thermostat regulates the internal temperature by turning the heating element on and off. If it’s inaccurate, your food will either undercook or burn.
To test the thermostat, preheat the oven to a specific temperature (e.g., 350°F or 180°C) and use an independent oven thermometer to monitor the actual heat. If there’s a significant discrepancy (more than 25°F or 15°C), the thermostat likely needs calibration or replacement. Some modern ovens allow for digital calibration via the control panel; consult your user manual for instructions. If calibration doesn’t help, replace the thermostat with a compatible model specified by the manufacturer.
3. Control Panel Not Responding
A unresponsive control panel can be caused by a tripped thermal fuse, a faulty relay board, or a software glitch. Start by resetting the appliance: unplug it for 60 seconds, then plug it back in. This clears temporary memory errors in digital models. If the problem persists, check the thermal fuse, which protects the oven from overheating. A blown fuse will show no continuity when tested with a multimeter. Replace it with an identical rating to restore functionality.

Troubleshooting Gas Cooker Problems
Gas cookers operate differently, relying on igniters, gas valves, and burner assemblies. Here’s how to address typical issues.
1. Burners Won’t Ignite
If your gas burners fail to light, the culprit is often the spark igniter or a clogged burner port. First, check if the igniter is sparking. You should hear a clicking sound when you turn the knob. If there’s no click, the igniter module may be dead. Inspect the electrode tip for carbon buildup or misalignment; clean it gently with a soft brush or realign it according to the manual.
If the igniter clicks but the flame doesn’t catch, the burner ports might be blocked by food debris or grease. Remove the burner caps and grates, then soak them in warm soapy water. Use a toothpick or needle to clear any clogged holes in the burner head. Reassemble once dry and test again. Regular cleaning prevents this issue from recurring.
2. Uneven Flame or Yellow Flames
A healthy gas flame should be blue and steady. Yellow or orange flames indicate incomplete combustion, often due to insufficient oxygen flow or dirty burners. This can produce carbon monoxide, a deadly gas. Clean the burner assembly thoroughly as described above. If the problem persists, check the air shutter-a small metal plate near the gas valve that adjusts the air-to-gas ratio. Adjust it slightly to increase airflow until the flame turns blue. If you’re unsure, consult a professional to avoid creating a hazardous situation.
3. Oven Door Won’t Seal Properly
A loose or damaged door gasket allows heat to escape, causing inefficient cooking and higher energy bills. Inspect the rubber seal around the oven door for tears, gaps, or dirt. Clean it with mild detergent and a damp cloth. If the seal is cracked or brittle, order a replacement gasket specific to your cooker model. Installation usually involves snapping the new seal into place along the door frame. Ensure it’s seated evenly to maintain an airtight closure.
| Symptom | Likely Cause | DIY Fix Difficulty |
|---|---|---|
| Hob not heating | Burnt-out heating element | Easy |
| Oven temp fluctuates | Faulty thermostat/sensor | Moderate |
| No spark on gas hob | Clogged igniter or bad module | Easy |
| Yellow gas flame | Dirt or poor air mix | Easy |
| Control panel dead | Tripped fuse or board failure | Moderate to Hard |
When to Call a Professional Technician
While many cooker repairs are manageable for homeowners, some situations demand expert intervention. Attempting complex fixes without proper training can void warranties, cause further damage, or create safety hazards. Here’s when to stop DIYing and call a pro:
- Gas Leaks: Any suspicion of a gas leak requires immediate professional attention. Never try to seal or adjust gas lines yourself.
- Electrical Fires: If you see scorch marks, smell burning insulation, or notice sparking, shut off power and call an electrician or appliance specialist.
- Complex Electronics: Modern smart cookers have intricate circuit boards. Diagnosing and replacing these requires specialized tools and knowledge.
- Warranty Coverage: If your cooker is under warranty, unauthorized repairs may invalidate it. Check your policy first.
- Repeated Failures: If you’ve replaced a part and the issue returns, there may be an underlying problem requiring deeper investigation.
Professional technicians have access to diagnostic software, genuine spare parts, and years of experience. They can identify root causes quickly and ensure repairs meet safety standards. While the cost is higher upfront, it often saves money in the long run by preventing premature appliance failure.
Maintenance Tips to Extend Your Cooker’s Life
Prevention is always better than cure. Regular maintenance can significantly extend the lifespan of your cooker and reduce the likelihood of unexpected breakdowns. Incorporate these habits into your routine:
- Clean Spills Immediately: Food residue can harden and damage heating elements or block gas ports. Wipe spills as soon as they cool.
- Descale Self-Cleaning Ovens: If your oven has a self-clean cycle, use it sparingly (every 3-6 months) to remove built-up grease. Avoid using abrasive cleaners on enamel interiors.
- Check Door Seals Quarterly: Inspect gaskets for wear and tear. Clean them regularly to maintain flexibility and sealing power.
- Test Igniters Annually: For gas cookers, verify that all burners ignite promptly. Clean electrodes if sparks become weak.
- Update Firmware: Smart cookers may receive software updates that improve performance and fix bugs. Check the manufacturer’s website periodically.
By staying proactive, you’ll enjoy reliable cooking performance for years to come. Remember, a well-maintained cooker is safer, more efficient, and less likely to leave you stranded mid-meal.
Conclusion: Empowering Your Kitchen Repairs
Repairing a damaged cooker doesn’t have to be daunting. With basic tools, a clear understanding of common faults, and a commitment to safety, you can resolve many issues independently. From swapping out burnt heating elements to clearing clogged gas burners, these steps put you in control of your kitchen’s functionality. However, always respect the limits of DIY repair-know when to step back and seek professional help, especially with gas and major electrical components. Your safety and peace of mind are worth it.
Is it safe to repair my own cooker?
Yes, for minor issues like cleaning burners or replacing accessible heating elements, DIY repair is safe if you follow proper precautions. Always disconnect power or gas before starting. However, avoid working on gas lines, complex electronics, or anything involving potential fire hazards without professional training.
How much does it cost to repair a cooker?
Costs vary widely. Simple parts like heating elements range from $20 to $100. Labor for professional repairs typically adds $75 to $150 per hour. Complex electronic board replacements can exceed $300. Always compare repair costs against the price of a new appliance if the unit is older than 10 years.
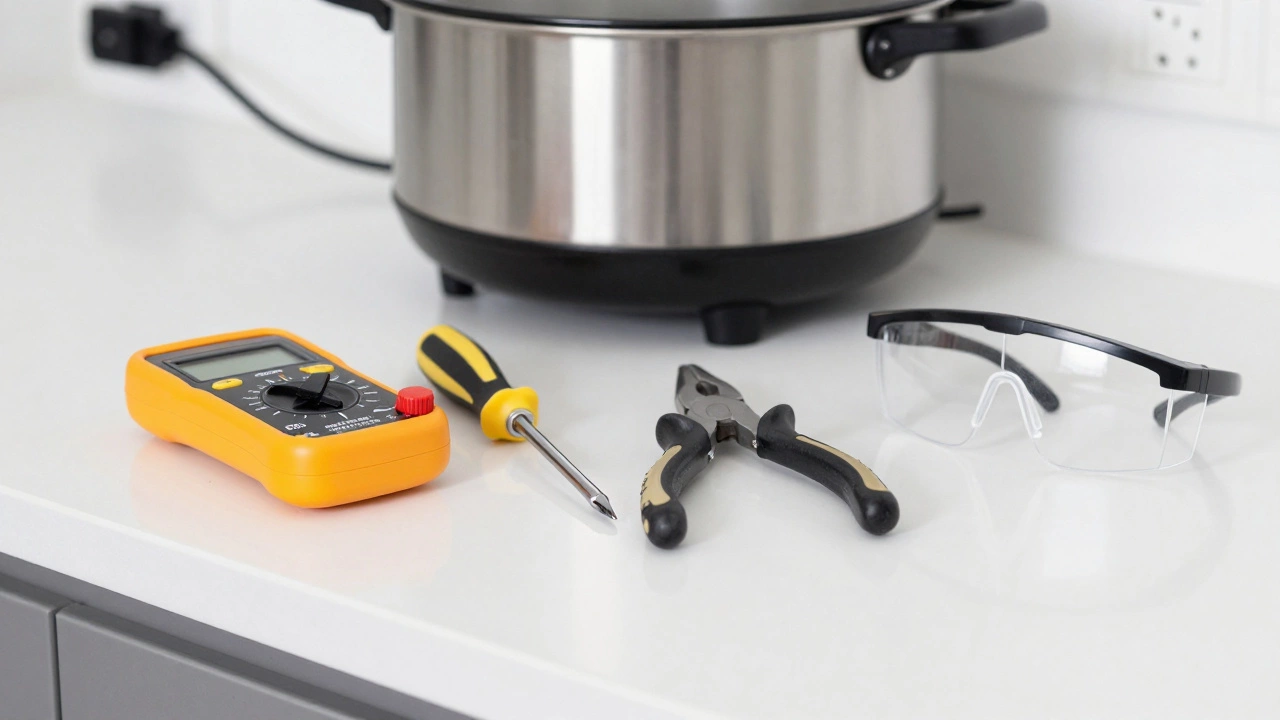
What tools do I need to repair a cooker?
Basic tools include screwdrivers (Phillips and flathead), pliers, a multimeter for testing electrical continuity, and a soft brush for cleaning. For gas cookers, a toothpick or needle helps clear burner ports. Keep a flashlight handy for visibility inside tight spaces.
Why is my gas oven making a loud clicking noise?
Continuous clicking usually means the igniter is trying to light the gas but failing. This could be due to a misaligned electrode, a dirty igniter, or a faulty gas valve. Clean the igniter first; if the noise persists, the igniter module or gas valve may need replacement by a technician.
Can I replace a cooker heating element myself?
Absolutely. Heating elements are designed for easy replacement. Simply unplug the cooker, remove the mounting screws, disconnect the wires, and slide out the old element. Install the new one in reverse order. Ensure connections are tight to prevent arcing or poor heating.