Bathroom Fan Diagnostic & Maintenance Planner
Step 1: Identify Symptoms
Based on our diagnostic guide:
Recommended Action:
Maintenance Calendar
Keep your system efficient year-round.
Monthly
Visually check grille for dust buildup.
Semi-Annually
Deep clean fan cage and motor housing.
Annually
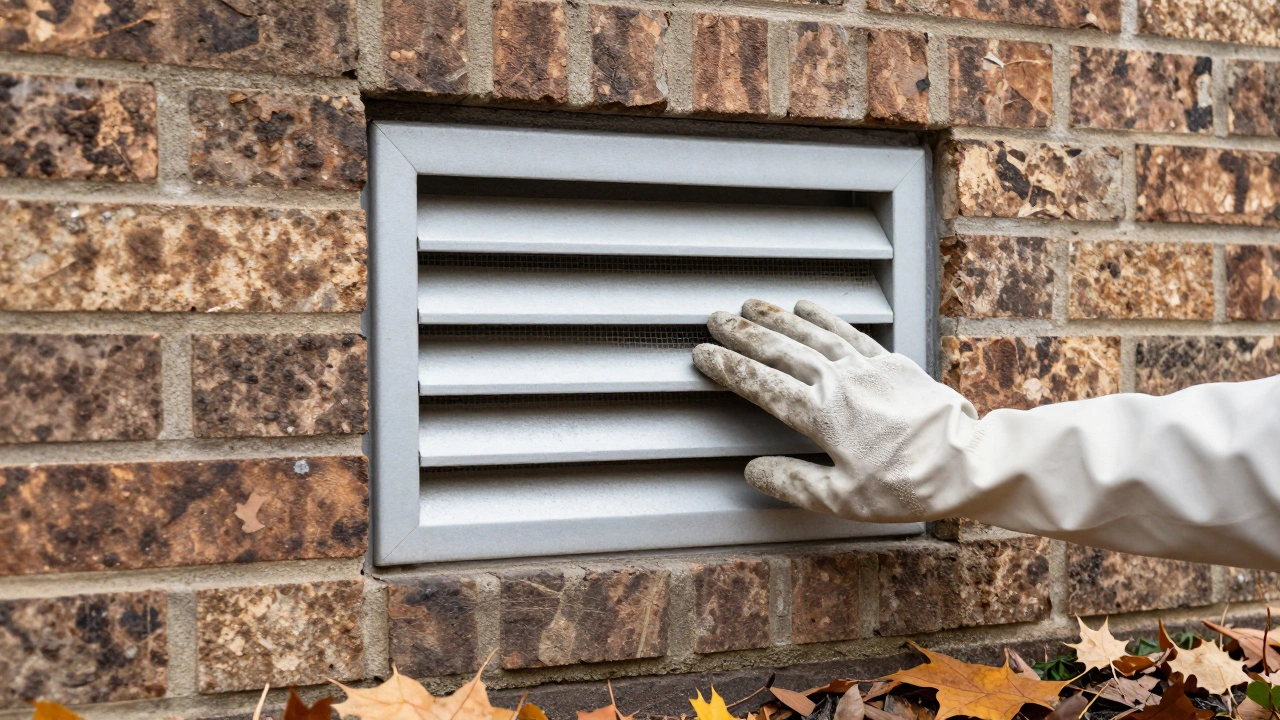
Inspect external vent flap for birds nests or debris.
Every 5 Years
Evaluate total system age and consider motor replacement.
There is nothing worse than walking into your bathroom after a shower and smelling lingering dampness or hearing that annoying hum from the ceiling. You turn on the switch, but the Bathroom Extractor Fan seems to struggle to push the moisture out. This isn't just about comfort; poor ventilation leads to mold growth on tiles and damage to plasterboard ceilings. Many homeowners ignore the unit until it fails completely, thinking replacement is the only option. The truth is, regular servicing keeps your ventilation system running efficiently for years. In this guide, we will walk through the exact steps to inspect, clean, and maintain your fan without needing an electrician for every clogged filter.
Understanding Your Ventilation System
Before touching any screws, you need to understand what you are working with. A typical bathroom unit consists of an electric motor connected to a spinning impeller housed inside a casing. This whole setup sits behind a decorative grille or cover plate. When the motor spins, it creates negative pressure that pulls humid air from the room and pushes it into ductwork leading outside. If you block the outlet or let grease build up on the blades, airflow resistance increases. This forces the motor to work harder, creating heat and eventually burning out the windings.
In places like Wellington, where salt air meets indoor humidity, dust accumulation happens faster than you think. Salt particles in the breeze can corrode contacts inside the switch or motor housing over time. Understanding this local factor helps explain why a simple annual check-up is vital. If your fan is mounted directly onto a window, the louvres prevent rain from entering but can trap debris easily. Identifying these weak points early saves you from dealing with water leaks later.
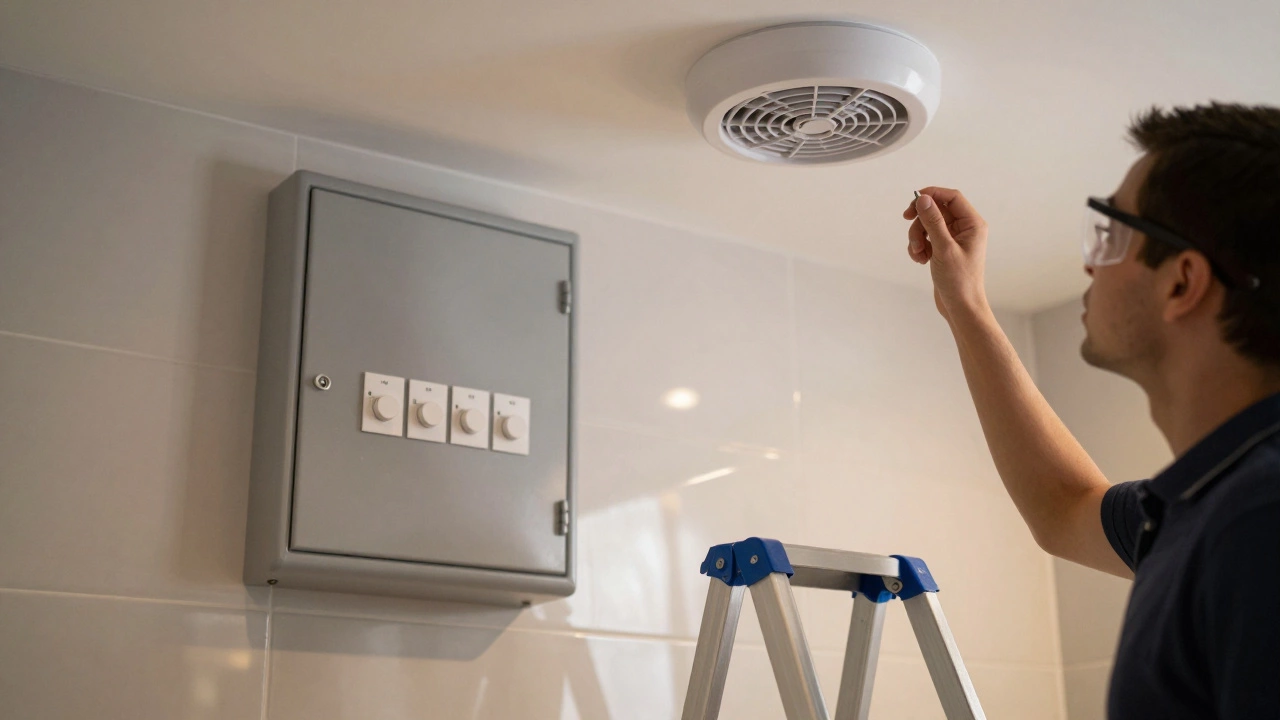
Safety Protocols for Electrical Work
This is non-negotiable. Before you even grab a ladder, you must isolate the power supply. Most people trip breakers by feel in the fuse box, but you need certainty. Go to your switchboard and locate the circuit breaker labeled "lighting" or "general socket." Flip the switch off. Then, flip it on again briefly before turning it back off while standing near the light switch to ensure the fan actually loses power. Some houses have wiring that connects multiple rooms on one loop, so verify the switch does nothing.
Electrical Isolation means cutting power to the circuit to prevent shock hazards during maintenance. This is a critical safety step required by electrical standards.
Once isolated, use a voltage tester at the fan's connection point to double-check. If you aren't comfortable doing this, stop immediately and call a licensed electrician. Working live with 230V mains electricity causes serious injury or death. There is no shortcut here. Once you confirm zero power, you are safe to remove the grill. Keep a small container for loose screws. Ceiling tiles can collapse if you lose balance, and a dropped screw is a safety hazard itself.
Diagnosing Common Issues
Not every noisy fan needs a full strip-down. Often, symptoms point clearly to specific faults. Listen closely before opening the unit. A high-pitched whine usually indicates worn bearings in the motor. This creates friction as the shaft rotates. Rattling noises often mean the mounting bracket has come loose, or debris has entered the casing and hits the blades. If the fan runs but doesn't move air, the issue is usually external blockage or a seized impeller.
- No Airflow: Check the external vent cap first. Birds nests or leaves often clog outdoor outlets, making the fan blow air into the attic instead of outside.
- Loud Buzzing: Typically caused by loose mounting clips or dirty capacitors inside the housing.
- Noise Stops After Start: Indicates the capacitor is charging properly initially but degrades quickly under load.
If your unit is older, the rubber washers sealing the housing to the ceiling might have dried out. Air leaking past the seal reduces efficiency significantly. You should inspect these seals annually. Replacing them ensures all suction is directed toward the room rather than wasting energy pulling air from the roof cavity.
Step-by-Step Cleaning Procedure
Cleaning the internal components removes the majority of performance losses. Dust builds up on the impeller blades acting like mud on a car tire. It unbalances the rotor and slows rotation speed. Wear safety goggles and a mask during this phase. Old insulation and fiberglass in wall cavities release fibers when disturbed.
- Remove the Grille: Gently pry off the plastic faceplate. Note how it attaches, as some use hidden tabs rather than visible screws.
- Access the Motor Housing: Unscrew the casing securing the fan to the mounting frame. Carefully lift it away from the ceiling void.
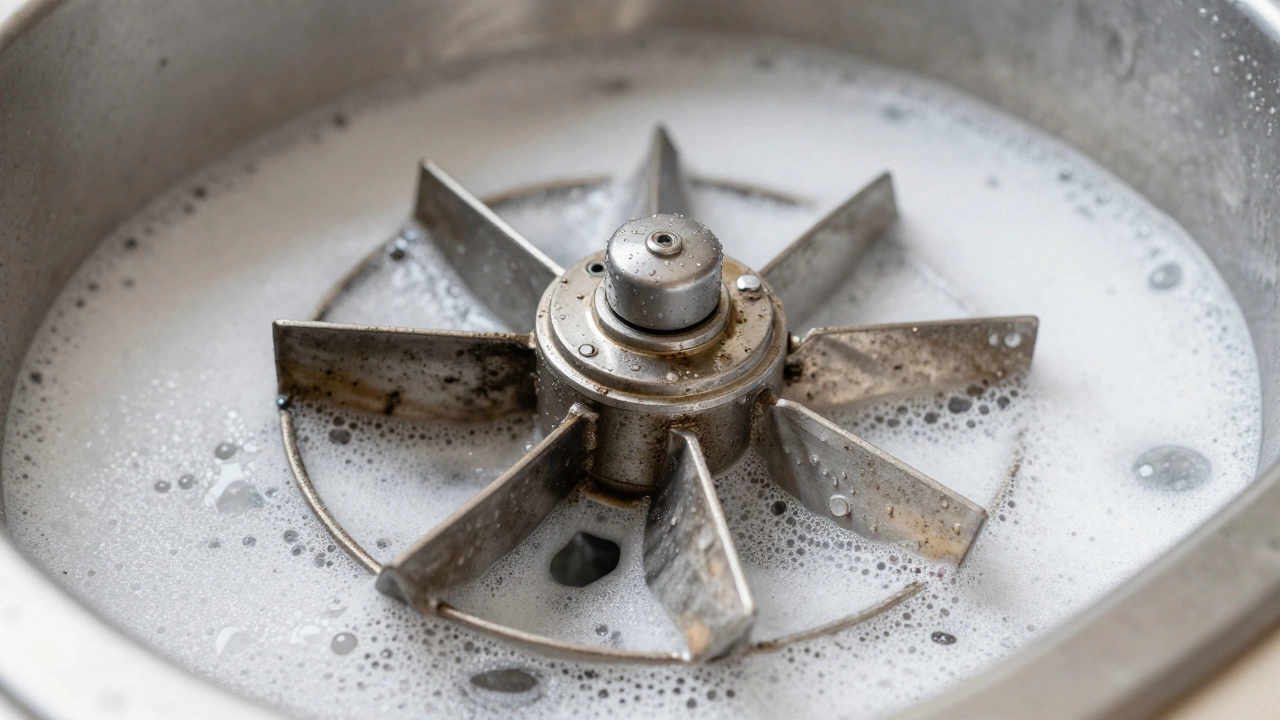
- Wash the Blades: Take the impeller cage to the sink. Wash with warm soapy water to remove oily film. Let it dry completely before reinstalling.
- Vacuum the Ducts: Use a narrow nozzle attachment to vacuum dust bunnies inside the exhaust pipe connecting to the wall.
Avoid using harsh chemicals that degrade plastic housings. Mild detergent works best. Pay attention to the intake filters if your fan has one. Some models have mesh screens that trap hair and dirt. Clean these with a soft brush. Reinstall everything tightly. Loose connections cause vibrations which wear out the mountings prematurely.
| Issue | Probable Cause | Fix Required |
|---|---|---|
| Slow rotation | Dust on impeller | Wash and lubricate |
| No sound | Blown fuse or switch fault | Check breaker and timer |
| Metallic grinding | Seized bearings | Replace motor assembly |
| Vibration shaking ceiling | Loose brackets | Tighten mounting bolts |
Replacement Parts and Upgrades
Sometimes servicing isn't enough, especially with units over ten years old. Motors don't typically last forever. If you replace a failed fan, consider upgrading the technology. Older single-speed models are inefficient compared to modern dual-speed options. Newer fans often feature a timer switch built-in or a hygrostat that detects humidity levels automatically. This adds convenience and energy savings because the fan stops exactly when the room dries.
You might encounter compatibility issues when swapping brands. Measure the diameter of the cut-out in your ceiling carefully. Standard sizes vary slightly between manufacturers. Ensure the duct size matches the new outlet fitting. Mismatched pipes create back pressure. Back pressure makes the new motor work harder, shortening its lifespan. Always choose a model compatible with your specific vent size.
Preventing Future Blockages
Preventative maintenance beats reactive repairs every time. Install a carbon filter if your local environment is industrial or prone to heavy smoke. While standard fans pull air well, they can't filter particulates effectively without extra media. These filters require replacement every few months depending on usage. They also protect the motor internals from corrosive airborne salts.
Keep the bathroom windows open occasionally during mild weather to allow fresh air exchange. Relying solely on mechanical extraction can sometimes depressurize the room too much, causing doors to slam hard against frames. Balance is key to healthy indoor air quality. Schedule a quick visual inspection every six months. Check for signs of condensation dripping from the ductwork. Water leaking from the fan indicates blocked drainage or extreme cold bridging in the duct.
When to Call a Professional Technician
Know your limits. If the reset button on the thermal cut-off trips repeatedly, something is overheating dangerously. Internal wiring shows signs of melting or discoloration. Do not attempt to re-solder wires yourself unless qualified. Poor splices are fire risks. Also, if the fan requires accessing difficult roof voids or asbestos-laden walls, leave it to experts who handle hazardous materials safely.
Licensed electricians carry specialized tools for testing motor amperage draw. If the motor is failing, it draws more current than rated capacity. This puts strain on your house circuit. A professional assessment confirms whether you need a motor swap or full unit replacement. Saving money now on labor might cost you in property value later if the ventilation system is deemed non-compliant during a sale.
Maintenance Schedule Checklist
To keep things running smoothly, adopt a simple routine. You don't need complex logs, just consistency.
- Monthly: Visually check the grille for visible dust buildup.
- Semi-Annually: Perform deep cleaning of the fan cage and motor housing.
- Annually: Inspect the external vent flap for bird nests or debris.
- Every 5 Years: Evaluate total system age and consider replacing aging motors.
Tracking these dates prevents unexpected breakdowns during winter when heating costs rise. Efficient extraction means less reliance on mechanical heating to manage dampness. Consistent care extends the life of the appliance significantly. Small habits today save big bills tomorrow.
Frequently Asked Questions
Can I wash my bathroom extractor fan?
Yes, the removable grille and impeller can be washed with soap and water. Never submerge the main motor body containing electronics or electrical connectors. Ensure all parts are completely dry before reassembly to prevent short circuits.
Why is my extractor fan vibrating loudly?
Loud vibration usually stems from unbalanced blades due to dust buildup or loose mounting brackets. Tighten all screws and clean the cage thoroughly. If noise persists after cleaning, the motor bearings may be failing internally.
Is it dangerous to fix a fan myself?
Working on live electricity is extremely dangerous. As long as you disconnect power at the fuse box and verify zero voltage, basic cleaning is generally safe for DIYers. Avoid attempting internal electrical repairs unless you are a qualified professional.
How do I know if my fan needs replacing?
Signs include consistent failure to turn on despite having power, persistent humming without airflow, or excessive noise. If cleaning does not restore performance and the unit is over 10 years old, replacement is often more economical than repair.
Do I need a permit for replacing a fan?
In many regions, swapping identical units does not require permits. However, changing locations or altering electrical circuits typically requires notification. Always check local council regulations before starting major work involving wiring changes.