
Extractor Fan Maintenance Planner
Maintenance Setup
Personalized PlanGrease buildup is the silent killer of your kitchen ventilation. If you’ve noticed your extractor fan is a device that removes smoke, steam, and cooking odors from the air sounding like a jet engine or failing to pull heat away from your stove, it’s not necessarily broken. It’s likely just dirty. Regular servicing doesn’t just extend the life of the motor; it drastically reduces fire risk in your home.
You don’t need to call a technician for a basic tune-up. In fact, most manufacturers recommend homeowners handle the cleaning themselves every three to six months, depending on how often you cook. This guide walks you through exactly how to disassemble, clean, and reassemble your unit without stripping screws or damaging the delicate components.
Gather Your Tools and Safety Gear
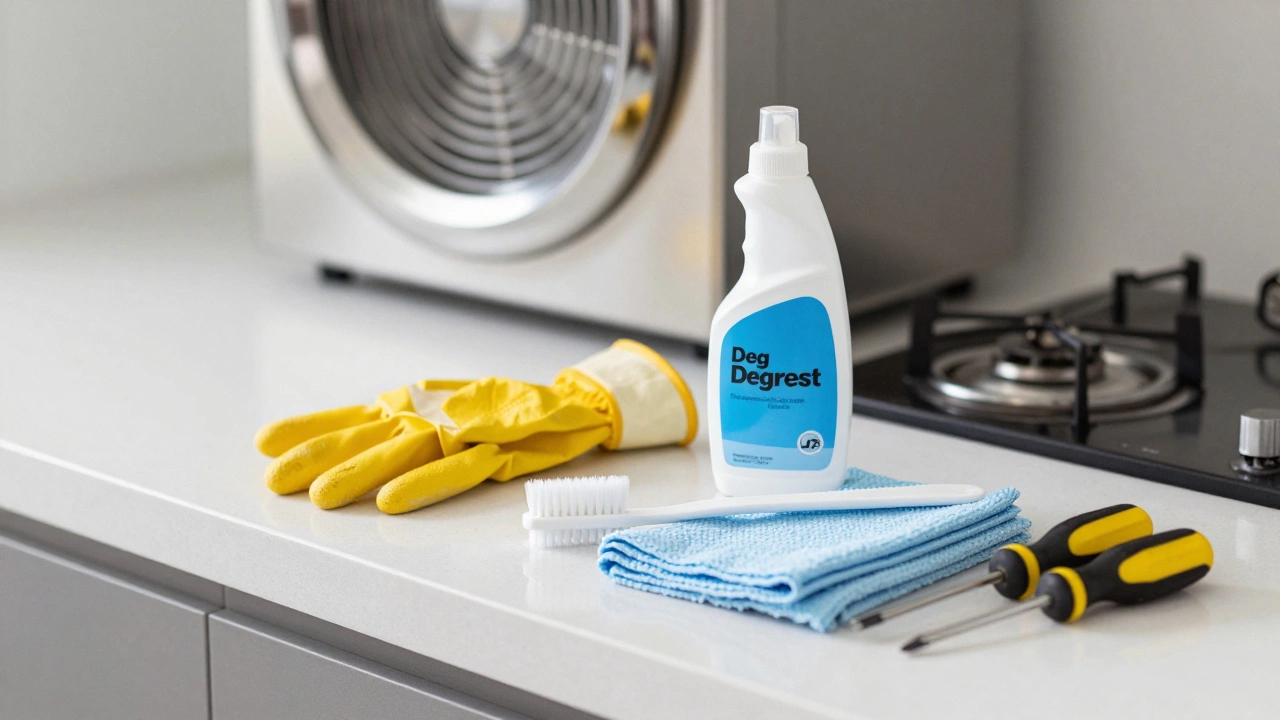
Before you touch the fan, set up your workspace. You’ll need more than just a rag. Proper preparation prevents scratches on stainless steel and ensures you reach the grease trapped deep inside the housing.
- Mechanic’s Gloves: Grease is slippery and can harbor bacteria. Protect your hands.
- Dish Soap or Degreaser: Heavy-duty degreasers work best for baked-on grime, but standard dish soap suffices for light maintenance.
- Soft Brushes: An old toothbrush works wonders for crevices. Avoid wire brushes on coated surfaces.
- Microfiber Cloths: They trap grease rather than spreading it around.
- Screwdriver Set: Usually Phillips head, but check your model.
- Bucket and Warm Water: For soaking removable parts.
Crucially, turn off the power at the circuit breaker. Don’t just switch off the wall toggle. You want zero chance of accidental activation while your hands are near the motor or wiring.
Remove and Clean the Filters
The filters are the first line of defense against grease entering the motor. Over time, they become clogged with oil particles, restricting airflow. This forces the motor to work harder, generating heat and noise.
Most modern hoods use either aluminum mesh filters or charcoal filters. Aluminum filters are washable; charcoal filters are not. If you have a charcoal filter, this is your cue to replace it, not clean it. Washing a carbon filter destroys its adsorption capacity, rendering it useless.
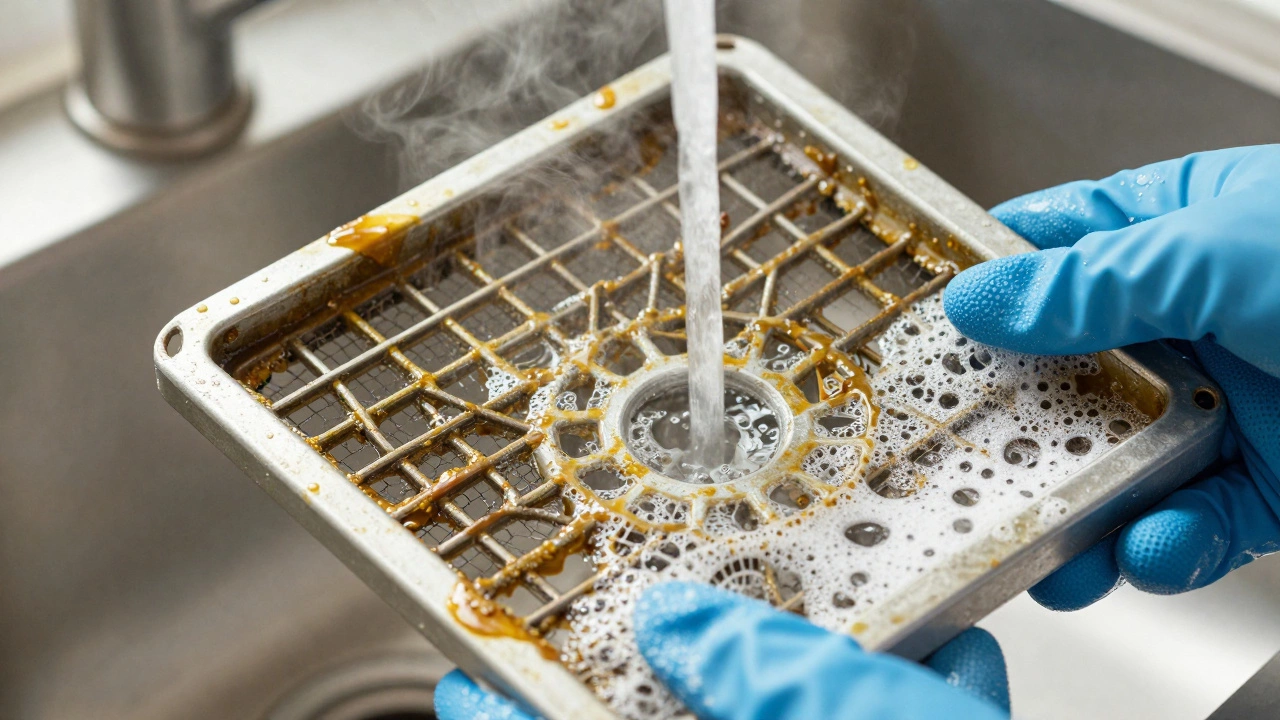
- Slide Out the Filter: Most units have a release clip or button. Gently press and slide the filter out. If it’s stuck, wiggle it gently-don’t force it, as the mounting brackets can snap.
- Soak the Filter: Place the aluminum mesh in a sink filled with hot water and a generous squirt of dish soap. Let it soak for at least 15 minutes. For heavy grease, add a cup of white vinegar to break down the oils.
- Scrub Gently: Use your soft brush to agitate the mesh. Focus on the corners where grease pools. Rinse thoroughly with warm water until the water runs clear.
- Dry Completely: Air dry the filter completely before reinstalling. Moisture inside the hood can lead to mold growth or electrical issues if it drips onto live components.
Clean the Interior Housing and Ductwork
Once the filters are out, you’re looking at the interior cavity. This is where the real challenge lies. The walls of the hood and the duct leading out will be coated in a thin layer of sticky residue.
Wipe down the interior walls with a degreaser-soaked cloth. Pay special attention to the area directly above the burners, as this zone captures the most splatter. If your hood has a glass splashback, clean it now while the degreaser is still active on your cloth.
If you have a ducted system (one that vents outside), check the visible portion of the duct pipe. Grease can accumulate here too, creating a significant fire hazard. Use a long-handled brush or a flexible duct cleaning tool to scrub the inside of the pipe. If the duct is inaccessible or heavily clogged, consider hiring a professional chimney sweep who specializes in kitchen vents.
Inspect and Clean the Fan Blades
This step requires removing the baffle plates or the main canopy cover to access the fan assembly. Consult your user manual for specific removal instructions, as mechanisms vary by brand.
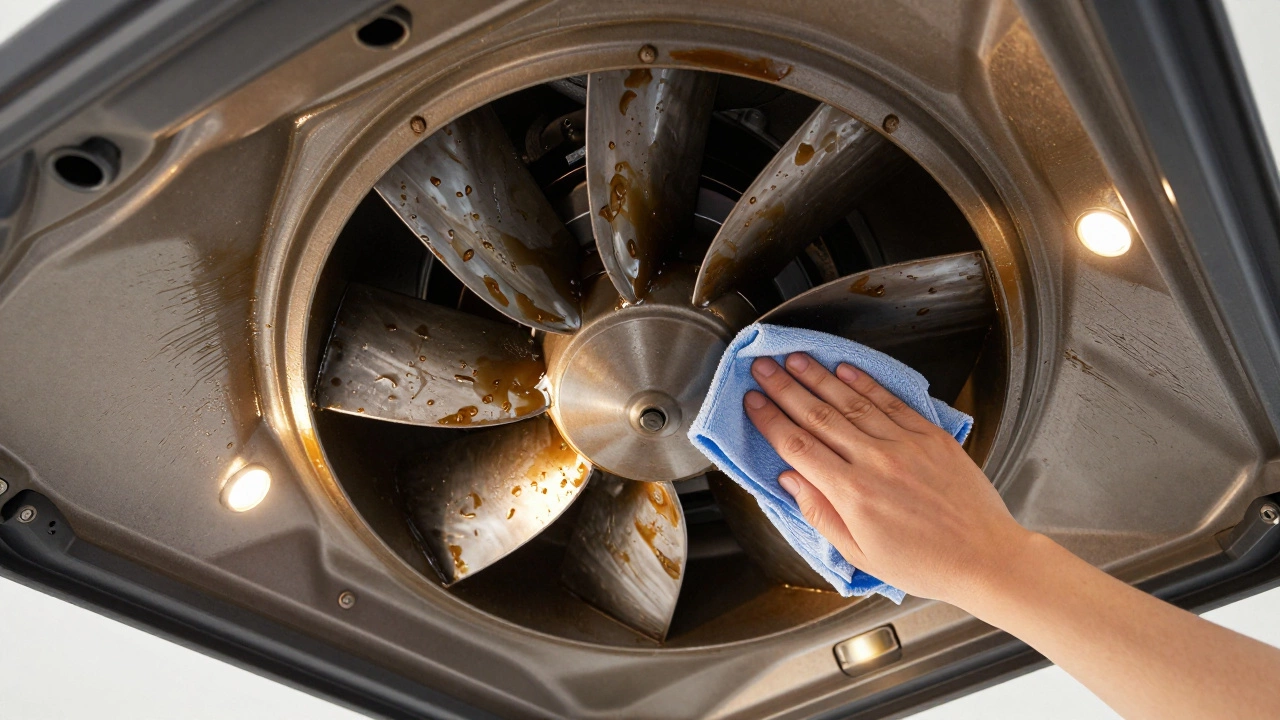
Once exposed, you’ll see the fan blades spinning within the housing. These blades collect grease on both sides, which unbalances the rotor. An unbalanced rotor causes vibration, loud noises, and premature bearing failure.
- Photograph the Assembly: Before unscrewing anything, take a photo. This helps when reassembling, ensuring wires and screws go back in the right place.
- Remove the Fan Cover: Unscrew the retaining ring or clips holding the metal cover over the blades.
- Wipe the Blades: Use a damp cloth with degreaser to wipe each blade individually. Be careful not to bend them. Even a slight bend can cause imbalance.
- Check the Motor Shaft: Look at the center where the blades attach. If there’s grease buildup on the shaft, clean it carefully. Do not apply lubricant unless specified by the manufacturer, as excess oil attracts more dust and grease.
Reassemble and Test
With all components clean and dry, reverse your disassembly steps. Ensure all screws are tightened securely but not overtightened, which can strip the threads. Reinstall the filters last, making sure they click into place firmly.
Turn the power back on at the circuit breaker. Switch on the fan and listen. It should run quietly and smoothly. Check for strong suction by holding a piece of tissue paper near the vent-it should stick firmly due to the airflow.
If the fan still vibrates or sounds noisy, double-check that the blades aren’t touching the housing and that the motor mount is secure. Persistent issues may indicate worn bearings, requiring professional replacement.
| Component | Cleaning Method | Frequency |
|---|---|---|
| Aluminum Mesh Filters | Soak and Scrub | Every 1-3 Months |
| Charcoal Filters | Replace Only | Every 3-6 Months |
| Fan Blades | Wipe Down | Every 6 Months |
| Exterior Surface | Damp Cloth | Weekly |
| Ductwork (Visible) | Brush Clean | Annually |
Common Mistakes to Avoid
One major error people make is using abrasive cleaners on stainless steel hoods. Steel wool or harsh powders scratch the surface, creating microscopic grooves where grease sticks even faster next time. Stick to non-abrasive pads and pH-neutral cleaners.
Another mistake is ignoring the exterior lights. Dust and grease obscure the bulbs, reducing visibility while cooking. Wipe the glass covers with a microfiber cloth and mild glass cleaner during your service routine.
Never immerse the motor unit or electrical wiring in water. These components are sensitive to moisture. Keep all cleaning efforts focused on the mechanical parts-blades, filters, and housing.
When to Call a Professional
DIY servicing handles cleanliness and airflow restoration. However, some problems require expert intervention. If you hear grinding noises, smell burning insulation, or notice sparks, turn off the unit immediately and contact a licensed electrician or appliance repair technician.
In Wellington, where coastal humidity can accelerate corrosion, inspect the external vent cap annually. Ensure the flapper opens freely and isn’t stuck shut by bird nests or debris. A blocked external vent renders your entire internal cleaning effort useless.
How often should I service my extractor fan?
For average households, service your extractor fan every 3 to 6 months. If you cook frequently with oily foods or frying, aim for every month. Heavy grease buildup restricts airflow and increases fire risk significantly.
Can I put extractor fan filters in the dishwasher?
Yes, most aluminum mesh filters are dishwasher safe. Place them on the top rack to avoid high heat from the bottom heating element. However, hand washing with hot soapy water often yields better results for heavy grease, as dishwashers may not reach high enough temperatures to melt stubborn oil.
What is the difference between a ducted and recirculating extractor fan?
A ducted fan pulls air out of your kitchen and expels it outside through a wall or roof vent. A recirculating fan uses charcoal filters to trap grease and odors, then pushes the cleaned air back into the room. Ducted systems are more effective at removing heat and moisture, while recirculating units are easier to install in apartments without external vents.
Why is my extractor fan making a loud noise after cleaning?
Loud noises after cleaning usually indicate improper reassembly. Check if the fan blades are bent or touching the housing. Ensure all screws are tight and the motor mount is secure. If the noise persists, the bearings may be worn out and require professional replacement.
Is it dangerous to clean an extractor fan myself?
It is safe if you follow proper precautions. Always turn off the power at the circuit breaker before starting. Wear gloves to protect against grease and sharp edges. Avoid using excessive water near electrical components. If you are uncomfortable working with electricity or heights, hire a professional.