

Water Heater Element Diagnostic Simulator
Instructions
Simulate testing a water heater element.
- Select the condition of the element (Healthy, Broken, or Shorted).
- Click the "Probes" on the diagram to connect your virtual multimeter.
- Continuity Test: Connect probes to both Brass Terminals.
- Ground Fault Test: Connect one probe to a Terminal and one to the Metal Body.
- Read the result on the meter display.
(Ground)
There is nothing quite as shocking-literally and figuratively-as stepping into a shower only to be blasted with ice-cold water. You turn the dial, you wait, but the temperature barely budges. Before you call an expensive technician or rip out the entire unit, you need to know if the culprit is simply a failed heating element. In many electric water heaters, this small component is responsible for turning electricity into heat. When it dies, your hot water supply dries up. The good news? Identifying a bad element is often straightforward, and replacing it is a task many homeowners can handle themselves.
The Quick Signs Your Heating Element Has Failed
You don’t always need tools to suspect a problem. Your body and your senses are often the first indicators that something is wrong inside the tank. If you notice one or more of these symptoms, the heating element is likely on the hit list.
- No hot water at all: If your water heater has two elements (upper and lower) and the upper one fails, you might still get some warm water from the bottom tank, but it will run out quickly. If both fail, or if you have a single-element unit, you get cold water straight from the tap.
- Inconsistent temperatures: Sometimes an element doesn’t die completely; it just gets weak. You might find that the water starts hot but turns lukewarm halfway through your shower. This suggests the element is struggling to maintain the set temperature against the incoming cold water.
- Tripping circuit breakers: A failing element can short out internally. If you flip the breaker back on and it immediately trips again, the element is likely leaking current. This is a safety hazard and requires immediate attention.
- Burning smell or buzzing noise: While sediment buildup causes popping noises, a high-pitched buzz or a distinct electrical burning smell coming from the access panel usually points to an electrical fault within the element itself.
It is crucial to distinguish between a bad element and other issues. If you have gas pilot lights lit but no heat, check the thermostat settings first. However, if you have power, the breaker is on, and there is still no heat, the element is the prime suspect.
Safety First: Preparing to Test the Element
Before you touch any wires or remove panels, you must respect the danger of working with high-voltage electricity and scalding water. Electricity and water do not mix well, and a mistake here can lead to severe injury or death. Follow these steps meticulously.
- Turn off the power: Locate your main service panel (breaker box) and switch off the double-pole breaker dedicated to the water heater. Do not rely on the switch near the heater; go to the source. Use a non-contact voltage tester on the breaker handles to ensure they are dead.
- Shut off the water supply: Turn the cold water inlet valve above the heater to the closed position. This prevents a flood when you drain the tank later.
- Drain the tank partially: Attach a garden hose to the drain valve at the bottom of the tank and run it to a floor drain or outside. Open the valve and let enough water out so the level drops below the heating element(s). For the upper element, you only need to drop the level slightly. For the lower element, you may need to drain most of the tank.
- Remove the access panels: Unscrew the metal covers located on the side of the water heater. Behind them, you will see insulation and the wiring connections to the elements.
Once the power is confirmed off and the water level is low, you are ready to inspect the hardware. Take photos of the wiring before disconnecting anything. These photos will be your roadmap when reassembling the unit.
Visual Inspection: What to Look For
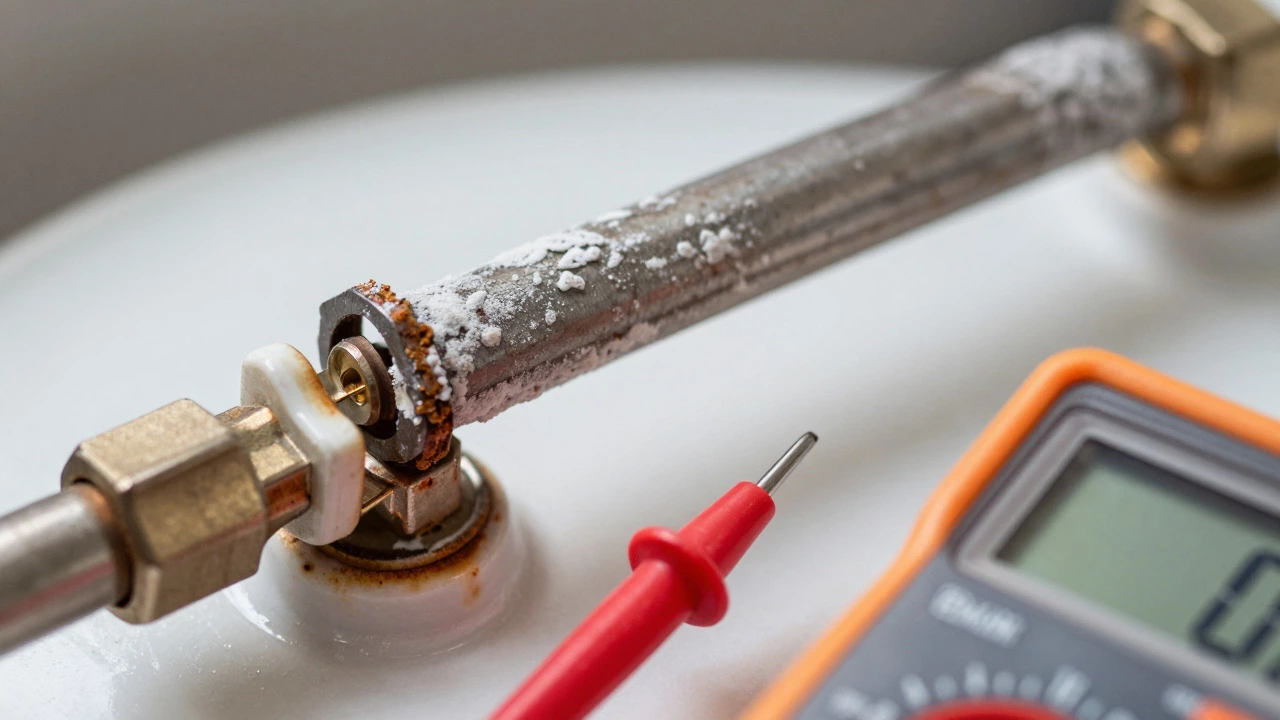
Even before using a multimeter, a visual inspection can reveal obvious failures. Remove the plastic nut holding the element in place using a wrench or pliers. Pull the element out gently. Look closely at the metal rod and the ceramic base.
If you see heavy white crusty deposits, that is lime scale. While scale insulates the element and makes it inefficient, it doesn’t always mean the element is dead. However, if you see blackened areas, cracks in the ceramic, or signs of corrosion around the threads, the element is compromised. Corrosion allows water to seep into the electrical components, causing shorts. If the element looks physically damaged, stop testing and replace it. No amount of tweaking will fix a cracked ceramic seal.
Testing Continuity with a Multimeter
Visual clues aren’t always definitive. An element can look perfect but have an internal break in the resistance coil. To confirm this, you need a digital multimeter. Set the meter to measure resistance (Ohms, symbolized by Ω).
Touch one probe to each of the two brass terminals on the bottom of the heating element. Ignore the ground screw for now; we are testing the heating coil itself.
- Normal reading: A healthy 4500-watt element should read between 3 and 6 Ohms. A 5500-watt element will read slightly lower, around 2 to 4 Ohms. The exact number varies by manufacturer, but it should be a low, consistent number.
- Infinite resistance (OL): If the display reads "OL" or "1," it means "Open Loop." The internal wire has broken. There is no continuity, and electricity cannot flow to create heat. The element is dead.
- Zero or near-zero Ohms: This indicates a short circuit. The internal components have touched, creating a path of least resistance. This will trip your breaker instantly. Replace immediately.
This simple test provides a definitive answer. If the reading is out of range, the element is bad. If the reading is normal, the problem might lie elsewhere, such as the thermostat or the relay in the control board.
Testing for Ground Faults
A less common but dangerous failure mode is a ground fault. This happens when the heating element’s internal wiring touches the metal casing of the element, which is submerged in water. Since the tank is grounded, this creates a leak of electricity into the water supply.
To test for this, keep your multimeter on the Ohms setting. Place one probe on one of the brass terminals and the other probe on the metal threaded body of the element (or the grounding screw on the tank flange).
The reading should be infinite (OL). If you get any numerical reading, even a high one, there is a connection between the live terminal and the ground. This is a serious shock hazard. Even if the element heats up, it is unsafe to use. Replace the element if a ground fault is detected.
Replacing a Bad Heating Element
If your tests confirm the element is bad, replacement is relatively inexpensive and straightforward. Here is how to swap it out correctly.
- Buy the correct part: Match the wattage (usually 4500W), voltage (240V), and thread size (typically 3/4-inch NPT) of the old element. Also, note the type of terminals: standard flat spade connectors or pigtail wires.
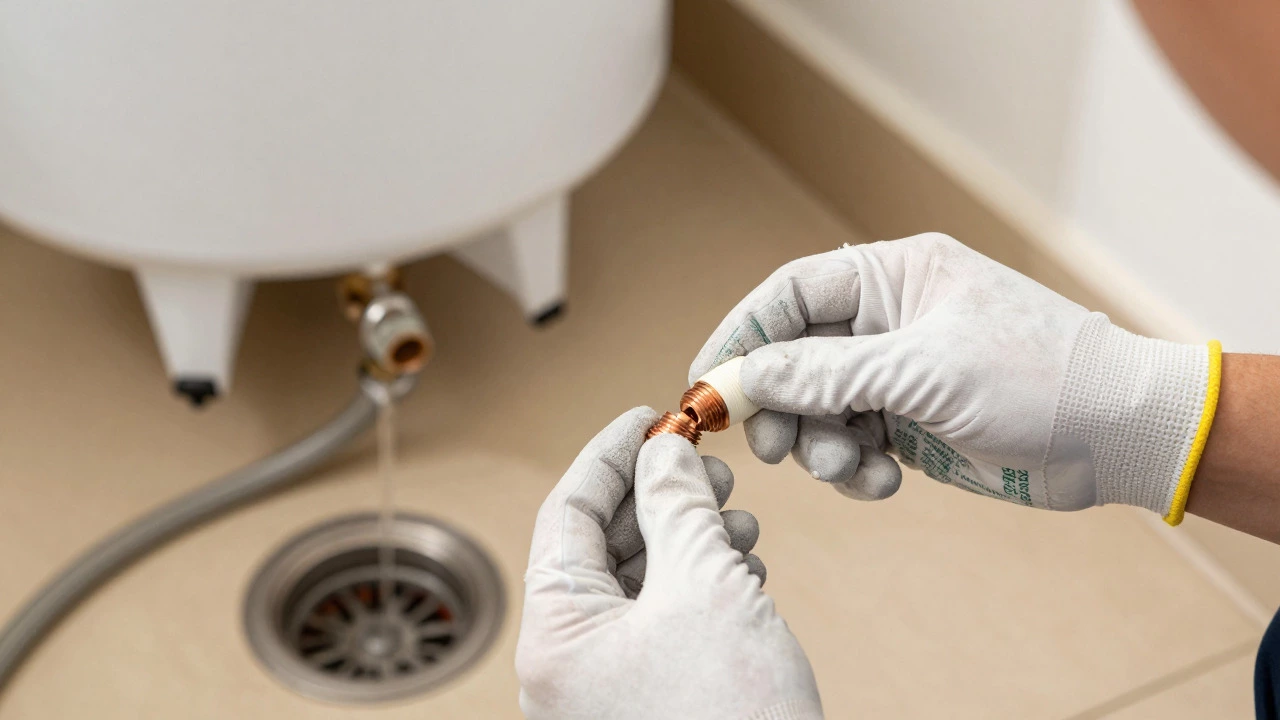
- Prepare the new element: Apply Teflon tape to the threads of the new element. Wrap it clockwise, covering the threads completely. This ensures a watertight seal without over-tightening.
- Install the element: Insert the new element into the hole. Hand-tighten it first, then use a wrench to snug it up. Do not crank it down too hard, or you risk cracking the glass lining of the tank. It should be tight enough to hold but not stripped.
- Reconnect the wiring: Refer to the photos you took earlier. Connect the wires to the correct terminals. Ensure the ground wire is securely attached to the green ground screw.
- Refill the tank: This is critical. Close the drain valve and remove the hose. Turn the cold water supply back on. Before turning the power back on, open a hot water faucet somewhere in your house. Let it run until the stream is steady and bubble-free. This ensures the tank is full and air is purged. Running an empty tank with the power on will burn out the new element in minutes.
- Restore power: Once the faucet runs clear, close it. Go back to the breaker box and flip the power back on. Check the thermostat settings (usually 120°F or 49°C) and wait for the water to heat up.
When to Call a Professional
While replacing an element is a common DIY job, some scenarios warrant calling a licensed plumber or electrician. If the tank itself is leaking, the element replacement won’t solve the problem-you need a new water heater. If you are uncomfortable working with 240-volt circuits, hire an electrician. Additionally, if the thermostats are faulty, you may need to replace those as well, which adds complexity to the job. In Wellington, where winter winds chill the pipes, ensuring proper insulation and professional installation can prevent future headaches.
How long does a water heater element last?
A typical water heater element lasts between 3 to 5 years, though this varies based on water quality and usage. Hard water with high mineral content accelerates wear due to scaling. Regular maintenance, such as flushing the tank annually, can extend the life of the element by preventing overheating caused by sediment buildup.
Can I replace just one element in a dual-element heater?
Yes, you can replace just one element. Most electric water heaters have an upper and a lower element. The upper element heats the top portion of the tank first, and once that reaches temperature, the lower element kicks in. If only one is failing, replacing that specific one restores full capacity. However, if both are old, it may be wise to replace both to avoid another repair soon.
Why is my water heater tripping the breaker?
A tripping breaker is often caused by a shorted heating element, a faulty thermostat, or loose wiring connections. Moisture intrusion into the electrical compartment can also cause shorts. Always test the element for continuity and ground faults before assuming the issue is with the breaker itself. If the element tests fine, the thermostat is the next likely culprit.
Do I need to drain the entire tank to change the lower element?
Ideally, yes. The lower element is positioned near the bottom of the tank. To access it safely and prevent water from spraying out when you unscrew it, you should drain the tank until the water level is well below the lower element port. Draining the whole tank is safer and easier than trying to guess the exact level.
What is the difference between a universal element and a standard element?
Standard elements have fixed terminals and come in specific lengths and thread sizes. Universal elements are adjustable; they feature a rotating collar that allows you to change the length of the immersion tube and the position of the terminals. They are useful if you cannot find an exact match for your old element, but they must be adjusted carefully to fit the tank opening perfectly.