Microwave Fuse Tester
Diagnosis Results
Recommended Actions
Fuse Type Information
Blade Fuse
Thin metal strip with two prongs
250V / 5-15ACeramic Fuse
Glass cylinder with metal caps
250V / 5-10AThermal Fuse
Small disc with two wires
250V / 5-10AKey Takeaways
- Typical signs of a blown microwave fuse include no heat, no turntable movement, and unusual noises.
- You only need a few basic tools - a screwdriver, a multimeter, and safety gloves - to test the fuse.
- Most microwaves use blade, ceramic, or thermal fuses; each type has a specific visual cue when it fails.
- Replacing a fuse is quick, but always unplug the appliance and verify the power source.
- Regular cleaning and avoiding overloads can keep your fuse from blowing again.
What Is a Microwave Fuse?
When you hear the term microwave fuse refers to a safety component that protects the microwave’s high‑voltage circuitry from overloads and short circuits, think of a tiny, often rectangular piece of metal or ceramic inside the appliance. Its job is to melt or open the circuit if something goes wrong, preventing fire or further damage.
The fuse sits on the microwave’s power board, usually near the transformer. In most modern units it’s a blade fuse a thin metal strip with two prongs that plug into a socket or a ceramic fuse a cylindrical glass tube filled with a fuse element. Some newer models use a thermal fuse a heat‑sensitive component that opens when the appliance exceeds a set temperature instead of a traditional meltable element.
Common Symptoms of a Blown Fuse
Before you grab a tool, watch for these tell‑tale signs:
- The microwave powers on but the turntable doesn’t spin.
- Pressing the “Start” button produces a click, then nothing else.
- There’s a faint burning smell or a faint hiss from the power board.
- The display lights up but the cooking cavity stays cold.
If you notice any of these, the fuse is the most likely culprit. Of course, a broken door latch or a faulty magnetron can cause similar behavior, but a fuse failure is the cheapest and easiest thing to check.

Tools You’ll Need
Gather these items before you open the microwave:
- Screwdriver A Phillips‑head screwdriver, size #2, works for most panel screws
- Multimeter A digital multimeter set to continuity or resistance (Ω) mode
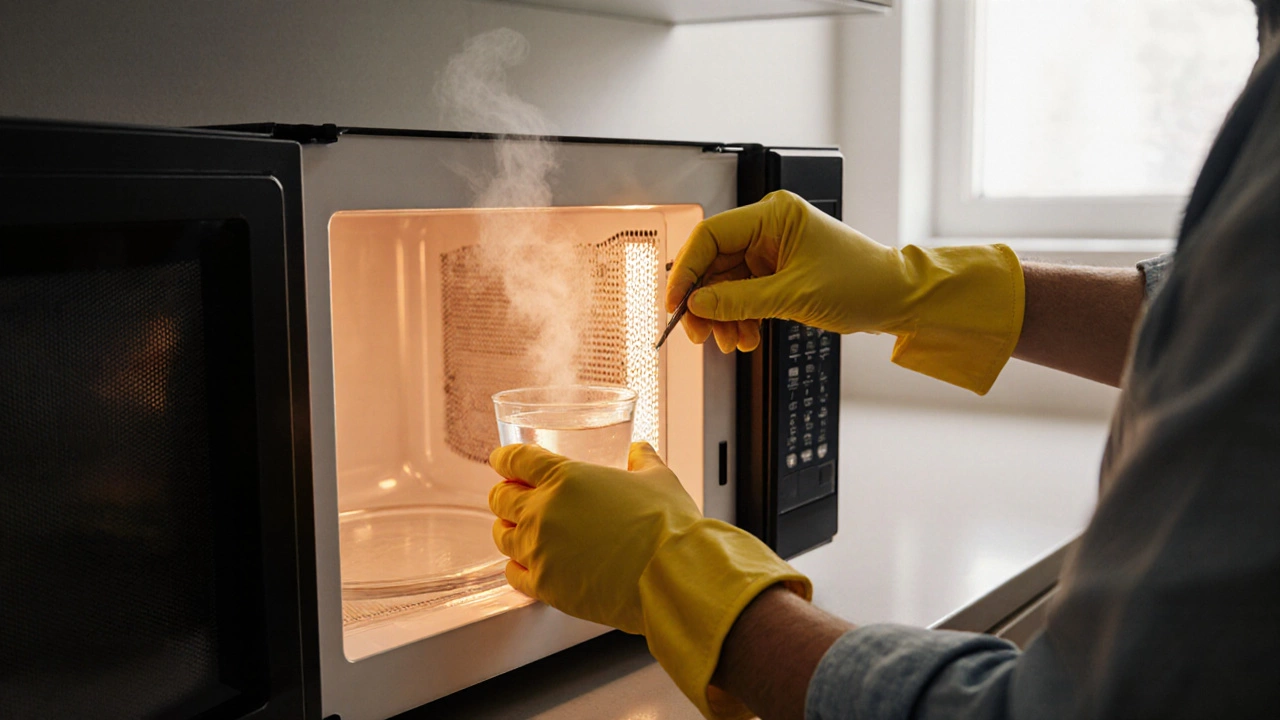
- Safety gloves Insulated gloves to protect against accidental shock
- A small flashlight or headlamp for better visibility inside the cabinet.
All of these are common household tools; you probably already have them in a basic DIY kit.
Step‑by‑Step: Testing the Fuse
- Unplug the microwave from the wall outlet. If your home uses a dedicated circuit, flip the corresponding circuit breaker the switch in the breaker panel that controls power to the kitchen outlet to be extra safe.
- Remove the outer cabinet screws using the screwdriver. Most models have three to four screws on the back or the underside.
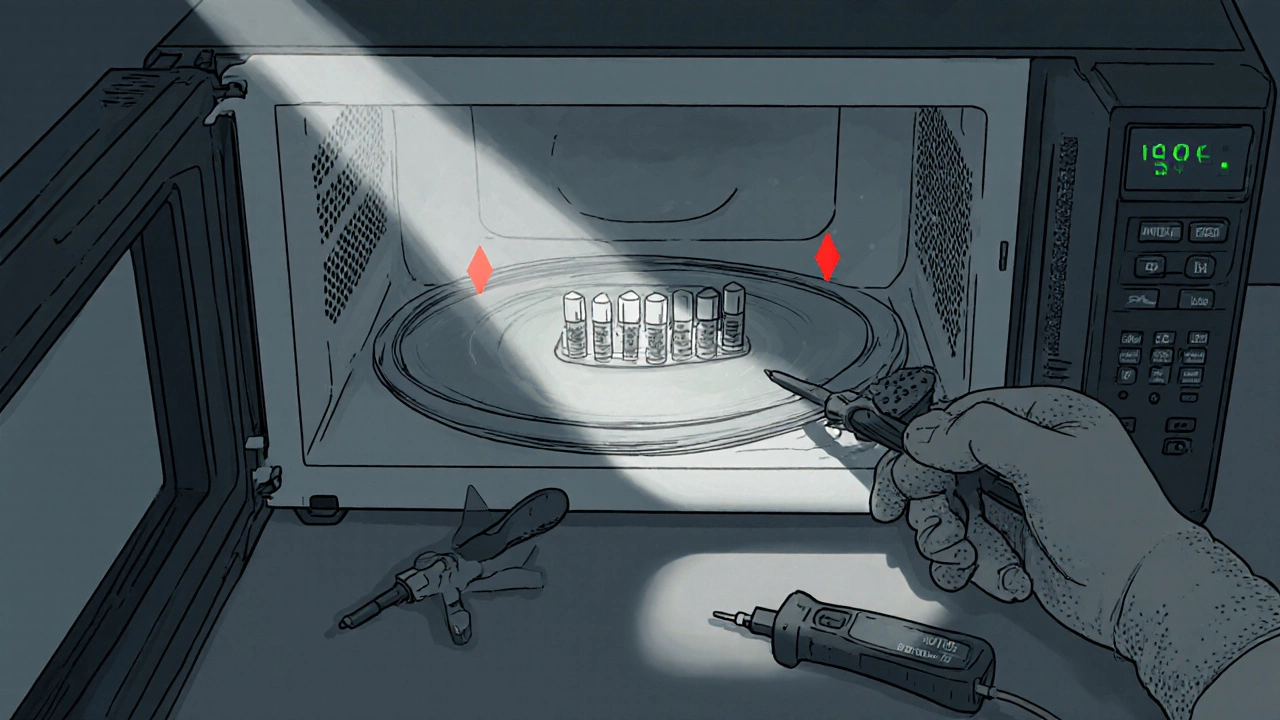
- Locate the fuse on the power board. It will be a small rectangular piece with two metal prongs (blade) or a tiny glass tube (ceramic/thermal).
- Gently pull the fuse out. Some blades have a tiny latch; push the latch aside and lift.
- Set the multimeter to continuity. Touch one probe to each prong (or the ends of the ceramic tube). A healthy fuse will beep or show near‑zero resistance. If the meter reads “OL” (open loop) or a very high resistance, the fuse is blown.
When you hear the beep, you’ve confirmed the fuse is intact. No beep means it’s time for a replacement.
Replacing the Fuse - What to Buy
Check the fuse’s voltage and amperage rating, usually printed on the body. A typical microwave fuse is rated at 250V and 5A, but older models might use 15A. Match the exact rating; using a lower‑amp fuse can cause it to blow again, while a higher‑amp fuse defeats the safety purpose.
Purchase a replacement from a reputable appliance parts store or online retailer. Here’s a quick comparison of the three common types:
| Type | Appearance | Typical Rating | Installation Ease |
|---|---|---|---|
| Blade Fuse | Thin metal strip with two prongs | 250V / 5‑15A | Very easy - just plug in |
| Ceramic Fuse | Glass cylinder with metal caps | 250V / 5‑10A | Easy - requires gentle pull |
| Thermal Fuse | Small disc with two wires | 250V / 5‑10A, temperature‑rated | Moderate - may need soldering |
For most homes, a blade fuse is the go‑to choice because it’s cheap and simple to replace.

Installing the New Fuse
- Insert the new fuse into the same slots you removed the old one from. Ensure the prongs line up with the board contacts.
- Close the cabinet, replace the screws, and tighten them just enough to hold the panel securely.
- Plug the microwave back in and test a quick heating cycle (e.g., 30seconds of water). If it heats, the problem is solved.
If the unit still doesn’t work, the issue might be deeper - the magnetron, door switches, or the control board could be at fault.
Preventing Future Fuse Failures
Fuses typically blow because the microwave is overloaded or because internal components degrade. Follow these habits:
- Never run the microwave empty - the magnetron needs food or liquid to absorb energy.
- Avoid placing metal containers or aluminum foil inside; they can cause arcing.
- Keep the interior clean. Grease buildup near the waveguide can overheat the circuit.
- Don’t use the microwave for unusually long cooking times on high power - give it short bursts and stir.
Regular cleaning and mindful usage dramatically cut the chance of a fuse blowing.
Troubleshooting After a Fuse Replacement
If you’ve replaced the fuse and the microwave still refuses to heat:
- Re‑check the fuse with the multimeter - it’s possible the new part was defective.
- Inspect the door latch switches; a faulty latch can cut power to the high‑voltage circuit.
- Listen for the high‑pitch whine of the magnetron. No whine often means the magnetron has failed.
- Consider the capacitor - a shorted capacitor can cause the fuse to blow immediately after replacement.
At this point, calling a professional appliance repair technician can save you time and avoid further damage.
Frequently Asked Questions
Can I test a microwave fuse without a multimeter?
A visual inspection can spot a blown blade fuse (the metal strip will appear broken or charred). However, a ceramic or thermal fuse often looks intact even when failed, so a multimeter is the most reliable method.
How long does a microwave fuse typically last?
Under normal use, a fuse can last for years. Frequent overloads, power spikes, or running the appliance empty accelerate wear, leading to failure after a few months.
Is it safe to replace a microwave fuse myself?
Yes, as long as you disconnect the appliance from the power source, use insulated gloves, and follow the step‑by‑step guide. If you feel uneasy about handling high‑voltage components, hire a qualified technician.
What’s the difference between a blade fuse and a thermal fuse?
A blade fuse melts when the current exceeds its rating, protecting against overloads. A thermal fuse opens when the appliance reaches a preset temperature, guarding against overheating. Both serve safety roles but react to different triggers.
Why does my microwave make a clicking sound but won’t heat?
The click is usually the relay engaging. If the fuse is blown, the high‑voltage chain never receives power, so the magnetron doesn’t fire. Checking the fuse is the first diagnostic step.

