
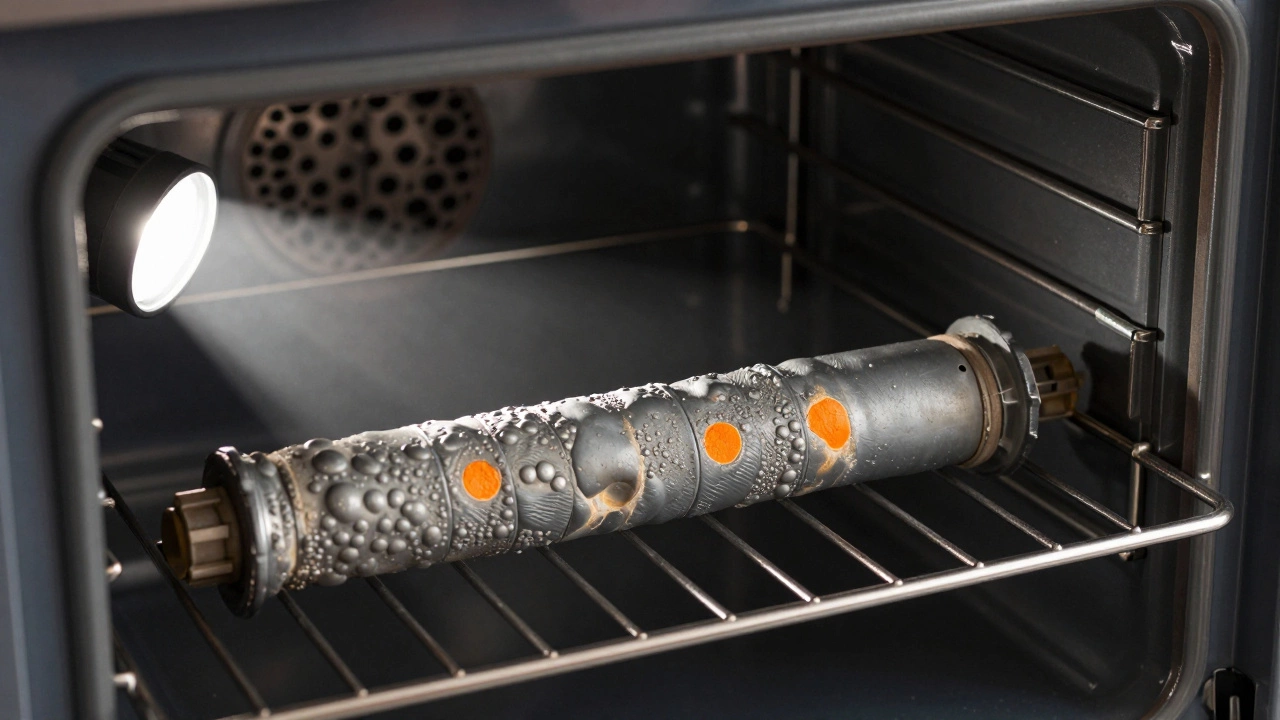
Oven Element Diagnostic Tool
Visual Inspection
Look closely at the bottom bake element coils. What do you see?
Tip: Remove oven racks for a clear view. A healthy element should look uniform when cold.
It’s dinner time. You put the roast in, set the timer, and walk away. An hour later, you come back to a cold pan and a confused family. The oven light is on, the fan might even be spinning, but the food isn’t cooking. Before you call a technician for an expensive service call, you need to know if the culprit is simply a dead bake element, which is the primary heating component at the bottom of your oven responsible for generating heat during baking and roasting cycles.. Replacing it yourself can save you hundreds of dollars, but only if you diagnose it correctly.
Oven elements don't always fail with a dramatic spark or a smell of burning plastic. Often, they just stop working quietly. Knowing exactly what to look for-and how to test for it-turns a frustrating kitchen disaster into a manageable DIY project. Here is how to pinpoint whether your element is truly broken or if something else is going on.
The Visual Inspection: What to Look For
The first step is never electrical; it’s optical. Grab a flashlight and pull out the oven racks so you have a clear view of the heating components. Most standard electric ovens have two main elements: the bake element (at the bottom) and the broil element (at the top). Gas ovens use igniters instead, so this guide focuses on electric units.
Look closely at the metal coils of the bake element. A healthy element should look uniform, usually a dull grey or silver color when cold. If you see any of the following, the element is likely compromised:
- Blisters or Bulges: If the metal tube looks like it has swollen spots or bubbles, the internal resistance wire has likely melted against the outer casing. This creates a short circuit. Even if it still heats up slightly, it will fail completely soon. It’s unsafe to keep using it.
- Holes or Cracks: Any break in the metal tube means the element is open-circuited. Electricity cannot flow through the entire loop, so no heat is generated. This is a definitive sign of failure.
- Discoloration Patterns: Some discoloration is normal due to high heat. However, if one section is bright orange or red while the rest remains grey, that indicates uneven current flow. The weak spot will eventually burn out.
If the element looks physically intact, don’t rule it out yet. Internal breaks happen without external signs. You need to move to performance testing.
The Performance Test: Does It Glow?
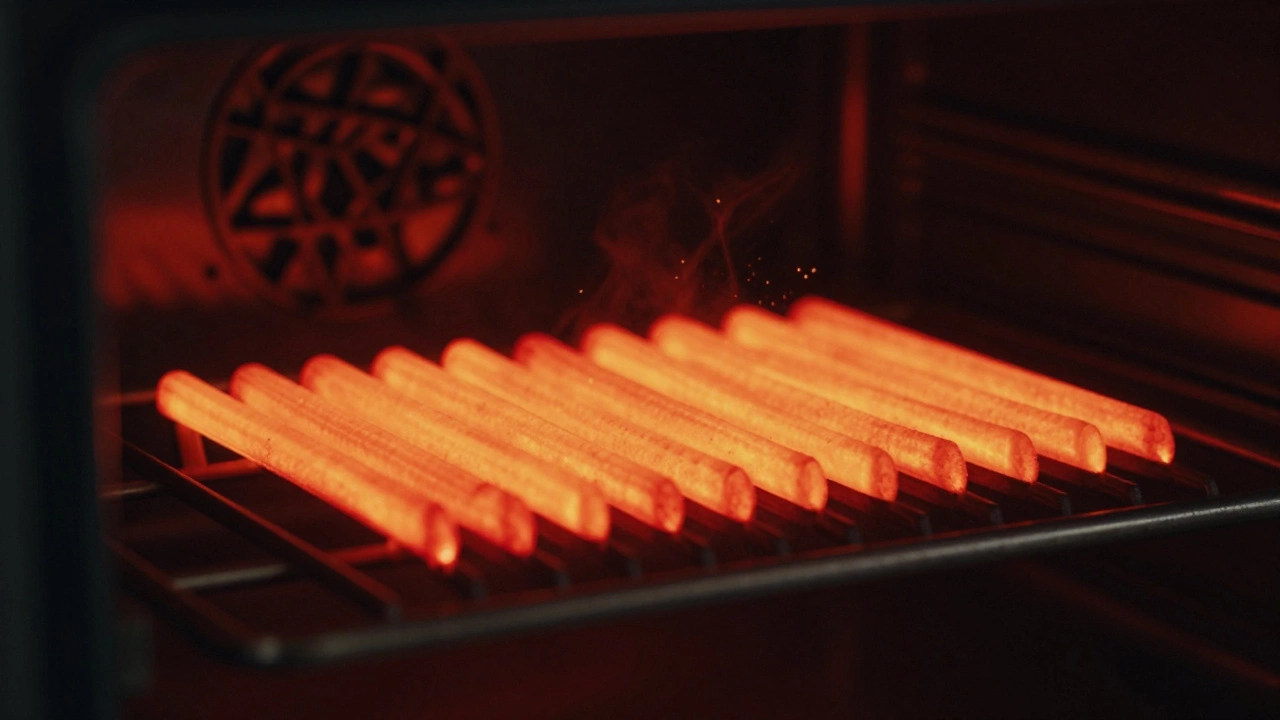
This is the most reliable non-invasive test. Electric oven elements work by resistive heating, which causes them to glow red-hot when active. This visual cue is your best friend.
- Select the Bake Function: Turn your oven dial to "Bake" and set the temperature to around 350°F (180°C).
- Observe the Bottom Element: Wait about 60 seconds. In a properly functioning oven, the bottom bake element should begin to glow a deep, cherry red. It may cycle on and off as it reaches temperature, but it must glow initially.
- Check the Top Element: While baking, the top broil element should generally remain dark. If it glows brightly during a bake cycle, your control board might be sending power to the wrong place, or the thermostat is faulty.
- Test the Broil Function: Switch the mode to "Broil." Now, the top element should glow red within seconds. The bottom element should stay dark.
If the element does not glow at all during its designated cycle, it is either broken, disconnected, or not receiving power. If it glows but the oven doesn’t get hot, you might have a secondary issue like a broken door switch or a failing temperature sensor, but the element itself is likely okay.
The Multimeter Test: Confirming Electrical Failure
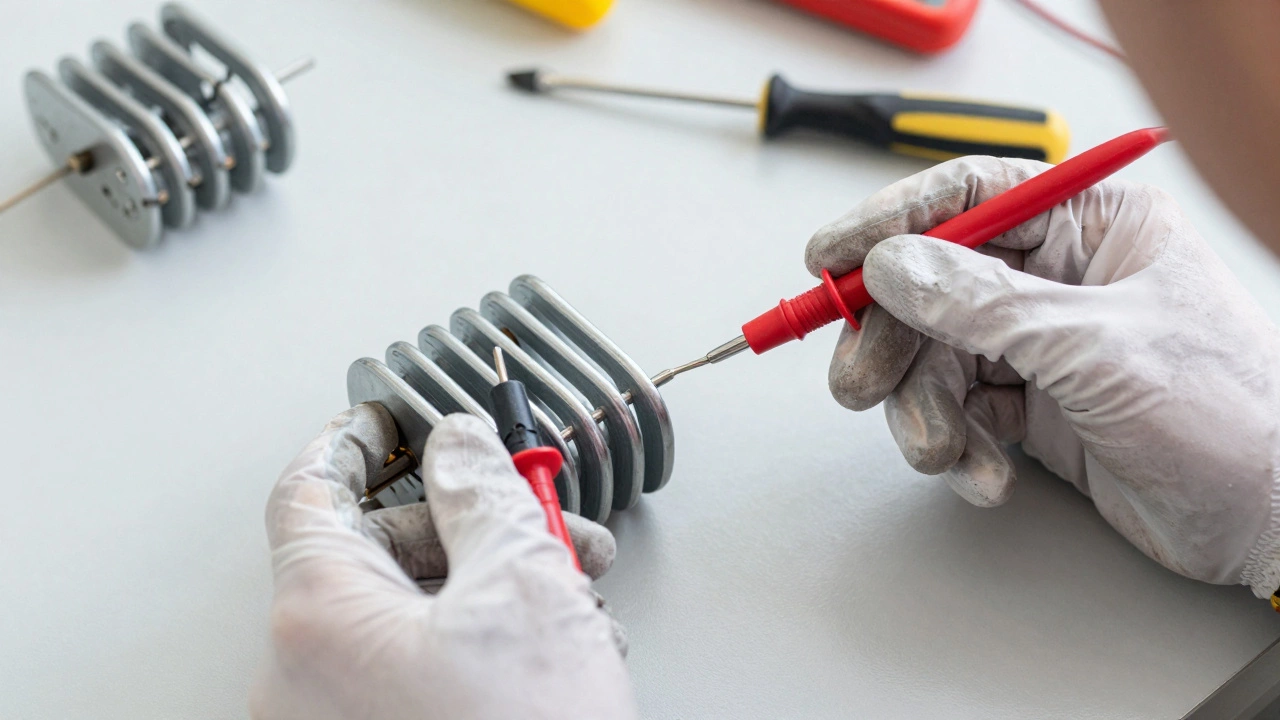
If the visual and performance tests are inconclusive, or if you want absolute certainty before buying a replacement part, use a multimeter. This measures electrical continuity. A broken element will show "OL" (Open Loop) or infinite resistance because the circuit inside is broken.
| Step | Action | Why It Matters |
|---|---|---|
| 1 | Turn off the oven and let it cool completely. | Prevents burns from hot surfaces. |
| 2 | Unplug the oven or turn off the circuit breaker. | Critical: Prevents electrocution. Ovens run on 240V. |
| 3 | Remove the element mounting screws and pull it forward. | Gives you access to the terminals where wires connect. |
| 4 | Disconnect the wires from the terminals. | Ensures you are testing only the element, not the wiring harness. |
Set your multimeter to the Ohms (Ω) setting. Touch one probe to each of the two terminals on the element. You should see a reading between 10 and 30 ohms. This low resistance allows enough current to flow to generate heat. If the meter reads "OL" or infinity, the internal filament is snapped. The element is dead. Replace it immediately.
If you read zero ohms, that’s also bad-it means a short circuit, which could trip your breaker or blow a fuse. In both cases (infinite or zero), the element needs replacement.
Common Misdiagnoses: When the Element Isn't the Problem
Before you order a new part, consider these common culprits that mimic a broken element. Swapping parts unnecessarily wastes money and time.
The Door Switch: Many ovens won’t activate the heating elements unless the door is fully closed. A faulty door switch can trick the oven into thinking it’s open. Check if the oven light stays on when the door is shut; if it does, the switch might be stuck in the "open" position.
The Control Board: If the element glows when it shouldn’t (e.g., glowing during a warm-up phase when it should be off), or never receives power despite being tested good with a multimeter, the relay on the main control board might be stuck or failed. This is a more complex repair involving the brain of the appliance.
The Temperature Sensor: Located usually in the back corner of the oven cavity, this small probe tells the computer how hot the oven is. If it fails, the oven might not heat up at all because it thinks it’s already at temperature. You can test this similarly to the element-it should read between 100 and 110 ohms at room temperature.
Replacing the Element: A Simple Swap
Once you’ve confirmed the element is broken, replacing it is straightforward. Most elements are held in by two screws and slide into brackets. You don’t need special tools beyond a screwdriver or nut driver.
- Buy the Right Part: Use your oven’s model number (found on the sticker inside the door frame or on the side of the cabinet) to find the exact replacement. Generic elements often fit poorly and can cause arcing.
- Disconnect Power: Again, unplug the unit or kill the breaker. Safety first.
- Remove the Old Element: Unscrew the mounting hardware. Pull the element forward gently. Disconnect the wires. Note which wire goes to which terminal if they are different colors, though usually, it doesn’t matter for simple resistive loads.
- Install the New One: Slide the new element into the brackets. Secure it with screws. Reconnect the wires firmly.
- Restore Power and Test: Turn the breaker back on. Run a quick bake cycle to ensure it glows and heats up.
If you’re uncomfortable working with 240-volt appliances, hire a professional. But for most homeowners, this is a manageable weekend task that restores full function to your kitchen.
Can I use my oven if the element is cracked?
No. A cracked element exposes live electrical components and can lead to electric shock, fire, or further damage to your oven’s wiring. Replace it immediately.
How long do oven elements last?
Typically, oven elements last between 5 to 10 years depending on usage frequency. Heavy daily use may shorten this lifespan. Signs of aging include slower heating times and visible blisters.
Why does my oven element glow but the oven stays cold?
If the element glows but the oven doesn’t heat, check the temperature sensor or the control board. The element is working, but the system isn’t regulating the heat correctly, or there’s a significant insulation leak (rare).
Do I need to turn off the gas/electricity before testing?
For electric ovens, yes. Always disconnect power at the breaker or unplug the unit before touching internal components to avoid severe electrocution risk.
Is it cheaper to replace the element or buy a new oven?
Replacing an element costs $20-$50 for the part plus labor if hired. A new oven costs $500-$2000+. Unless the oven is very old or has multiple failing components, replacing the element is vastly cheaper.