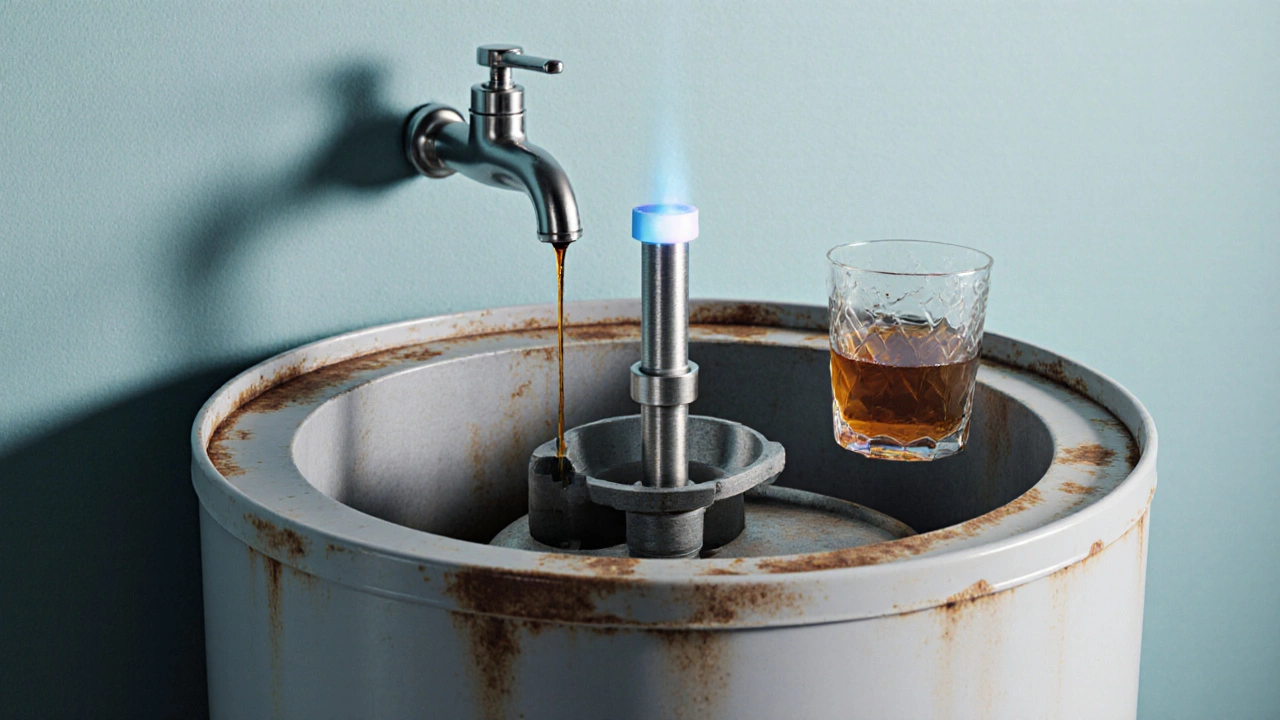
When working with DIY anode rod, the sacrificial metal rod inside a water heater that prevents tank corrosion, also known as anode rod, you’re actually fighting corrosion, the chemical breakdown of metal caused by water and oxygen that can ruin your whole heating system. The water heater, the appliance that stores and heats water for household use relies on that rod to stay alive for years. If the rod is worn out, the tank starts rusting, leaks appear, and you lose hot water fast. DIY anode rod work isn’t rocket science, but it does follow a clear logic: anode rod protects water heater from corrosion, replacing anode rod extends water heater lifespan, and inspecting anode rod requires turning off power and draining the tank. Knowing these connections helps you decide when to act and what tools you’ll need.
The first move is maintenance, regular checks and part replacements to keep appliances running – turn off the electricity or gas, shut the water supply, and let the tank cool. Drain a few gallons so the rod isn’t submerged; this prevents spills and makes the rod easier to unscrew. Use a wrench sized for the ¾‑inch hex head, and be ready for some rust‑stained water. Once loose, pull the old rod out and inspect it: a solid core of metal with a coating of white‑gray calcium is good; a crumbly, heavily corroded piece means it’s done. Grab a new magnesium or aluminum rod (magnesium lasts longer in soft water, aluminum is better for hard water) and screw it in clockwise until snug – you don’t want it too tight or it could crack the tank. Re‑fill the tank, restore power, and watch the temperature rise. If the heater fires up without a leak, you’ve just added years of service to your home.
Even with a step‑by‑step plan, a few pitfalls can trip you up. Forgetting to bleed air from the system can cause noisy heating or reduced efficiency. Not checking the rod’s material against your water hardness can lead to premature wear. And always double‑check that the power is truly off – a live heater can give you a nasty shock. If you hit any of these snags, pause and call a local pro. They’ll have the right tools, safety gear, and know‑how to avoid costly mistakes. Our collection of articles below dives deeper into each stage: recognizing a bad rod, flushing a ten‑year‑old heater, and troubleshooting hot‑water issues that stem from a failed anode.
Below you’ll find practical guides that walk you through spotting a bad rod, safely inspecting it, and replacing it with confidence. Whether you’re tackling a minor leak or planning a full maintenance run, these posts give you the facts you need to keep your water heater healthy without breaking the bank.
Posted by
Orin Trask
0 Comments

Learn how much it really costs to replace a water heater anode rod in 2025, compare DIY vs professional prices, and get a step‑by‑step guide with material tips.
read more