Got a broken washer, a leaky water heater, or a fan that stopped spinning? You don’t always need to call a pro. With the right tools and a little know‑how, many repairs are a simple DIY replacement. This guide walks you through the basics, so you can save money and get the job done safely.
Before you start, gather a few basics: a set of screwdrivers (flat‑head and Phillips), adjustable wrenches, a putty knife, a flashlight, and a pair of insulated gloves. A small toolbox keeps everything tidy and prevents you from hunting around mid‑job.
Safety isn’t optional. Always turn off power at the breaker for anything electrical, and shut off water supply for plumbing jobs. If you’re unsure about a circuit, a simple voltage tester will tell you if it’s live. Keep a bucket handy for any water that may spill when you remove a part.
Washing Machine Drum: The drum is the priciest part, but swapping it isn’t as hard as it sounds. Remove the back panel, disconnect the motor belt, and lift the drum out with a helper. Install the new drum, re‑attach the belt, and snap the panel back on. Test a short cycle before you load laundry.
Water Heater Tank: If the tank leaks at the bottom, replace it. Drain the heater by opening the drain valve and pulling the gas‑off hose. Unscrew the vent pipe, disconnect the cold‑water inlet and hot‑water outlet, then lift the old tank out. Position the new unit, re‑connect plumbing, and refill before turning the power back on.
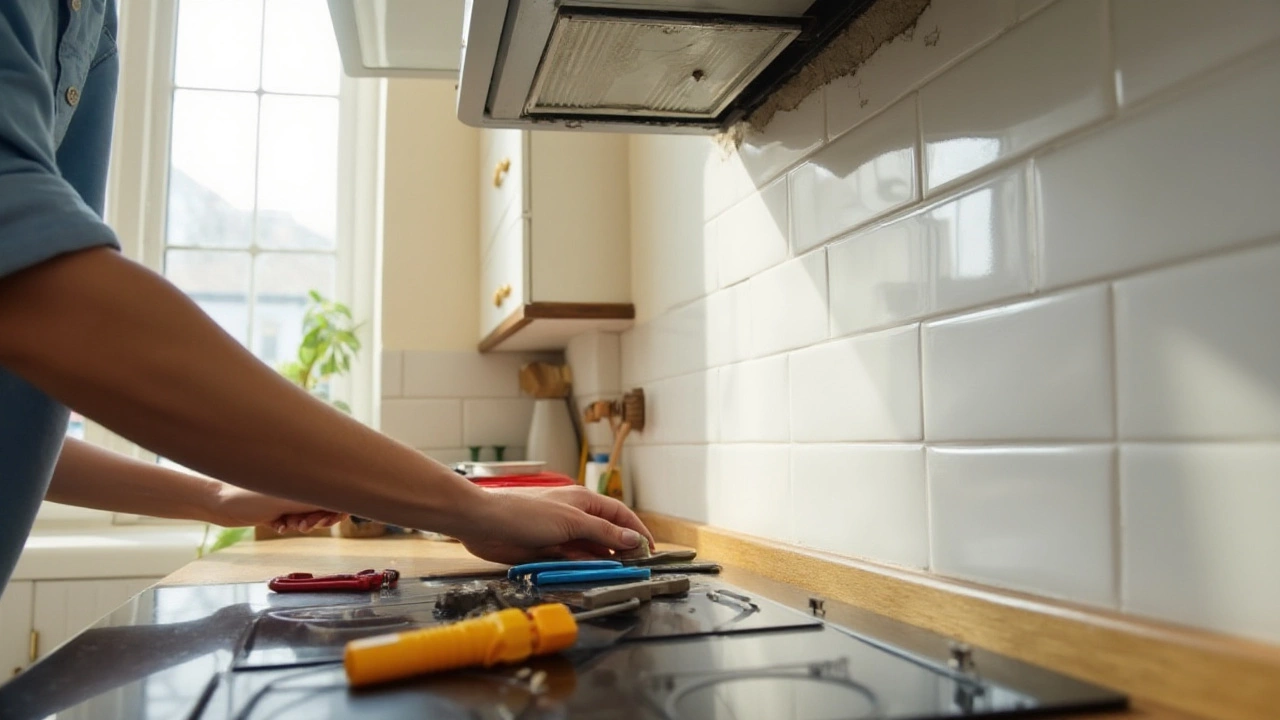
Extractor Fan: Most fans are held in place with a few screws. Remove the cover, disconnect the wiring (note which wires go where), and pull the fan out. Slip the new fan into the housing, reconnect the wires, and secure the cover. Turn the power back on and listen for a smooth, quiet spin.
Electric Oven Plug‑In: Before you plug a new oven in, verify the circuit can handle the load (usually 30‑40 amps). Use a dedicated circuit with a correctly rated breaker. If the wiring looks old or damaged, upgrade it before you connect the oven. Once everything checks out, plug in the oven, level it, and run a quick heat test.
Every replacement follows the same pattern: shut off, unplug, document connections, remove the old part, install the new one, and test. Keep a notebook or take photos of how things were wired – that saves headaches later.
If you hit a snag, pause and reassess. A tight screw or a stubborn hose clamp can be eased with a little penetrating oil. Never force a part; it could break and cost more to fix.
When the job is done, tidy up your workspace, put tools back, and celebrate a successful DIY fix. You’ll feel confident tackling the next appliance, and your home will run smoother without pricey service calls.
Remember, DIY replacement works best for straightforward fixes. If you notice corrosion, major electrical faults, or you’re unsure about any step, it’s wise to call a trained technician. The goal is to keep yourself safe while getting the job done right.
Posted by
Orin Trask
0 Comments
Replacing an extractor fan can seem like a daunting task, but with careful guidance, it's a DIY project many homeowners can tackle. This article explores the steps involved in safely replacing an extractor fan, assessing whether DIY is appropriate for your situation, and tips for ensuring optimal function and safety. From deciphering the basic mechanics to dealing with common troubleshooting issues, you'll gain insights that make it easier to enhance your home's ventilation system.
read more