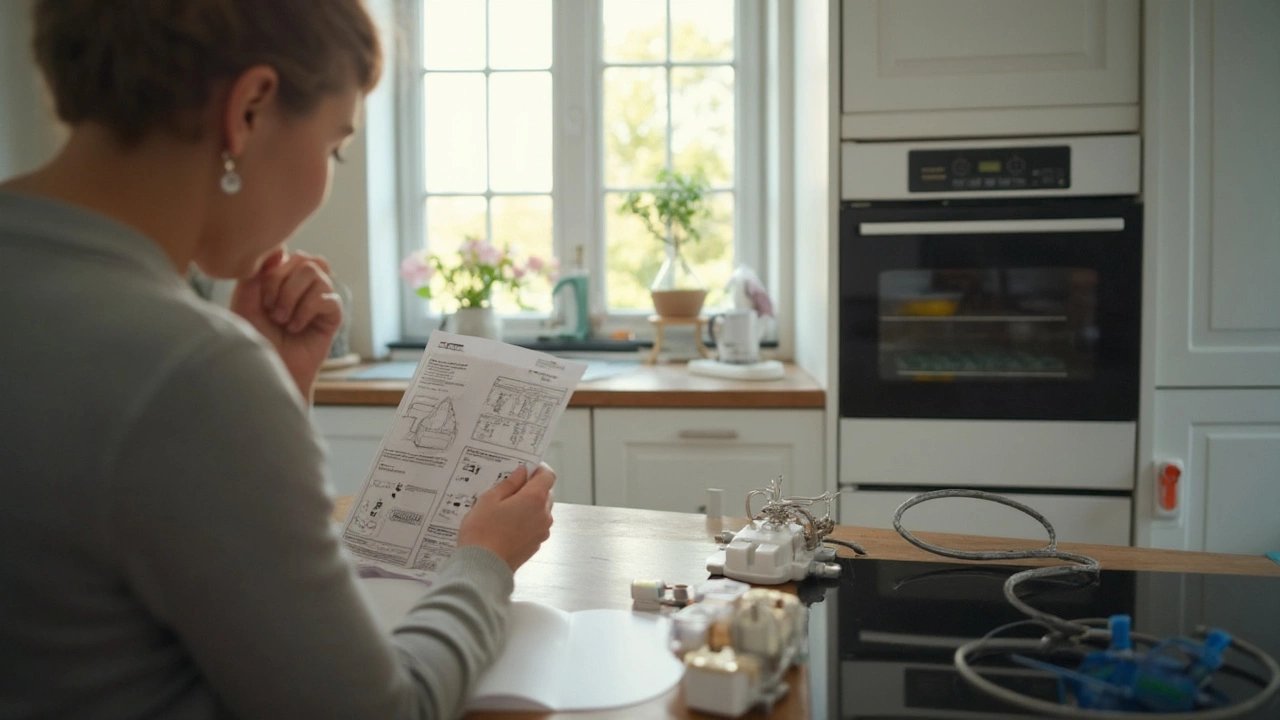
If you’ve just bought a new electric oven, the excitement of cooking your favorite meals can be dampened by the thought of installing it. The good news? Installing an electric oven is something most homeowners can handle with a little preparation. In this guide we’ll break down the tools you need, safety checks, and each step of the process so you can get your oven working without a headache.
First things first – gather the basics. You’ll need a screwdriver set, a drill with a suitable bit, a voltage tester, and a level. A sturdy work glove and safety glasses protect your hands and eyes. Check that the area where the oven will sit has a dedicated 240‑volt circuit, and that the wiring matches the oven’s specifications (usually a three‑wire setup with live, neutral, and earth). If you’re not sure, pull out the oven’s manual and look for the wiring diagram. Having the right power supply is the difference between a smooth install and a trip to the electrician.
1. Turn off the power. Go to your breaker box and flip the knob for the oven’s circuit. Use a voltage tester on the outlet to confirm there’s no live current. 2. Remove the old appliance. If you’re replacing an existing oven, pull it out carefully. Disconnect the wiring by loosening the terminal screws and note how they were attached – a quick photo helps. 3. Fit the new oven into the cavity. Slide the oven in, making sure it sits level. Use the level tool across the top to check; adjust the front legs if needed. 4. Connect the wiring. Strip the wire ends, match live, neutral, and earth to the corresponding terminals on the oven, and tighten the screws securely. Double‑check each connection with the voltage tester. 5. Secure the oven. Most models have brackets that bolt to the surrounding cabinets. Align the holes, drill pilot holes if required, and fasten the screws. This prevents the oven from moving when you open the door. 6. Restore power and test. Turn the breaker back on. Set the oven to a low temperature and let it run for a few minutes. Verify that the heating elements glow and that the display works. 7. Finish up. Clean any dust, replace any trim pieces, and read the manual for the first‑use instructions.
That’s it – you’ve installed your electric oven. The whole job usually takes about an hour if everything is pre‑checked.
When you run into issues – a tripped breaker, sparking wires, or an oven that won’t heat – don’t guess. Turn the power off again and call a qualified electrician. This isn’t worth the risk of fire or electric shock.
Keeping your oven in good shape after installation is just as easy. Wipe the interior regularly, inspect the power cord for wear, and schedule a professional check‑up every few years. A well‑maintained oven will give you reliable performance for many meals to come.
Whether you’re a DIY enthusiast or just want to avoid a pricey service call, following these straightforward steps can save you time and money. Ready to fire up that new oven? Grab your tools, double‑check the power, and you’ll be cooking in no time.
Posted by
Orin Trask
0 Comments

Thinking about swapping out your old electric oven for a new one? It's not as simple as just plugging it in. This article clears up common myths, explains the electrical requirements, and shares real-life tips to keep your kitchen safe. Get the facts before you start your next DIY project. You'll save time, money, and maybe even your eyebrows.
read more