
Extractor Fan Repair vs. Replace Decision Tool
Select the primary symptom your extractor fan is experiencing to get a recommendation on whether to attempt a repair or consider replacement.
Recommended Actions:
You flip the switch, and instead of the reassuring hum of ventilation, you get silence or a sound like a dying lawnmower. It’s frustrating, especially when your bathroom is already fogged up with steam. The immediate thought for most homeowners is that the unit is dead and needs replacing. But before you head to the hardware store, pause. Extractor fans are surprisingly durable machines, and in many cases, they can be repaired rather than replaced. Whether it’s a seized motor, a broken blade, or just accumulated grime stopping the airflow, understanding what’s actually wrong can save you significant money and effort.
This guide breaks down exactly when an extractor fan is worth fixing, how to diagnose common issues without calling a professional, and the specific steps to bring your ventilation back to life. We’ll cover everything from simple cleaning hacks to motor replacements, keeping safety front and center throughout the process.
The Quick Verdict: Repair or Replace?
| Symptom | Likely Cause | Repairability | Action |
|---|---|---|---|
| Fan doesn’t start but lights work | Seized motor bearings or faulty capacitor | High (if accessible) | Clean blades; try manual spin; check capacitor |
| Fan is very loud/rattling | Loose housing, unbalanced blade, or debris | Very High | Tighten screws, clean ducts, balance blade |
| Airflow is weak | Clogged filter, blocked duct, or failing motor | Moderate to High | Deep clean filters and ducts first |
| Burning smell | Overheated motor or electrical short | Low | Replace unit immediately (fire risk) |
| Old age (15+ years) | General wear and tear | Low | Replace for energy efficiency and noise reduction |
Diagnosing the Problem Before You Open Anything
Most extractor fan failures aren’t catastrophic mechanical breakdowns; they’re usually maintenance issues disguised as malfunctions. Before grabbing your screwdriver, perform these non-invasive checks. If the fan makes no noise at all, check if the wall switch is working by testing another appliance on the same circuit. Sometimes, a tripped breaker is mistaken for a dead fan.
If the fan hums but doesn’t spin, this is a classic sign of a seized motor. This often happens after long periods of disuse or due to moisture buildup causing rust on the bearings. Gently insert a pencil through the grille while the power is off and try to rotate the impeller (the bladed part) by hand. If it feels stiff or gritty, the bearings are likely seized. If it spins freely but still won’t start when powered, the issue might be electrical, such as a failed start capacitor.
Step-by-Step Cleaning: The Most Common Fix
Dust and grease are the enemies of extractor fans. In kitchens, grease coats the blades, making them heavy and unbalanced. In bathrooms, mineral deposits from hard water and mold build up. Here is how to properly clean your unit:
- Turn off the power: Switch off the light/fan switch and, for extra safety, turn off the circuit breaker.
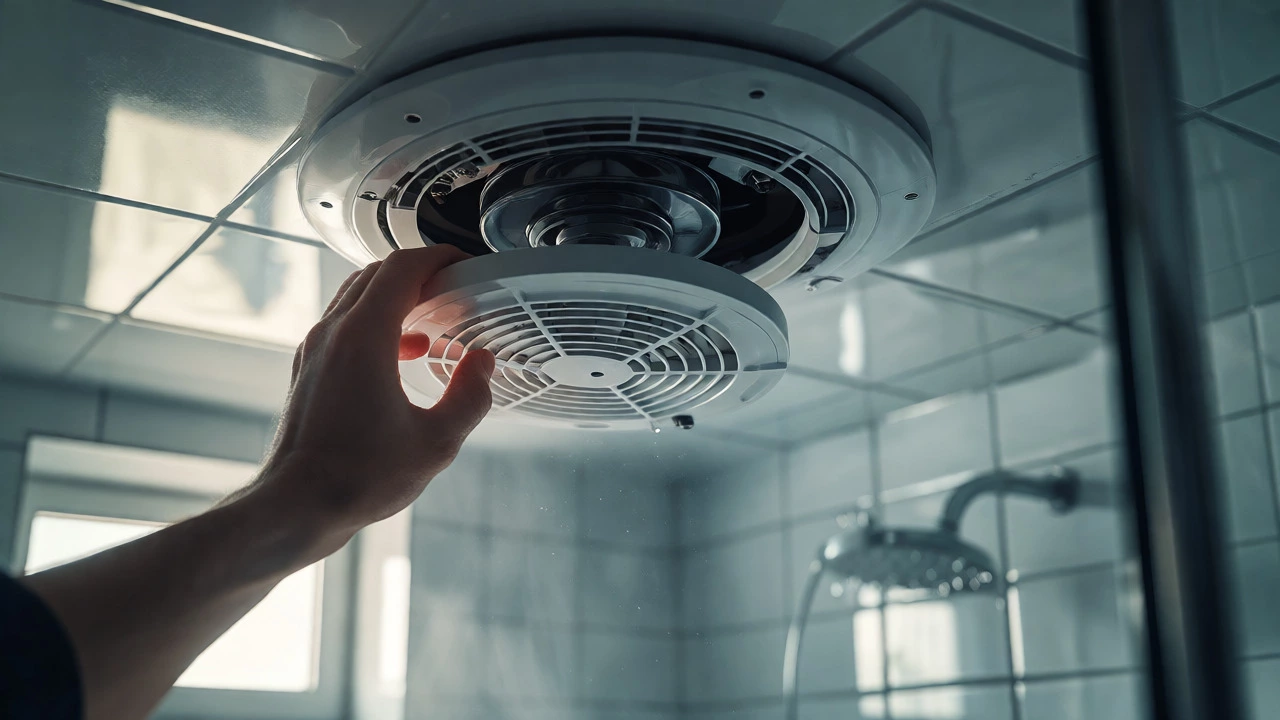
- Remove the cover: Most covers clip off or unscrew. Set them aside carefully.
- Vacuum the interior: Use a brush attachment to remove loose dust from the motor housing and surrounding area.
- Clean the impeller: If removable, wash the impeller in hot soapy water. If not, use a damp cloth to wipe each blade. Ensure no water gets into the motor itself.
- Check the ducting: Look for blockages in the flexible duct pipe. A crushed or disconnected duct is a silent killer of airflow.
- Reassemble and test: Put everything back together and restore power.
In Wellington, where humidity can be high, paying attention to condensation inside the fan housing is crucial. Wipe down any visible moisture to prevent corrosion.
Fixing Mechanical Issues: Blades and Bearings
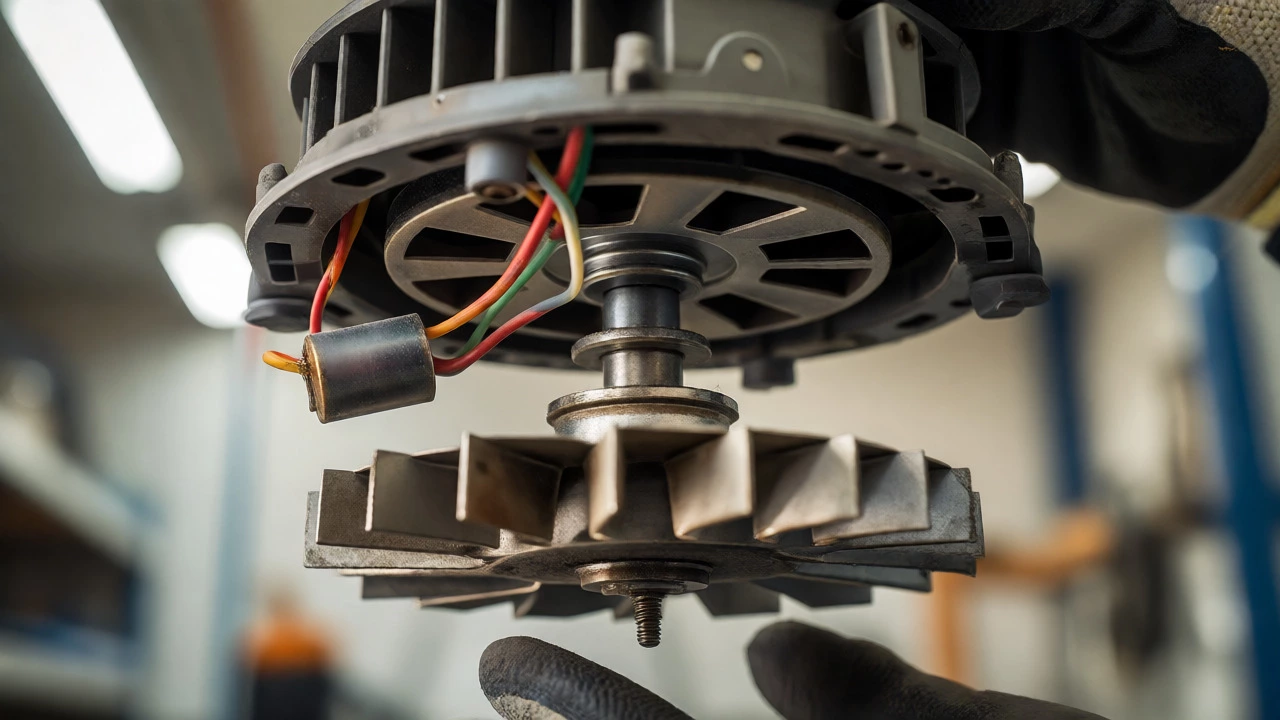
If cleaning didn’t solve the noise or lack of movement, you might need to address mechanical parts. Loose blades are a frequent cause of rattling. Check the central nut holding the impeller to the motor shaft. If it’s loose, tighten it. However, don’t overtighten, as this can strip the plastic threads common in modern fans.
For older fans with metal housings, bearing lubrication might be possible. Some motors have small oil ports. Adding a drop of lightweight machine oil (not WD-40, which dries out quickly) can revive a squeaky fan. Newer sealed-for-life motors, however, cannot be lubricated. If the bearings in a sealed motor are shot, the motor itself must be replaced.
Electrical Troubleshooting: Capacitors and Wiring
If the fan hums but won’t spin, and the impeller turns freely by hand, the culprit is often the start capacitor. This small component gives the motor the initial torque needed to begin rotating. When it fails, the motor stalls. Replacing a capacitor is cheap-often under $20-but requires basic electrical knowledge.
- Safety First: Always discharge the capacitor before handling it. Short the terminals with an insulated screwdriver.
- Match Specifications: Note the microfarad (µF) rating and voltage on the old capacitor. Buy an exact match.
- Wiring: Take a photo of the wiring configuration before disconnecting anything. Connect the new capacitor to the same terminals.
If you’re uncomfortable working with live wires, call a licensed electrician. In New Zealand, only registered electricians should handle permanent wiring changes, though swapping a plug-in component like a capacitor is generally within DIY scope if you know what you’re doing.
When to Give Up and Replace
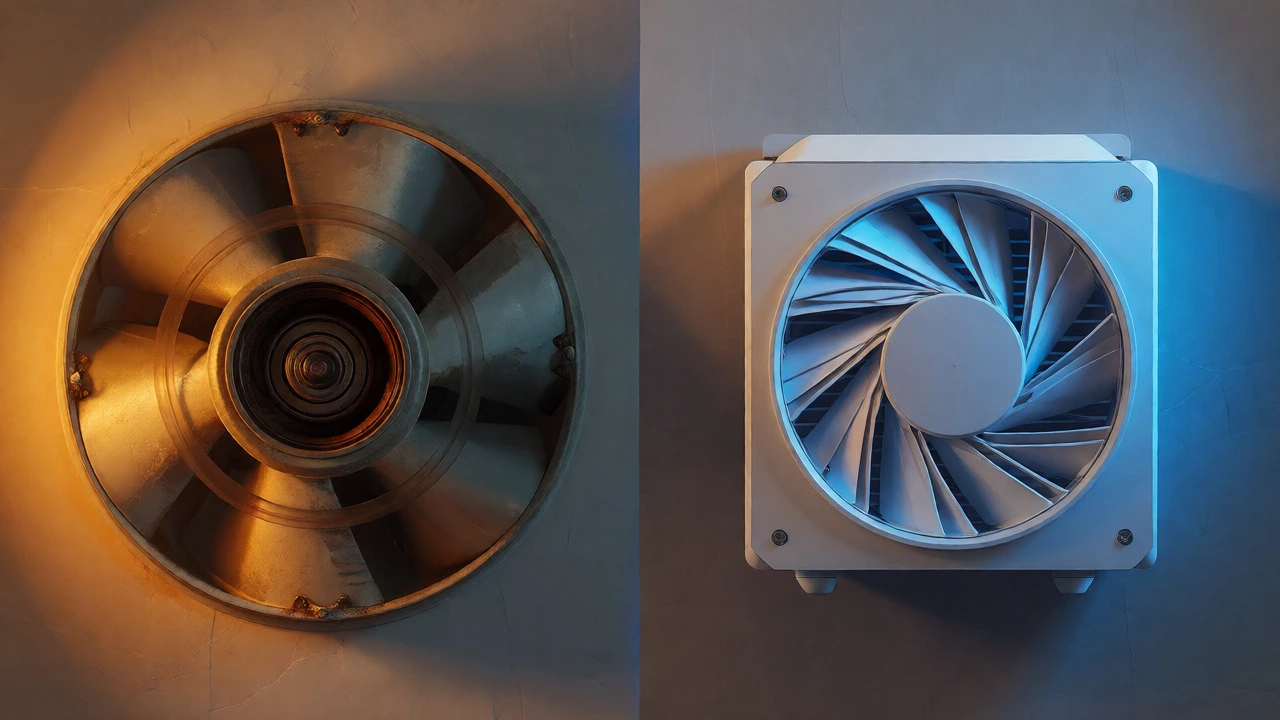
There comes a point where repair isn’t economical. If the motor windings are burnt out, you’ll often smell acrid smoke. Motor rewinding costs more than a new fan. Additionally, technology has advanced significantly. Modern EC (Electronically Commutated) motors are far more energy-efficient and quieter than the AC motors found in fans installed before 2010.
Consider replacement if:
- The fan is over 15 years old.
- The noise level exceeds 40 sones even after cleaning.
- The housing is cracked or heavily corroded.
- Parts are no longer available for your specific model.
Safety Precautions for DIY Repairs
Working with electricity and heights requires respect. Always ensure the power is isolated at the breaker box, not just the wall switch. Use a voltage tester to confirm there is no current flowing to the unit. If you’re working on a ceiling-mounted fan, use a sturdy ladder and have someone spot you. Never stand on the top two rungs of a stepladder.
Also, consider asbestos. If your home was built before 1980, the insulation around the fan housing or the ducting tape might contain asbestos. Do not disturb it unnecessarily. If you must cut or drill near old materials, wet them down and wear a mask, or better yet, consult a professional.
How do I know if my extractor fan motor is dead?
If the fan receives power (you hear a hum or see the light turn on) but the blades do not move, and you can spin them freely by hand when the power is off, the motor may be dead or the start capacitor failed. If there is no sound at all, check the switch and wiring first. A burning smell is a definitive sign of a dead motor.
Can I lubricate an extractor fan motor?
Only if the motor has visible oil ports. Many modern fans use sealed ball-bearing motors that cannot be lubricated. For older sleeve-bearing motors, a drop of lightweight sewing machine oil or specific motor oil can help reduce friction. Avoid using standard household oils or WD-40 as they attract dust and evaporate quickly.
Why is my extractor fan making a loud noise?
Loud noises usually stem from three causes: debris hitting the blades, loose mounting screws causing vibration, or worn-out bearings. Start by cleaning the fan thoroughly. Then, tighten all screws securing the housing to the joists. If the noise persists as a grinding sound, the bearings are likely worn, signaling the end of the motor's life.
Is it safe to run an extractor fan if it smells?
No. A burning or hot plastic smell indicates overheating, which is a fire hazard. Turn off the fan immediately and isolate the power. Inspect for dust buildup, which can ignite, or electrical faults. If cleaning doesn't resolve the smell, replace the unit or have an electrician inspect the wiring.
How much does it cost to repair an extractor fan?
DIY repairs are mostly free except for cleaning supplies or a new capacitor ($10-$25). Professional labor in New Zealand typically ranges from $80 to $150 per hour. If the repair cost approaches the price of a new mid-range fan ($150-$300), replacement is usually the better financial decision.