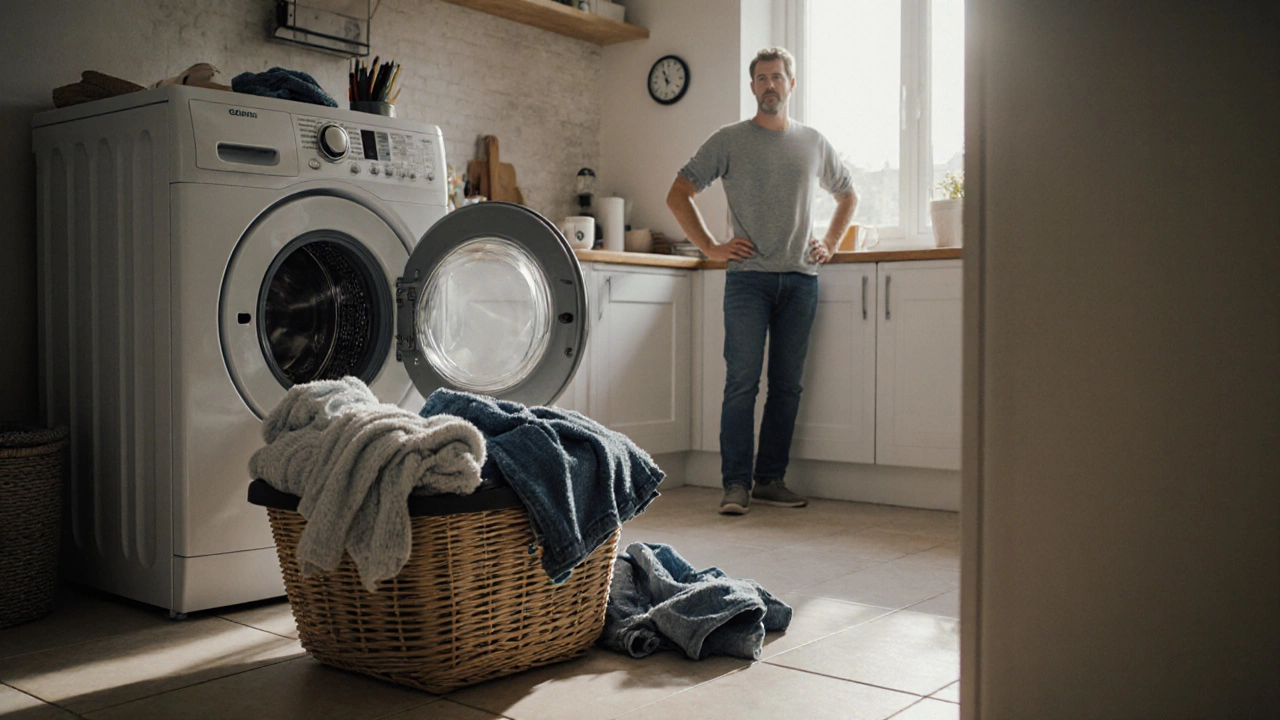
When your laundry pile starts to grow and the washer refuses to cooperate, you need a clear plan to find the culprit fast. This guide walks you through the most common washer problems and shows how to pinpoint the faulty part without tearing the machine apart.
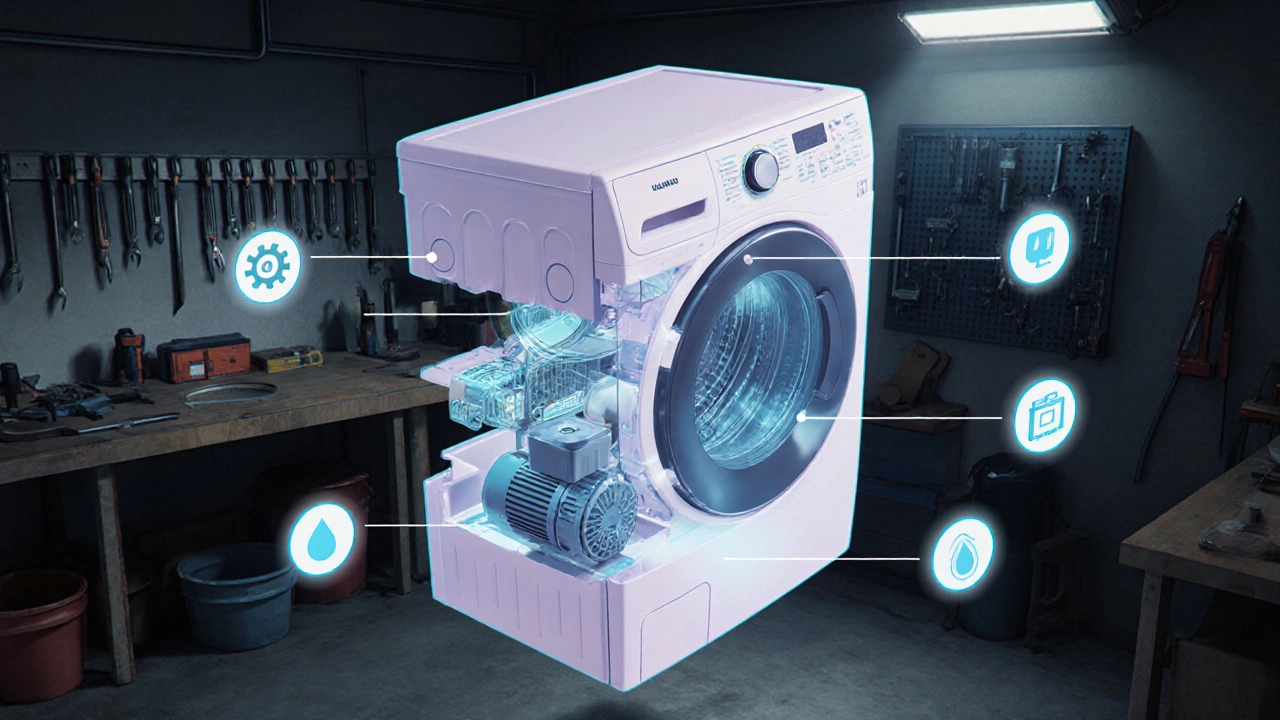
What a Washer Is Made Of
Washing Machine is a household appliance that uses water, mechanical agitation, and electricity to clean fabrics. Its core components include a drum that holds clothes, a motor that spins the drum, a pump that drains water, a water inlet valve that lets water in, a door latch that keeps the door sealed, a control board that manages cycles, and various sensors that monitor balance and water levels.
Typical Symptoms and Likely Faults
Before you open the back panel, match what you see with the table below. Each symptom points to a specific component that you can test.
| Symptom | Likely Fault | Quick Test |
|---|---|---|
| Machine won’t start | Power supply or door latch | Check outlet, listen for latch click |
| No water entering | Water inlet valve | Inspect hoses, test valve voltage |
| Water not draining | Pump blockage or failure | Listen for pump hum, clear filter |
| Excessive vibration | Unbalanced load, worn drum bearings | Redistribute load, spin drum manually |
| Leaking at the front | Door gasket or detergent dispenser | Inspect seal, clean dispenser |
| Cycle stops mid‑run | Control board or sensor error | Read error code, reset unit |
Step‑by‑Step Diagnosis
- Safety first: Unplug the washer and turn off the water supply.
- Check the power: Plug another appliance into the same outlet. If it works, the outlet is fine. If not, check the circuit breaker.
- Inspect the door latch: Open and close the door firmly. A faulty latch often triggers a lockout. Use a multimeter on the latch terminals; continuity means it’s OK.
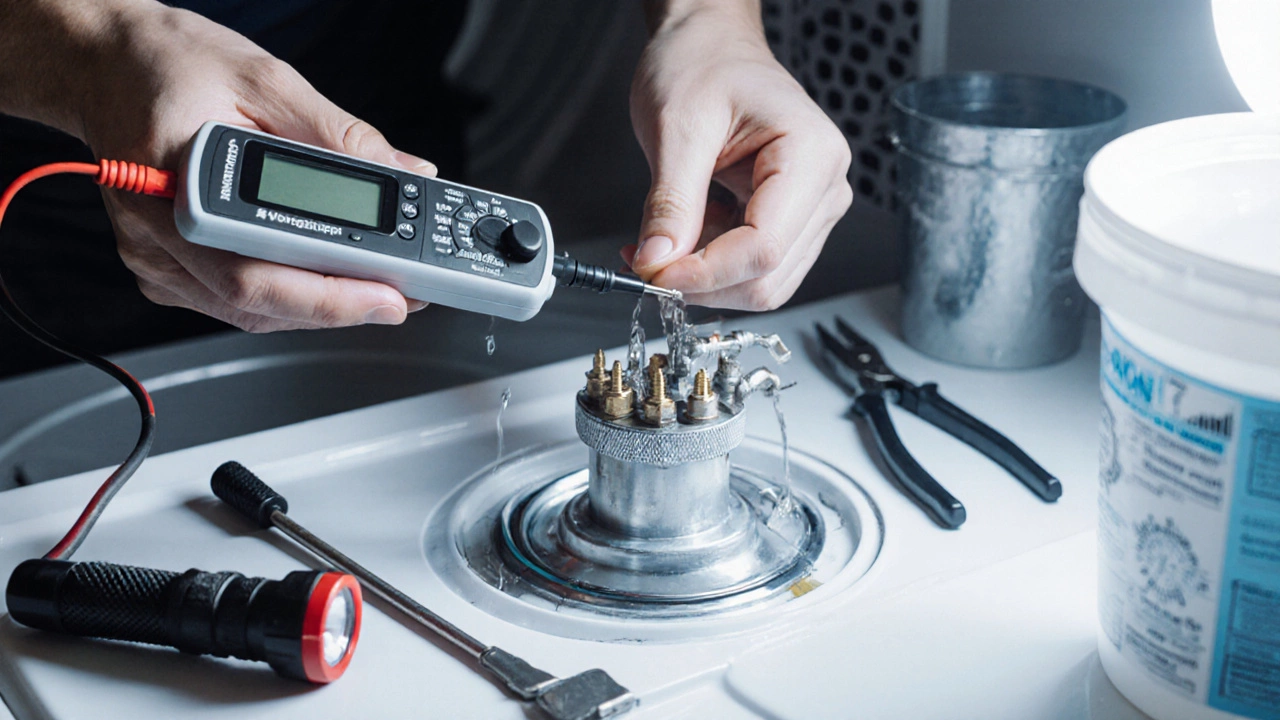
- Test the water inlet valve: Remove the supply hoses, place a bucket under the inlet, and turn the water on. If water doesn’t flow, the valve may be clogged or its solenoid coil failed. Measure coil resistance (≈ 500Ω is typical).
- Examine the pump: Locate the drain pump filter (usually behind a small access panel). Clean out lint, coins, or fabric. If the washer still won’t drain, disconnect power, remove the pump, and test for continuity. A dead pump needs replacement.
- Assess the drum and bearings: Spin the drum by hand. It should turn smoothly with a slight hum. Roughness, grinding, or water leaking from the bottom signals worn bearings or a bad seal.
- Verify the motor: Listen for a whirring sound when the machine tries to agitate. If you hear a humming but no motion, the motor coupler may be broken. Remove the motor, check the coupling for wear, and replace if necessary.
- Read error codes: Modern washers display codes on the control panel. Refer to the user manual for the meaning (e.g., “F03” might indicate a water level sensor issue). Reset by unplugging for 2minutes.
- Inspect sensors: The vibration sensor (also called the “unbalance sensor”) monitors drum movement. If it’s faulty, the machine may stop mid‑cycle. Test by manually rotating the drum; the sensor should trigger a brief pause.
- Examine the detergent dispenser: Over‑filling or using the wrong type of detergent can cause suds to overflow, leaking at the front. Clean the dispenser drawer and ensure the dosage is correct.
Tools You’ll Need
- Multimeter (for continuity and voltage checks)
- Screwdriver set (Phillips and flat‑head)
- Pliers
- Bucket and towels
- Flashlight
Common Pitfalls and Pro Tips
- Don’t ignore error codes - they often pinpoint the sensor or board that’s misbehaving.
- Balance the load - mixing heavy towels with light shirts can cause the drum to swing wildly, wearing bearings faster.
- Use the right detergent - high‑efficiency (HE) washers need low‑foam detergents; regular detergents create excess suds that can overflow.
- Clean the pump filter regularly - a clogged filter is the #1 cause of drainage failures.
- Check hoses for kinks - a pinched inlet hose will restrict water flow and trigger “no water” errors.
When to Call a Professional
If you’ve run through the steps above and the washer still misbehaves, it’s time to enlist a licensed technician. Typical scenarios include a burned‑out control board, a motor that sparks, or water leaks from internal seals that require disassembly.

Quick Takeaways
- Always start with power and door latch checks.
- Match symptoms to components using the table.
- Test inlet valve, pump, motor, and sensors with a multimeter.
- Keep the pump filter clean to avoid drainage issues.
- Call a pro for control‑board failures or persistent leaks.
Frequently Asked Questions
Why does my washer make a loud banging noise?
A banging sound usually means the drum is out of balance. Check for uneven loads, level the machine, and inspect the shock absorbers or suspension springs for wear.
How can I tell if the water inlet valve is faulty?
If the washer doesn’t fill, first verify that the hoses aren’t kinked and the water supply is on. Then use a multimeter on the valve’s solenoid terminals; a reading of 400‑800Ω indicates it’s good. No continuity means replace the valve.
My washer stops mid‑cycle with an error code. What next?
Look up the code in the user manual - most codes point to a specific sensor or board issue. Try a hard reset (unplug for 2minutes). If the code returns, the indicated part likely needs replacement.
What causes water to leak from the front of the washer?
Front leaks are often due to a worn door gasket or an over‑filled detergent drawer. Inspect the gasket for cracks and clean the dispenser. Replace the gasket if it’s damaged.
Is it safe to replace a washing‑machine motor myself?
If you have basic electrical skills and the right tools, you can replace a motor. Disconnect power, remove the motor housing, note the wiring connections, and swap the unit. For high‑efficiency or front‑load models, consider a professional to avoid warranty issues.