Oven Heating Element Cost Calculator
Cost Calculator
Quick Takeaways
- A new heating element in New Zealand typically costs between NZ$70 and NZ$180, depending on brand and size.
- DIY replacement can save NZ$50‑NZ$120 on labor, but you need basic tools and safety know‑how.
- Professional technicians charge NZ$80‑NZ$130 per hour plus parts.
- Check warranty terms before you start - many new ovens cover the element for the first two years.
- Safety first: unplug, test the circuit, and wear gloves.
If your oven is heating unevenly, taking forever to bake, or simply won’t heat at all, the culprit is often the oven heating element a metal coil that converts electricity into heat inside an electric oven. Replacing it isn’t rocket science, but the cost can vary a lot depending on whether you go the DIY route or call a professional appliance technician a licensed tradesperson who services kitchen appliances. In this guide we’ll break down the price of the part, labor rates in Wellington and beyond, and give you a step‑by‑step plan to fix it yourself if you feel confident.
What Exactly Is a Heating Element?
In an electric oven a kitchen appliance that uses electricity rather than gas to generate heat for cooking, the heating element is the visible coil at the top (broil) and/or bottom (bake) of the cavity. When you turn the oven on, electricity flows through the coil, heating it to temperatures of up to 260 °C (500 °F). The hot coil then radiates heat into the oven chamber.
Elements are generally made of a nickel‑chromium alloy called nichrome. They’re designed to last several years, but everyday use, power surges, and age can cause the coil to break or become corroded, resulting in a cold or uneven oven.
How Much Does the Part Cost?
Prices depend on three main factors: brand, size, and where you buy it.
- Brand: Original Equipment Manufacturer (OEM) parts from Fisher & Paykel, Rangemaster, or Westinghouse run NZ$120‑NZ$180. Aftermarket versions from retailers like Mitre 10 or The Warehouse are usually NZ$70‑NZ$130.
- Size: Standard home ovens use a 25‑30 cm element. Larger professional‑grade ovens need a 35 cm coil, which can add NZ$30‑NZ$50.
- Supplier: Online stores (e.g., TradeMe, Appliance Parts NZ) often have lower prices than brick‑and‑mortar shops because they cut overhead.
When you factor in shipping (usually NZ$10‑NZ$20 within the country), the replace oven heating element cost sits roughly between NZ$80 and NZ$200 for most homeowners.
DIY vs. Hiring a Pro: What’s the Real Difference?
Below is a quick side‑by‑side comparison. It’s not just about the dollar amount - consider time, risk, and warranty implications.
| Aspect | Do‑It‑Yourself | Professional Service |
|---|---|---|
| Part price | 70‑130 | 70‑130 (same part) |
| Labor | 0 (your time) | 80‑130 per hour |
| Total average cost | 80‑150 | 150‑260 |
| Time required | 1‑2 hours | 0.5‑1 hour (plus travel) |
| Risk level | Medium (electric shock if mishandled) | Low (licensed professional) |
| Warranty impact | May void OEM warranty | Preserves warranty |
When DIY Makes Sense
If you have a basic toolkit, feel comfortable working with electricity, and your oven is out of warranty, DIY can shave off NZ$50‑NZ$120. Here’s the checklist before you start:
- Confirm the oven is truly electric - gas ovens use a different heating system.
- Locate the warranty the manufacturer’s guarantee covering defects terms. If it’s still active, you may need an authorized service centre.
- Gather tools: screwdriver set flat‑head and Phillips drivers, multimeter a device to check voltage and continuity, gloves, and a flashlight.
- Read the oven’s user manual - most have a section on part numbers.
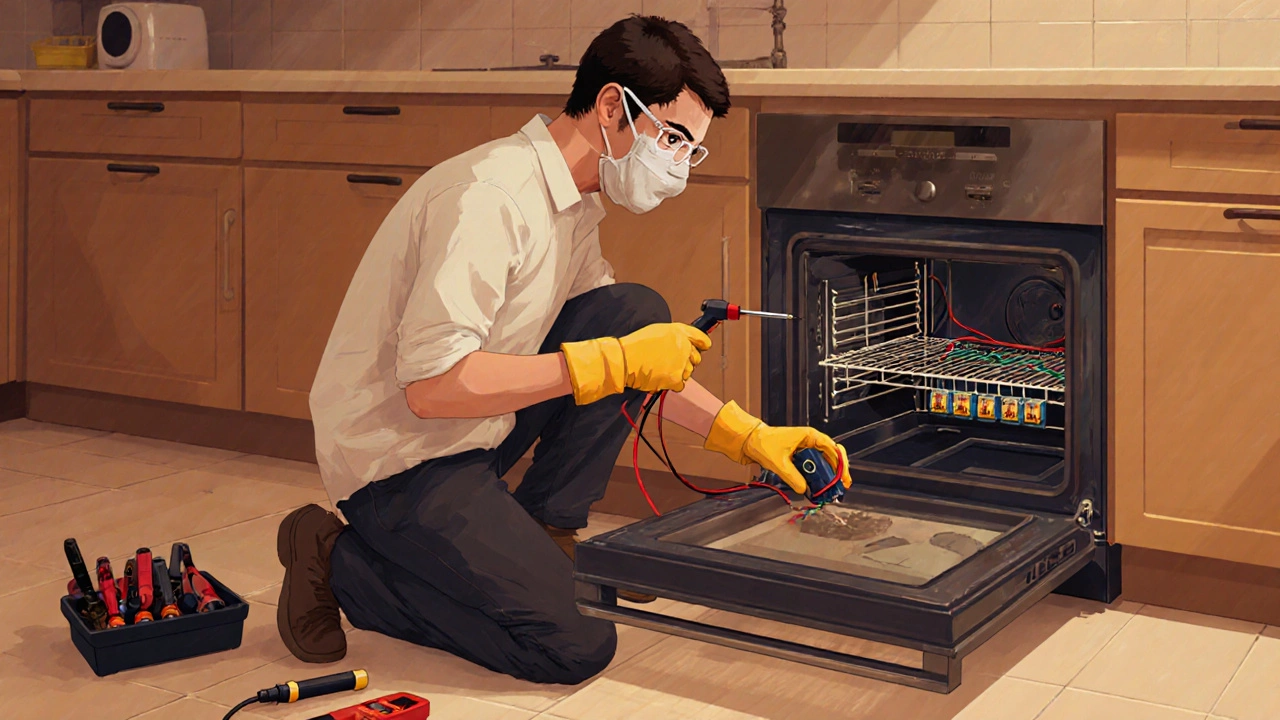
Step‑by‑Step DIY Guide
- Unplug the oven. Safety first: disconnect the power at the wall socket or circuit breaker.
- Access the element. Remove the oven’s back panel or inner door (depending on model). Most ovens use four to six screws.
- Take a photo. Snap a quick picture of the wiring layout. This saves you from guessing later.
- Test for power. Use a multimeter to confirm the element is dead. Set the meter to AC voltage, touch the probes to the element’s terminals - you should read 0 V if it’s broken.
- Disconnect wiring. Most elements have two plug‑in connectors. Press the clips and pull the plug straight out.
- Unscrew the element. Loosen the mounting screws, then gently lift the old coil out. Note any heat‑shield tabs that may need reuse.
- Fit the new element. Align the mounting holes, secure with screws, and plug the connectors back in. Double‑check the wiring matches the photo you took.
- Reassemble the oven. Replace the back panel, ensure everything sits snugly.
- Power up and test. Plug the oven back in, set a low temperature (e.g., 100 °C) and wait a few minutes. Feel the element - it should be warm. If it’s not heating, double‑check connections.
That’s it! Most homeowners finish in under two hours. If you hit a snag, the next section explains when to quit and call a pro.
Red Flags: When to Call a Professional
- Complex wiring. Some ovens have hidden harnesses or integrated control boards. If you can’t trace the wires, a tech can avoid costly mistakes.
- Broken control board. A faulty thermostat or electronic control can mimic a bad element. Professionals have diagnostic tools.
- Warranty still active. Tampering could void the cover, leading to higher out‑of‑pocket costs later.
- Limited experience with electricity. If you’re unsure about using a multimeter or feel uneasy about live circuits, it’s safer to let a licensed professional appliance technician take over.

Cost Breakdown Summary
Here’s a quick cheat sheet you can print or save to your phone:
- Part price: NZ$70‑NZ$180 (depends on brand/size)
- DIY tools (one‑time): NZ$30‑NZ$80 for screwdriver set + multimeter
- Professional labor: NZ$80‑NZ$130 per hour + part
- Total DIY: NZ$80‑NZ$150 (including part & shipping)
- Total pro: NZ$150‑NZ$260 (part + labor)
Frequently Asked Questions
How do I know which heating element size I need?
Check the model number on the old element or in your oven’s user manual. The size is usually listed as 25 cm (standard) or 35 cm (large). If you can’t find it, search the oven’s make and model online - most manufacturers list the exact part number.
Will replacing the element void my warranty?
If your oven is still under the manufacturer’s warranty, only an authorized service centre should do the work. Doing it yourself may void the warranty, meaning you’ll bear the cost of any future repairs.
Can I use a gas oven element as a replacement?
No. Gas ovens use a flame‑based burner, not a resistive coil. Mixing the two can be dangerous and will never heat properly.
What safety gear should I wear?
Wear insulated gloves, safety glasses, and a dust mask if you’re working in a cramped cavity. Make sure the area is well‑ventilated.
How long should a new element last?
With normal household use, a quality OEM element can last 8‑12 years. Aftermarket versions may be slightly shorter, especially if they’re cheaper alloys.
Next Steps
1. Verify your oven’s brand and model.
2. Compare part prices at local stores and online marketplaces.
3. Decide whether you have the tools and confidence for a DIY swap.
4. If you choose DIY, follow the step‑by‑step guide above and keep the safety checklist handy.
5. If you’d rather not risk it, call a reputable professional appliance technician and request a quote that includes the part.
Either way, you’ll have a functional oven back in the kitchen without the guess‑work of a half‑cooked roast.