Extractor Fan Maintenance Calculator
Your Maintenance Schedule
Grease Filter Replacement
Replace your filter in (Based on your cooking habits)
Deep Duct Cleaning
Schedule duct cleaning in
Vent Cap Inspection
Check vent cap in
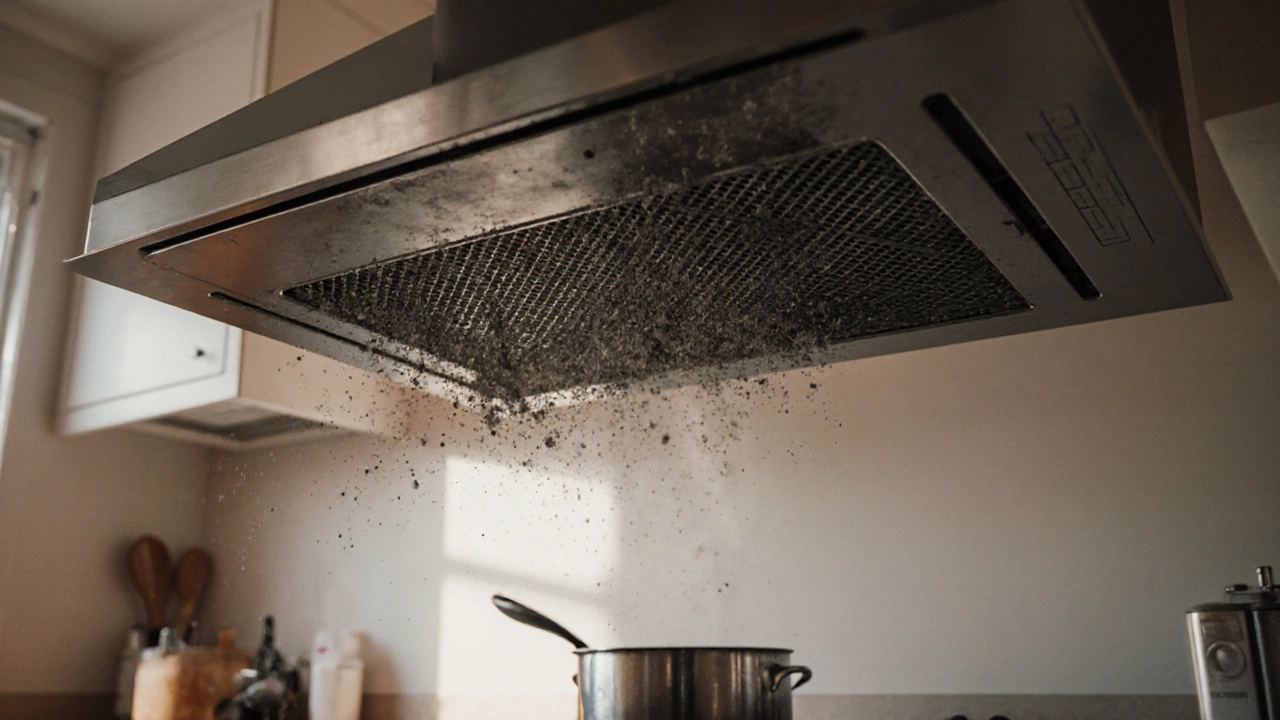
If your kitchen extractor fan has lost suction or makes a rattling noise, chances are something’s blocking the airflow. Instead of calling a repair service right away, you can often clear the blockage yourself with a few common tools and a bit of patience. This guide walks you through why fans get clogged, how to work safely, the exact steps to unblock the system, and how to keep it running smoothly year after year.
Why Fans Get Blocked
Understanding the cause saves you time when you reach for a screwdriver. The most frequent culprits are:
- Grease filter overloaded with cooking residue.
- Exhaust duct narrowed by built‑up grease or dust.
- Improperly sealed Vent cap that lets debris back in.
- Loose Motor mounts that vibrate and shift the fan blades.
- Electrical issues, such as a tripped Circuit breaker, that stop the fan from turning.
Most of these problems are mechanical rather than electrical, meaning you can usually fix them without a specialist.
Safety First - Turn Off Power
Before you lift a panel or unscrew a filter, cut the electricity. Locate the breaker that supplies the extractor fan and switch it off. If your fan has a separate on/off switch, turn that to ‘off’ as well. Double‑check you have no live voltage by testing the wiring with a multimeter or a non‑contact voltage tester. Safety isn’t optional - a sudden motor start while you’re working can cause injury.
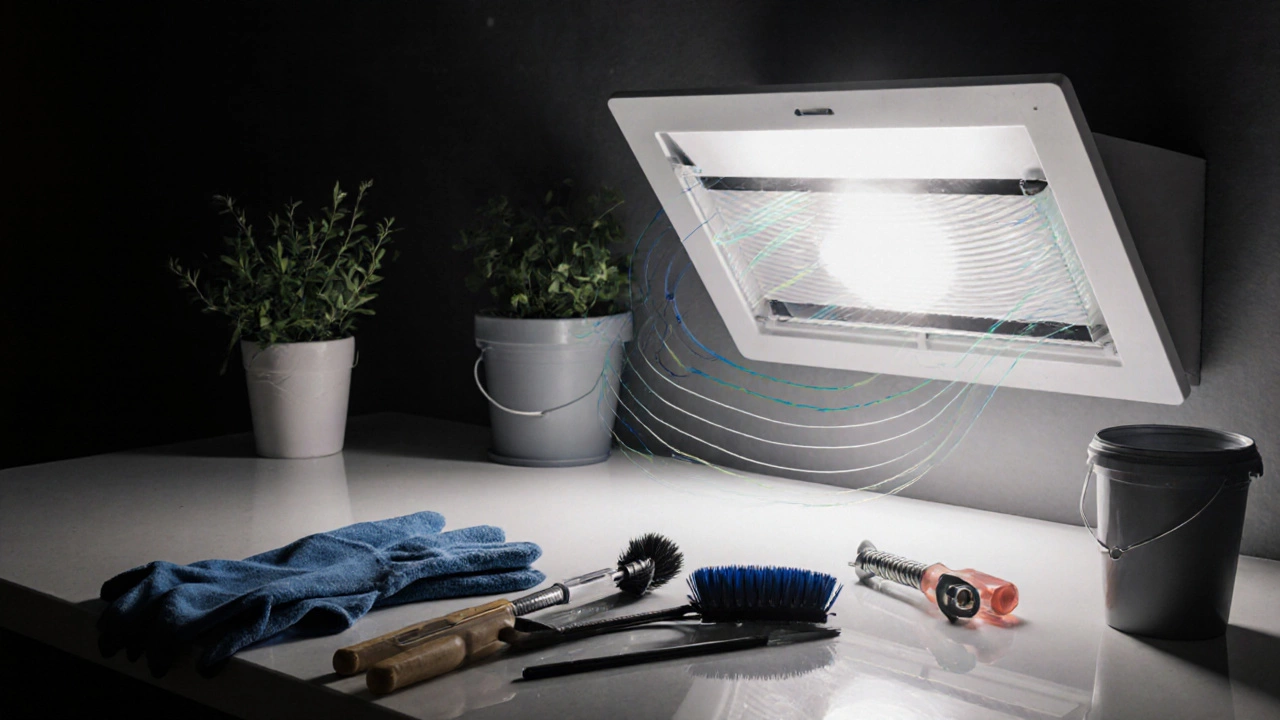
Tools You’ll Need
Gather these items before you begin. Having everything at hand prevents you from improvising with wrong tools, which can damage the fan.
- Flat‑head screwdriver - for removing the front grille.
- Phillips screwdriver - some models use cross‑head screws.
- Protective gloves - grease can be hot and slippery.
- Vacuum cleaner with a hose attachment - to suck out loose debris.
- Bucket and warm soapy water - for cleaning the filter.
- Flexible cleaning brush (18‑inch) - reaches into the duct.
Step‑by‑Step: Unblocking the Fan
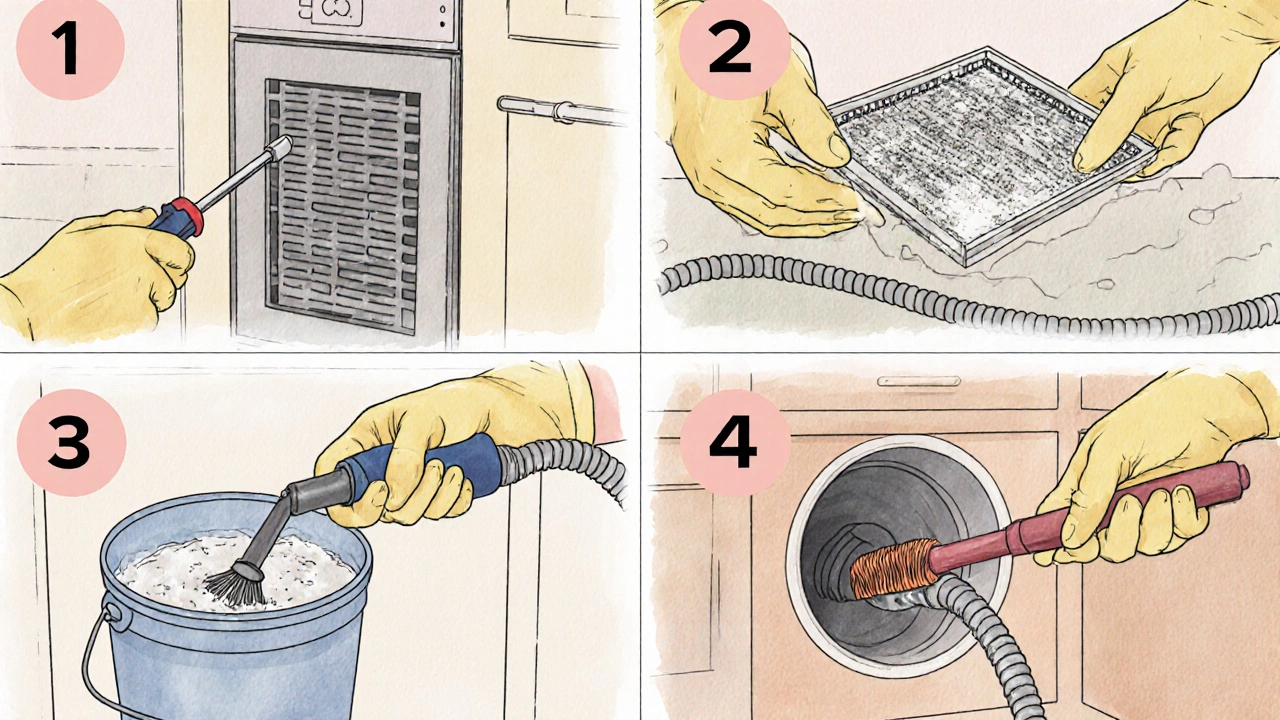
- Remove the front grille. Most kitchen fans have a detachable front panel. Unscrew it using the flat‑head or Phillips screwdriver, then set the screws aside in a small container.
- Take out the grease filter. Pull the metal or mesh filter straight out. If it’s stuck with dried grease, wiggle gently - don’t force it, as the frame can bend.
- Clean the filter. Submerge the filter in a bucket of warm water mixed with a few drops of dish soap. After 15 minutes, scrub with the flexible brush, rinse, and let it air‑dry completely. A wet filter can cause motor strain.
- Inspect the fan blades. With the grille removed, you’ll see the rotating blades behind a protective cage. Check for accumulated grease or foreign objects (spoons, small utensils). Wipe with a damp cloth; avoid spraying water directly onto the motor.
- Vacuum the exhaust duct. If you can access the duct from inside the cabinet, run the vacuum hose gently into the opening to pull out dust, ash, or loose grease. For longer ducts, detach the external vent cap (usually secured with a screw), then vacuum both ends.
- Brush the interior. Insert the flexible brush into the duct, rotate while pushing forward to break up stubborn buildup. Follow with a quick vacuum pass to collect loosened particles.
- Check the vent cap. Remove the external vent cover and look for bird nests, leaves, or cobwebs that may re‑enter the system. Clean it with a damp rag and ensure the rubber seal is intact.
- Re‑assemble everything. Replace the vent cap, slide the cleaned filter back into the fan housing, and screw the grille back on. Double‑check that all screws are tightened but not over‑tightened - a stripped thread will cause future issues.
- Restore power and test. Turn the circuit breaker back on, switch the fan to low speed, and listen for smooth operation. Increase to high; you should feel a noticeable boost in airflow when you place your hand a few inches in front of the outlet.
If the fan still feels weak after these steps, the motor may be worn out, or the duct could be severely collapsed - both cases merit professional attention.
Cleaning the Duct and Filters - A Deeper Look
While the quick unblocking routine fixes most issues, a thorough annual clean keeps performance at its peak. Schedule a deeper clean every 12‑18 months, especially if you cook often with oily foods.
| Task | Frequency | Tools |
|---|---|---|
| Remove and soak grease filter | Every 3 months | Bucket, hot soapy water, brush |
| Vacuum entire duct length | Every 12 months | Shop‑vac with hose |
| Inspect and clean vent cap | Every 6 months | Rag, mild detergent |
| Lubricate motor bearings (if applicable) | Every 24 months | Light machine oil |
Note: Not all fans allow bearing lubrication. If your model’s manual warns against oil, skip that step.
Prevent Future Blockages
Simple habits can extend the life of your extractor fan:
- Wipe the greasy splash guard after each cooking session.
- Run the fan on low for a few minutes after you finish cooking - this clears residual vapour before it solidifies.
- Replace disposable charcoal or metal filters as per manufacturer recommendations (usually every 6‑12 months).
- Avoid placing large utensils directly under the fan inlet; they can drop grease straight into the motor.
- Check the external vent cap each spring for debris or animal nests.
When to Call a Pro
Even the most diligent DIYer hits a wall sometimes. Consider professional help if:
- The motor hums but the blades don’t spin - that usually indicates a failed capacitor or burnt winding.
- You notice a persistent burnt smell, which could mean electrical insulation is deteriorating.
- The duct is visibly collapsed or rusted; replacing sections may require specialized tools.
- The fan is still under warranty - opening it yourself could void coverage.
Professional services typically include motor testing, complete duct replacement, and a warranty on parts.
Quick Checklist Before You Start
- Turn off the circuit breaker.
- Gather screwdriver, gloves, vacuum, bucket, brush.
- Remove grille and filter.
- Clean filter, blades, and duct.
- Inspect vent cap and external area.
- Re‑assemble and test fan.
Follow this list, and you’ll have a fully functional extractor fan in under an hour.
Why does my extractor fan still sound weak after cleaning?
A weak sound usually means the motor is struggling. Check if the blades are still hindered by hidden grease, or if the motor bearings are worn. If both look clean, the motor may need replacement.
Can I use a standard household vacuum on the duct?
Yes, a regular shop‑vac works fine as long as the hose can reach the duct opening. Use the narrow attachment to avoid pushing debris further in.
How often should I replace the grease filter?
For heavy cooking (lots of oil), replace every 6 months. Light cooking can stretch it to 12 months. If the filter is visibly blackened, replace it regardless of age.
Is it safe to use chemical degreasers on the fan blades?
Avoid harsh chemicals. A mix of warm water and mild dish soap is enough. Strong solvents can damage the blade coating and the motor’s insulation.
My fan trips the circuit breaker each time I turn it on. What’s wrong?
A tripping breaker signals a short circuit or an overloaded motor. Check the wiring for loose connections, and inspect the motor for burnt smells. If the wiring looks fine, the motor likely needs replacement.