When your freezer ice maker suddenly stops churning out cubes, it feels like a tiny kitchen disaster. You open the freezer, stare at the empty ice bin, and wonder what went wrong. The good news? Most ice‑maker failures are caused by a handful of common, DIY‑friendly problems. By walking through a systematic checklist, you can pinpoint the culprit, get the ice flowing again, and avoid costly service calls.
Understanding the Freezer Ice Maker System
Freezer ice maker is a built‑in appliance component that automatically fills, freezes, and ejects ice cubes into a storage bin. It relies on a simple sequence: water fills a mold, a thermostat signals when the water is frozen, a motor rotates a harvesting arm, and the cubes drop into the bin. The whole process is powered by electricity and fed by a water supply line.
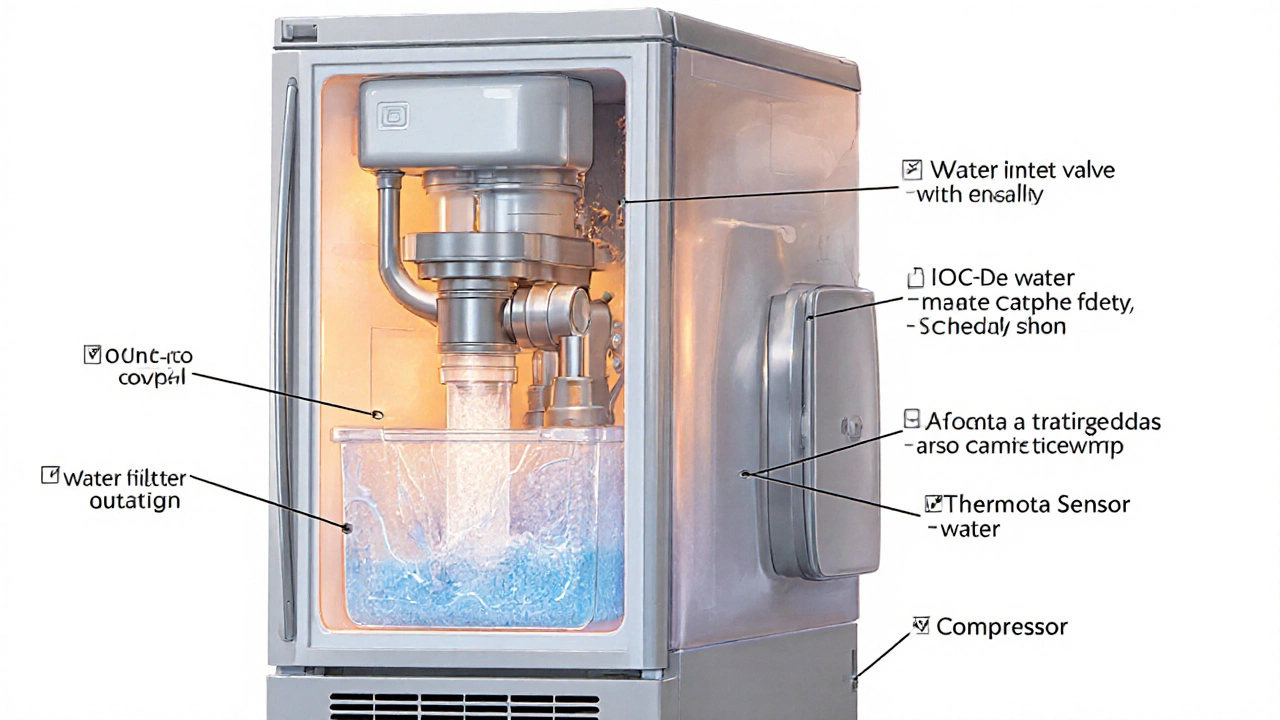
Key parts that keep the cycle running include:
- Water inlet valve: opens to let water into the mold when the ice maker signals a fill.
- Ice maker arm (or “harvester arm”): rotates to release frozen cubes.
- Freezer temperature sensor: tells the control board when the water is solid.
- Freezer thermostat: maintains the overall freezer temperature, usually around 0°F (‑18°C).
- Ice maker module: the electronic brain that coordinates filling, freezing, and harvesting.
- Freezer door seal: keeps cold air inside; a leaky gasket raises internal temperature.
- Water filter (if your model has one): removes impurities that could clog the valve.
- Freezer compressor: circulates refrigerant; a weak compressor can’t keep the freezer cold enough for ice.
Step‑by‑Step Troubleshooting Checklist
| Potential Cause | What to Check | Simple Fix |
|---|---|---|
| Water supply interruption | Is the water line kinked or shut off? | Straighten the hose and open the valve. |
| Clogged water inlet valve | Listen for a faint click when the ice maker signals a fill. | Clean or replace the valve. |
| Faulty water filter | Filter overdue for replacement (usually every 6 months). | Swap in a new filter. |
| Freezer too warm | Measure inside temp with a thermometer; should be ≤0°F (‑18°C). | Adjust thermostat or check door seal. |
| Ice maker arm stuck | Visually inspect the arm for ice buildup or debris. | Manually free the arm and clear obstructions. |
| Defective ice maker module | Ice maker lights flicker or motor doesn’t run. | Replace the module. |
| Door seal leak | Feel for cold drafts or run a dollar bill around the gasket. | Clean the seal or replace it if cracked. |
| Compressor or refrigerant issue | Freezer runs constantly but stays warm. | Call a qualified technician. |
Detailed Diagnostic Walkthrough
- Confirm the freezer is cold enough. Place a kitchen thermometer in the freezer for 15 minutes. If the reading is above 0°F (‑18°C), raise the thermostat by one notch or check the door seal for gaps. A warm freezer prevents ice from forming, regardless of water supply.
- Inspect the water line. Locate the hose that runs from your home’s water supply to the back of the freezer. Make sure it isn’t pinched, frozen, or turned off. If you live in a cold climate, wrap the line with insulation to avoid seasonal blockage.
- Test the water inlet valve. When the ice maker requests a fill, you should hear a soft click. If you hear nothing, the valve may be dead or clogged. Turn off the freezer, disconnect the valve, and briefly turn the water on to see if water flows freely. If it dribbles weakly, replace the valve.
- Check the water filter. Many modern freezers have a built‑in filter that needs replacement every six months. A clogged filter reduces water pressure, causing the valve to stay closed. Swap in a fresh filter and run a few cycles.
- Examine the ice maker arm and mold. Open the freezer and look at the rotating arm. Ice can freeze it in place, especially if the freezer temperature fluctuates. Gently tap the arm with a wooden spoon to free it, then wipe away any ice buildup inside the mold.
- Verify the ice maker module. If the arm moves but no ice drops, the module’s sensor may think the water never froze. Unplug the freezer for five minutes, then plug it back in to reset the electronics. If the problem persists, the module likely needs swapping.
- Look for error codes. Some newer models display a blinking light pattern on the front control panel. Check the user manual for the meaning-often, a blinking ice‑maker icon points to a water‑flow issue.
- Assess the door seal. Close the freezer door on a piece of paper; if you can pull it out easily, the gasket isn’t sealing properly. Clean the seal with warm, soapy water and a soft cloth. Replace it if it’s cracked or warped.
- Consider the compressor. If the freezer is warm despite the thermostat being set low, the compressor may be failing or low on refrigerant. This is a professional job-don’t attempt to open the sealed system yourself.
Preventive Maintenance Tips
- Clean the freezer interior once a month to prevent ice buildup on the arm and mold.
- Replace the water filter on schedule; a clogged filter is a silent ice‑maker killer.
- Check the door gasket quarterly; a small tear can raise temperature by several degrees.
- Keep the freezer level; a tilted unit can cause water to pool unevenly, starving the ice maker.
- Run a short “ice‑maker test” after a power outage: unplug for a minute, plug back in, and watch the cycle start.
When to Call a Professional
If you’ve walked through the checklist and the ice maker still won’t produce cubes, it’s time to involve a certified appliance technician. Typical red‑flag scenarios include:
- Repeated compressor shutdowns or unusually loud operation.
- Water leaks inside the freezer compartment.
- Persistent error codes that reference the control board.
- Any suspicion of refrigerant loss-handling refrigerant requires a licensed professional.
Professional repair usually costs between $150 and $250 in NewZealand, depending on the parts needed and travel distance. Weigh this against the age of your freezer; if it’s more than 10‑12years old, replacement might be more economical.
Quick Takeaways
- Start by confirming the freezer temperature is at or below 0°F (‑18°C).
- Inspect water supply, inlet valve, and filter for blockages.
- Free up a stuck ice‑maker arm and reset the module.
- Check the door seal; a poor seal raises internal temperature.
- Call a technician if the compressor, refrigerant, or control board appears faulty.
Frequently Asked Questions
Why does my ice maker fill with water but never freeze?
If the freezer temperature is too high-often caused by a faulty thermostat or a leaky door seal-the water won’t reach freezing point. Verify the internal temperature and tighten or replace the seal before checking the valve.
My ice maker makes ice but the bin stays empty. What’s wrong?
A stuck or broken harvesting arm usually prevents cubes from dropping into the bin. Clear any ice jam, gently move the arm, and ensure the motor is functioning. If the arm rotates but cubes still don’t release, the sensor that tells the arm when to turn may be defective.
Can a frozen water line cause the ice maker to stop?
Yes. In colder climates the supply hose can freeze inside the freezer wall. Thaw it with a hairdryer on low heat or wrap it with insulation. Once water flows freely again, the ice maker should resume normal cycles.
How often should I replace the water inlet valve?
There’s no set schedule, but if you notice inconsistent filling, strange noises, or leaks, replace the valve promptly. Most homeowners find that a valve lasts 5‑7years under normal use.
Is it safe to reset the ice maker by unplugging the freezer?
Yes. Unplugging for about five minutes clears any frozen‑in‑memory error and forces the control board to restart. Just be sure the freezer is back to the correct temperature before the next cycle begins.